Hi friends! It is freezing here again today so I have been cozied up inside doing laundry, always laundry. I am planning on making one of my favorite meals, lasagna, garlic bread and salad tonight for dinner and am excited for some comfort food! Tuesday nights is one of the rare nights where we have nothing going on so I always look forward to it.
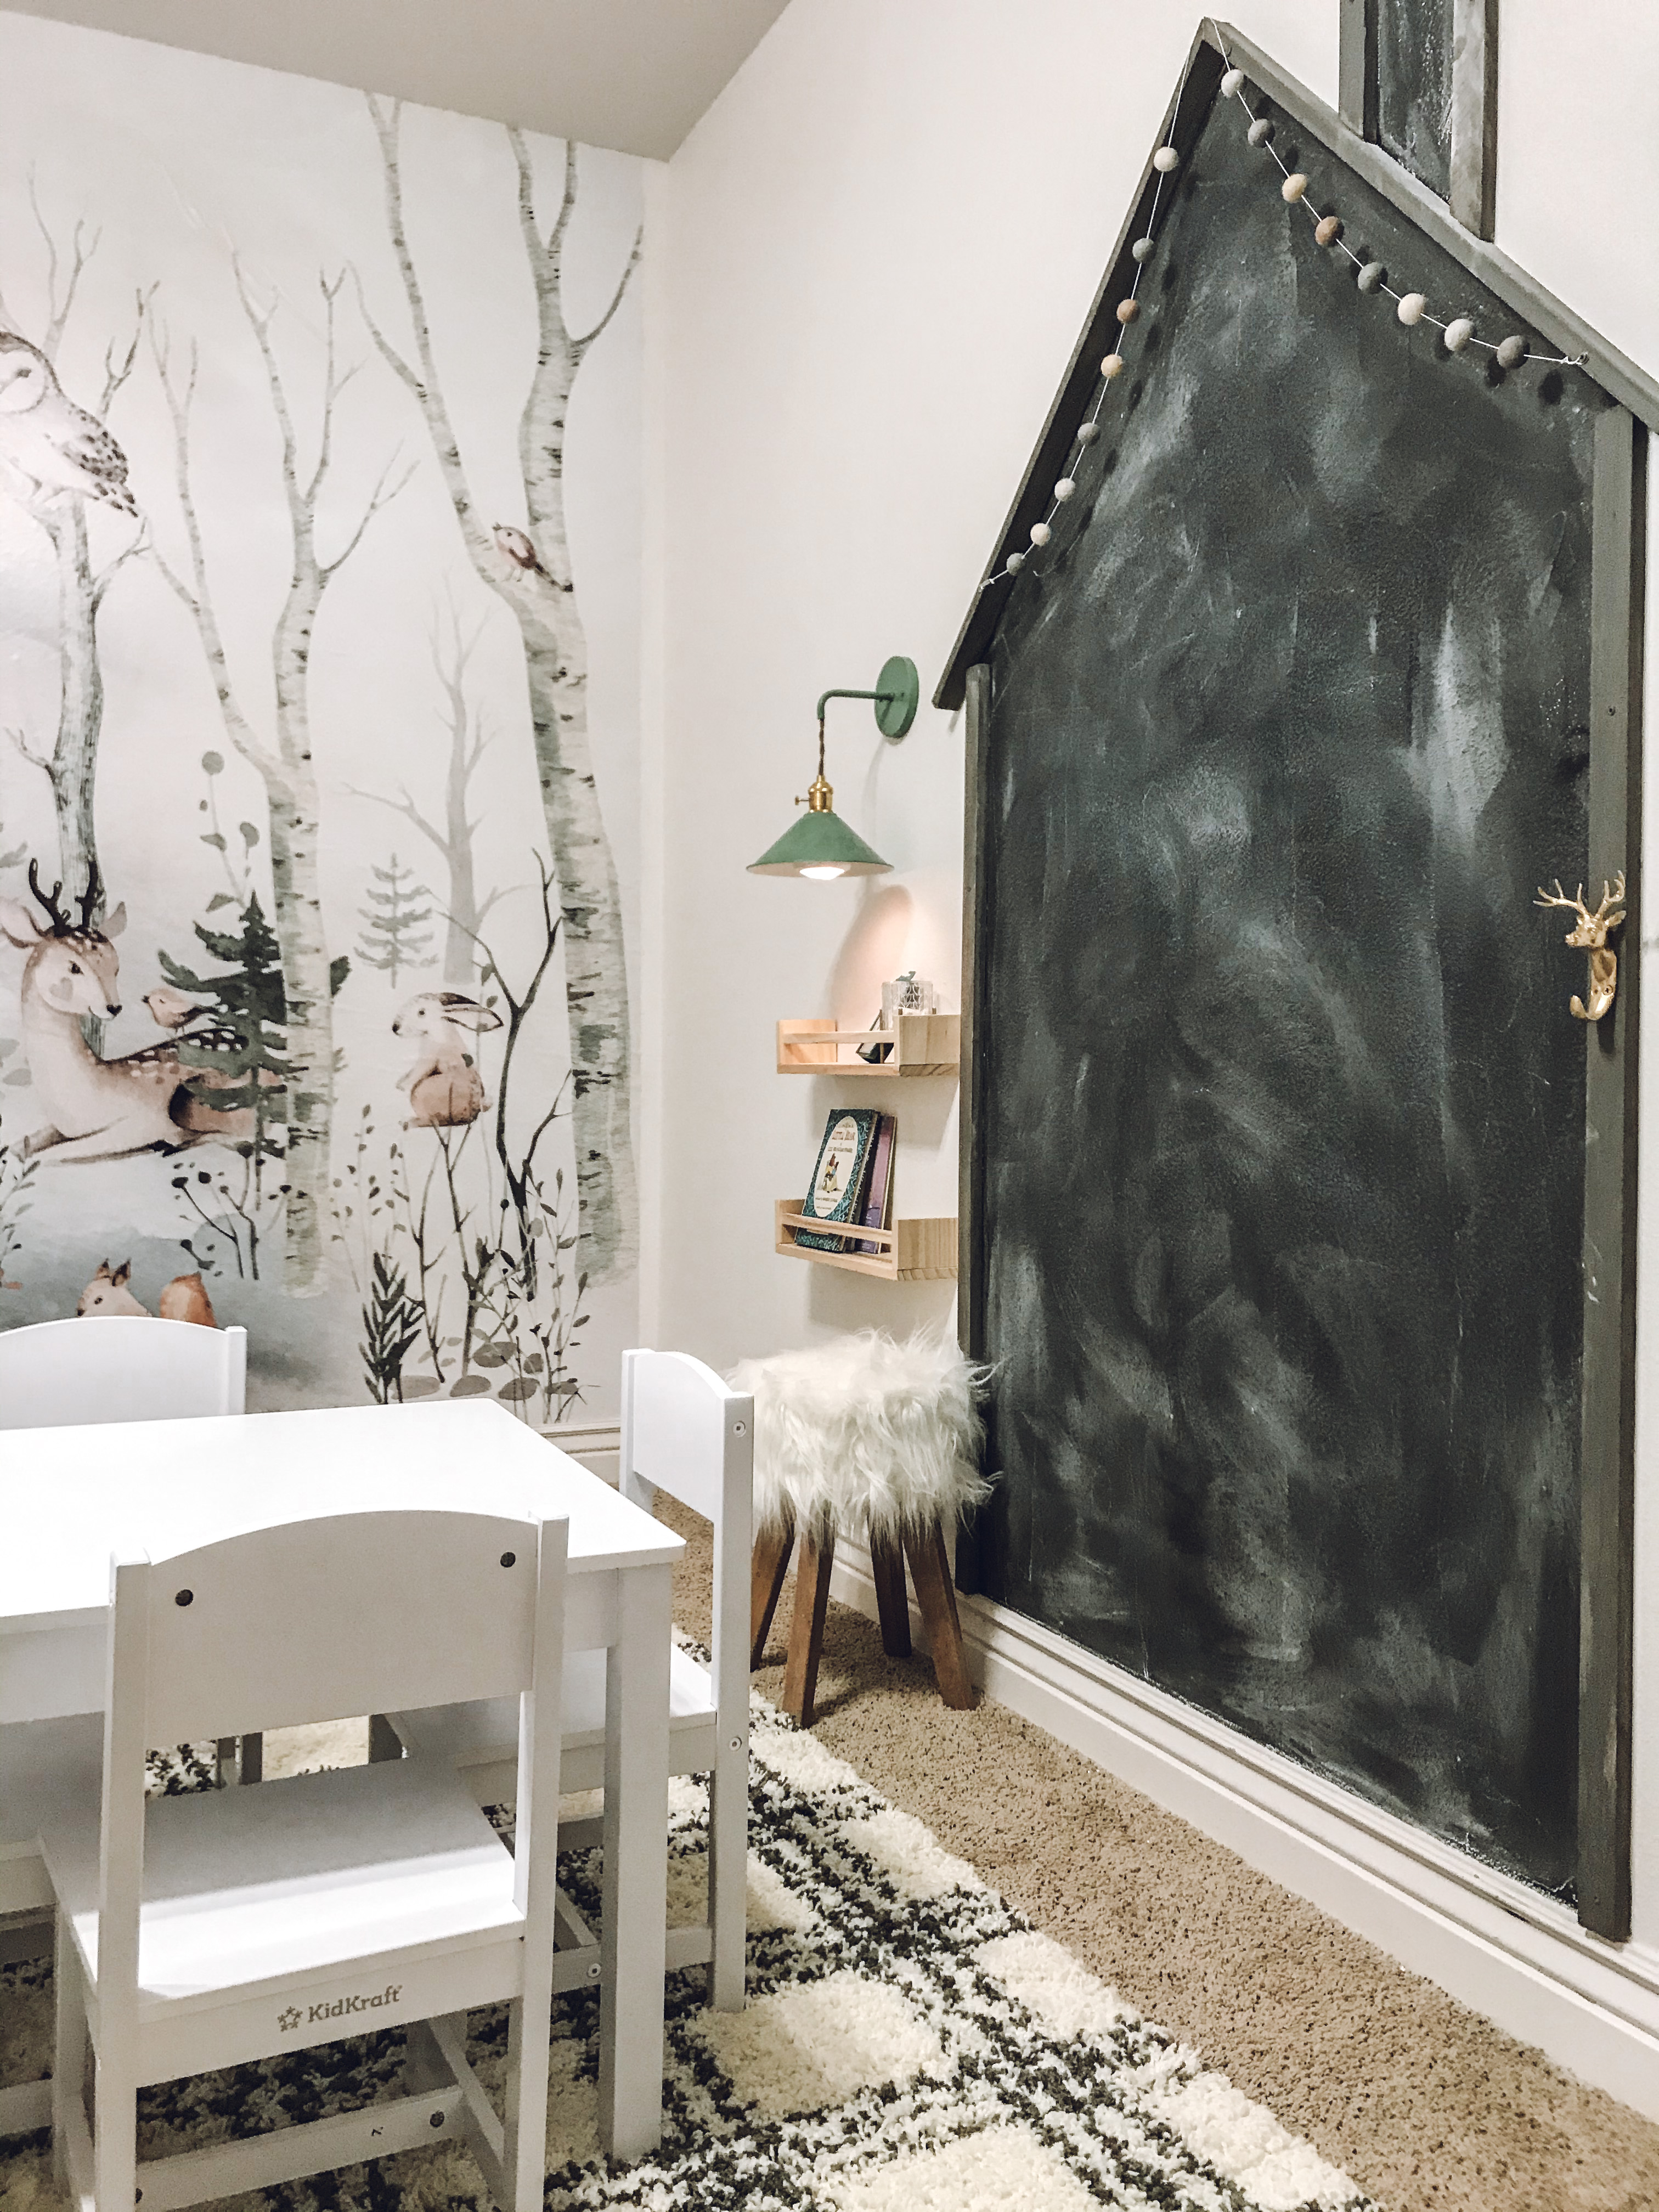
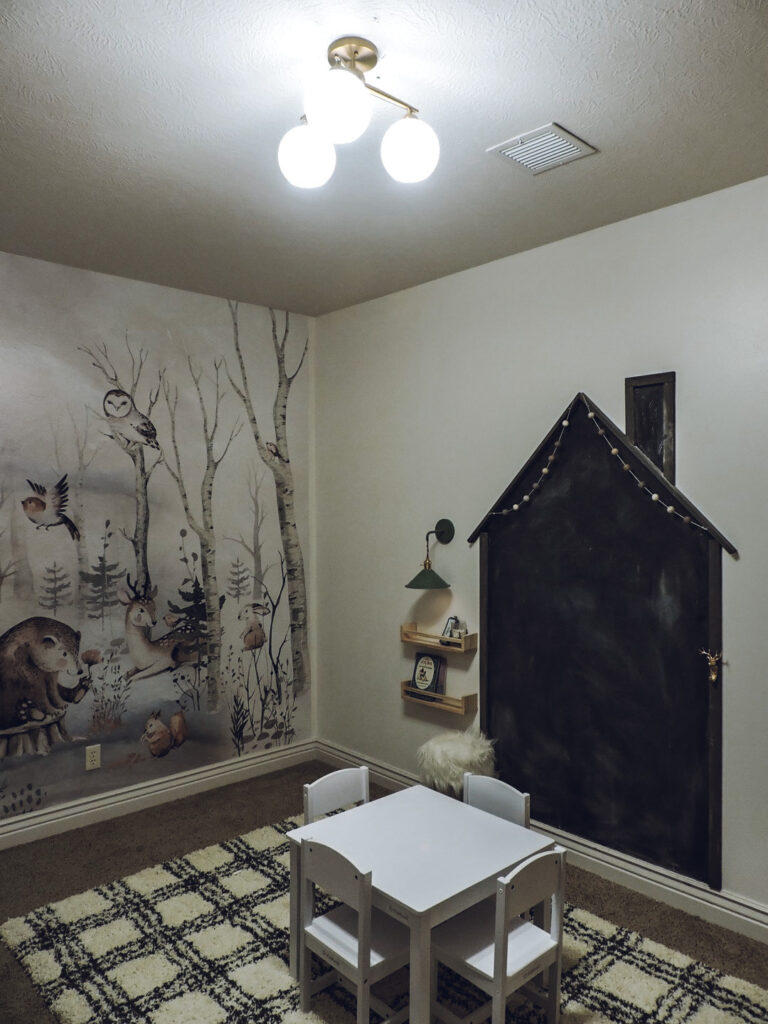
Today I wanted to share how I made my diy chalkboard house in the playroom. To see the playroom reveal you can go here. Over on Instagram I saved some of the process of making the chalkboard house on my highlight reels so if you don’t follow me over there, give me a follow to watch that!
Supplies
- 1 x 2 furring strips
- drill
- screws
- level
- tape measure
- table saw
- paint
- paintbrush
Diy Chalkboard House
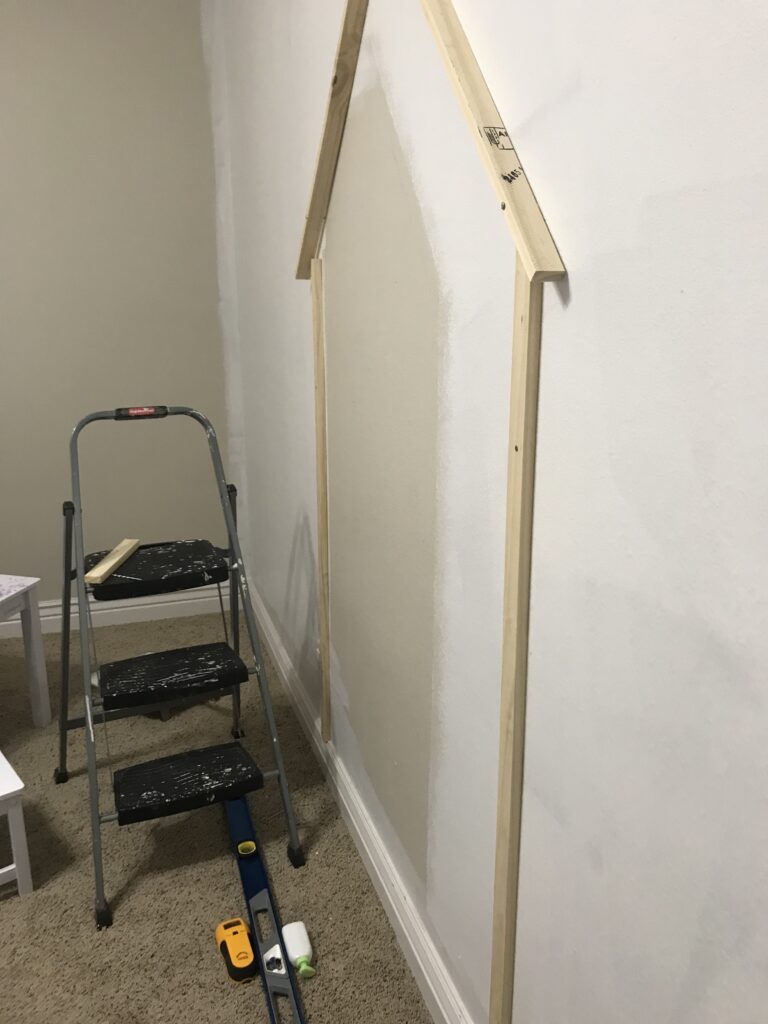
I saved a few inspiration pictures on Pinterest and then just kind of winged it for this project! The first step was to measure how big and tall I wanted the sides of my chalkboard to be; I then used my table saw to cut those boards. In hindsight I would’ve cut the top end on an angle to meet the roof boards better but I didn’t realize that til’ I already had them screwed in and didn’t want to re-do it. Learn from my mistakes!

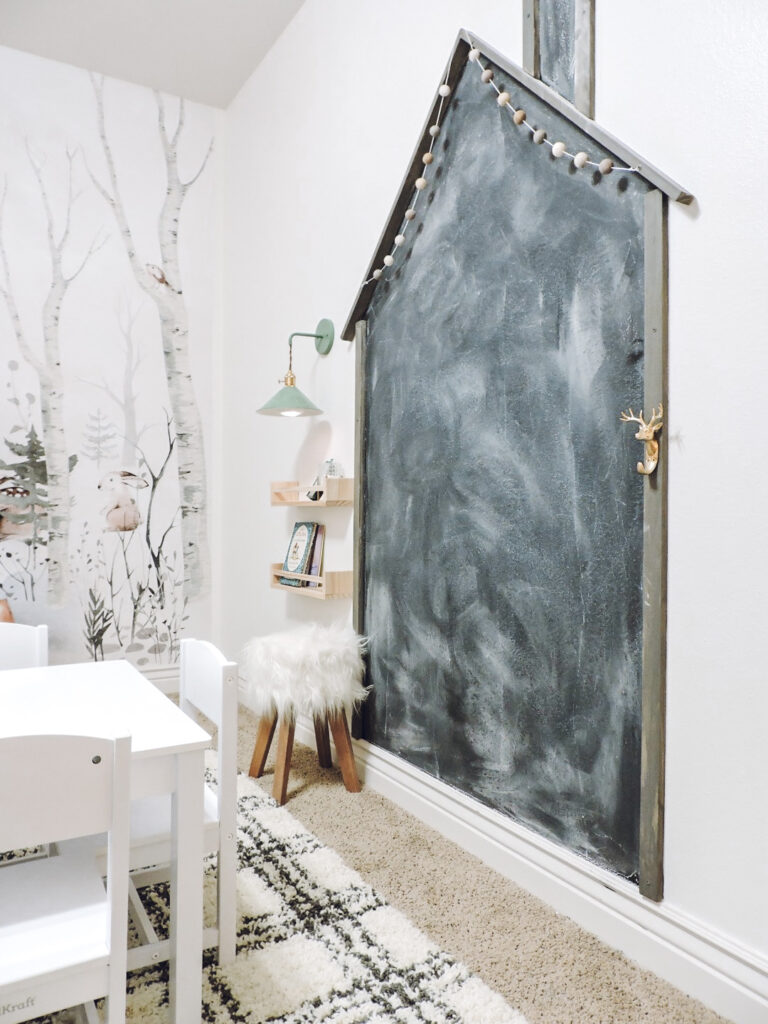
I cut my boards at a 45 degree angle so they would meet nicely for the point of my house. Just play around with how high of a peak you want when it comes to this part. There is no right or wrong answer!
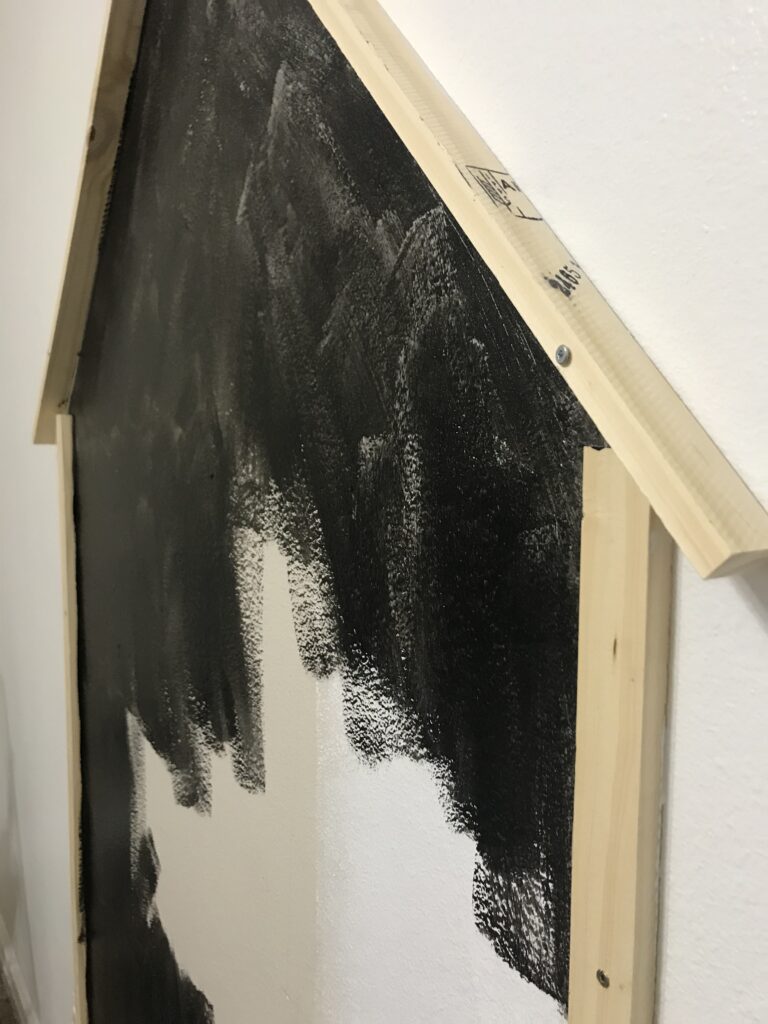
If you didn’t want your screws to show you could use a nail gun but since I was painting this I didn’t mind my screws showing. Once I had everything screwed in I used Rust Oleum Chalkboard paint to paint the inside of the house and ended up doing 3 coats.
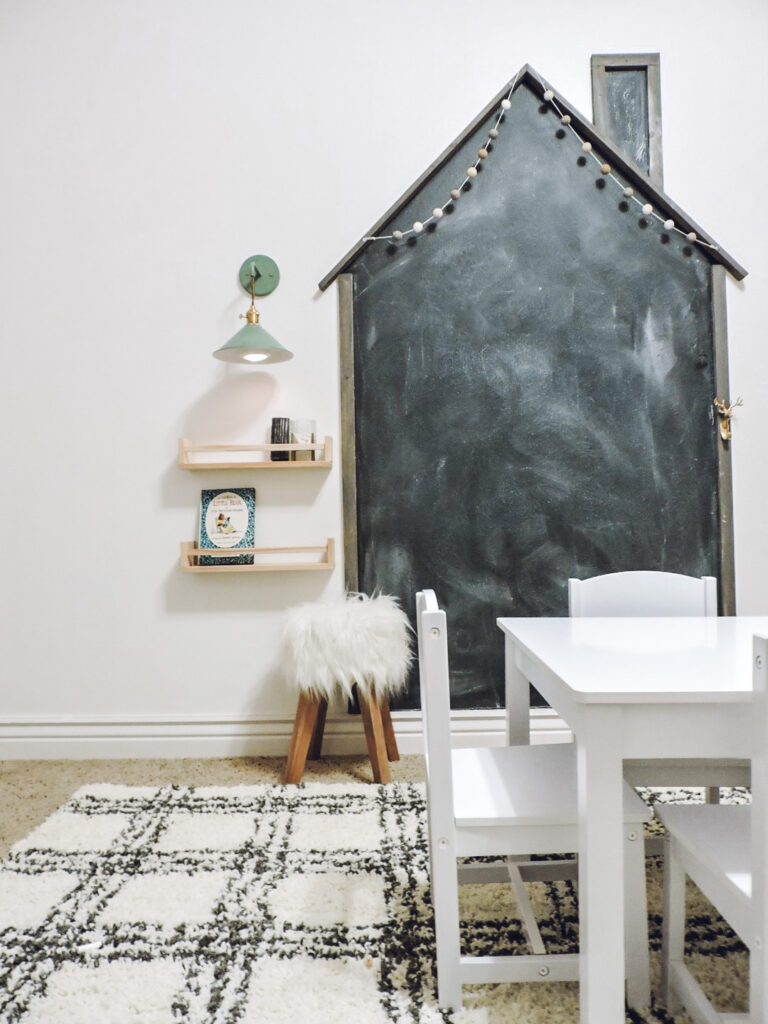
This is what it looked like after I got it all painted. Isn’t the chimney a cute addition?!
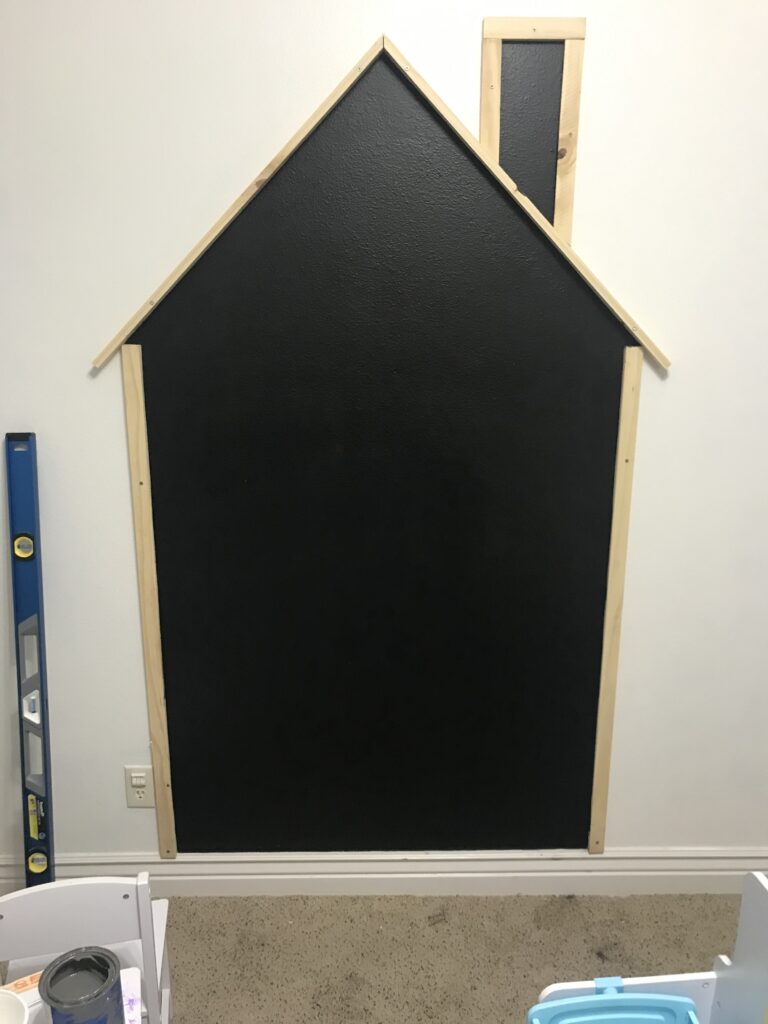
I searched my garage and found this charcoal paint color that works really nicely in here. I only did a coat or two because I didn’t mind it looking a little more rustic.

Prime your chalkboard! This means to simply take a piece of chalk and rub it all over the board. I show this process on my Instagram page as well! I attached this felt ball garland and this adorable reindeer hook to the chalkboard.
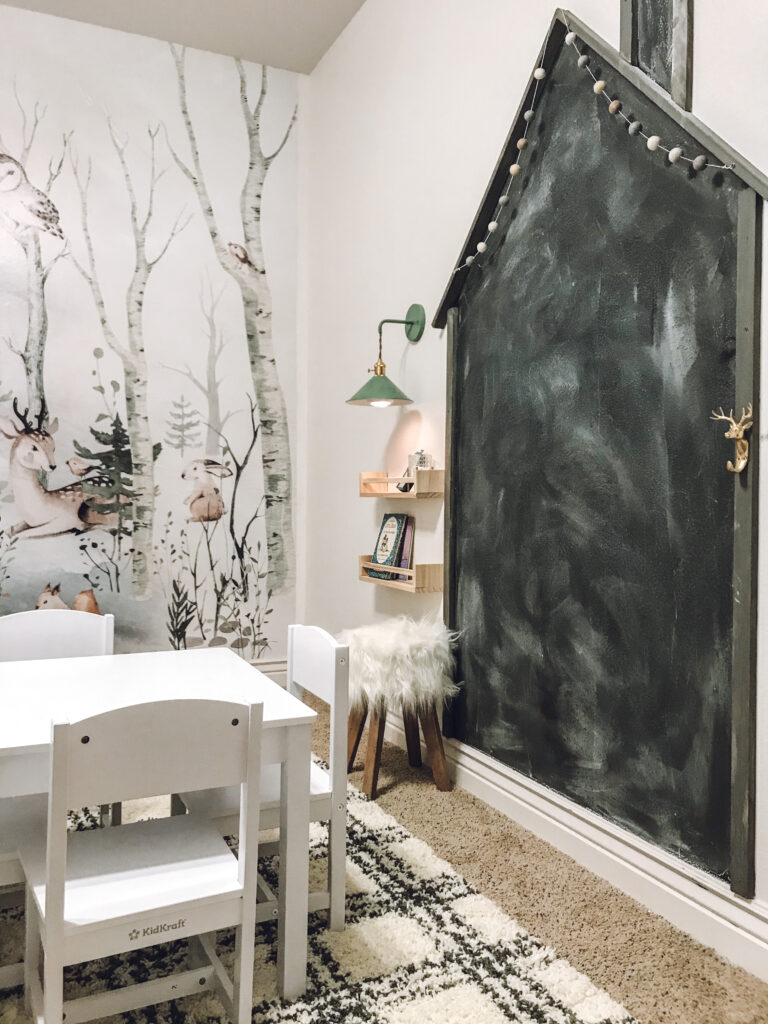
I am very happy with how it turned out and it was a very affordable project!
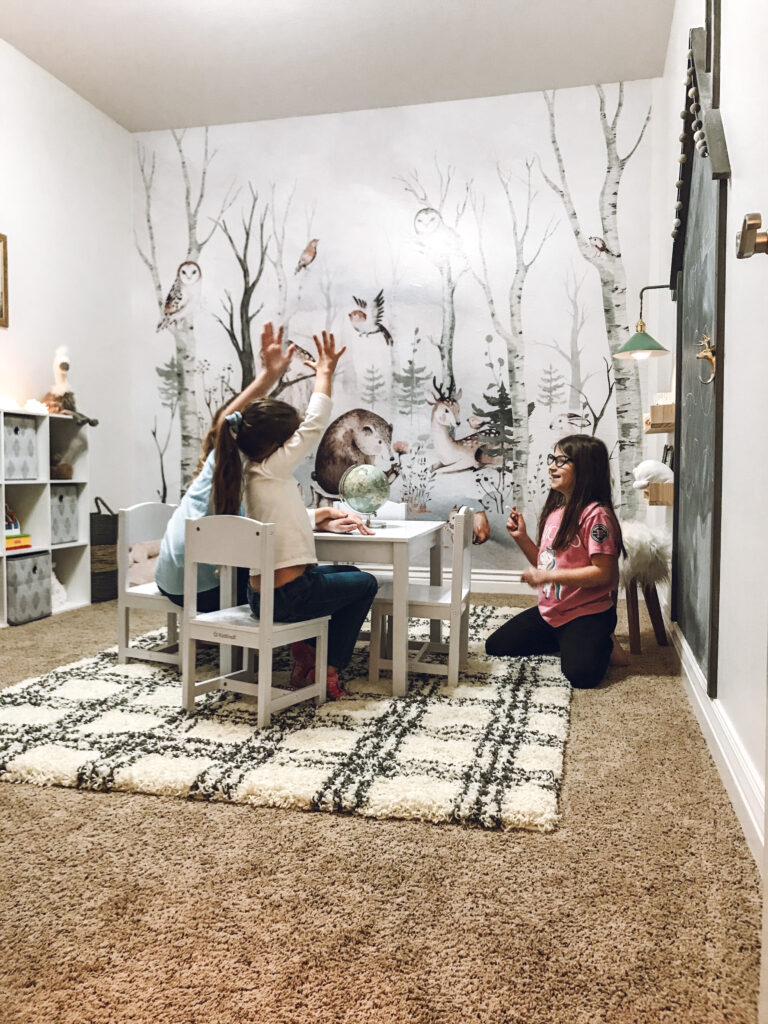
The girls love the chalkboard and started to play school, note Aubree’s glasses :), shortly after revealing the playroom to them.
Overall this was a cheap, easy-ish project. I say “easy-ish” because I’m still learning how to use my table saw and how to make cuts, etc. But I figured it out!
Thanks for stopping by!