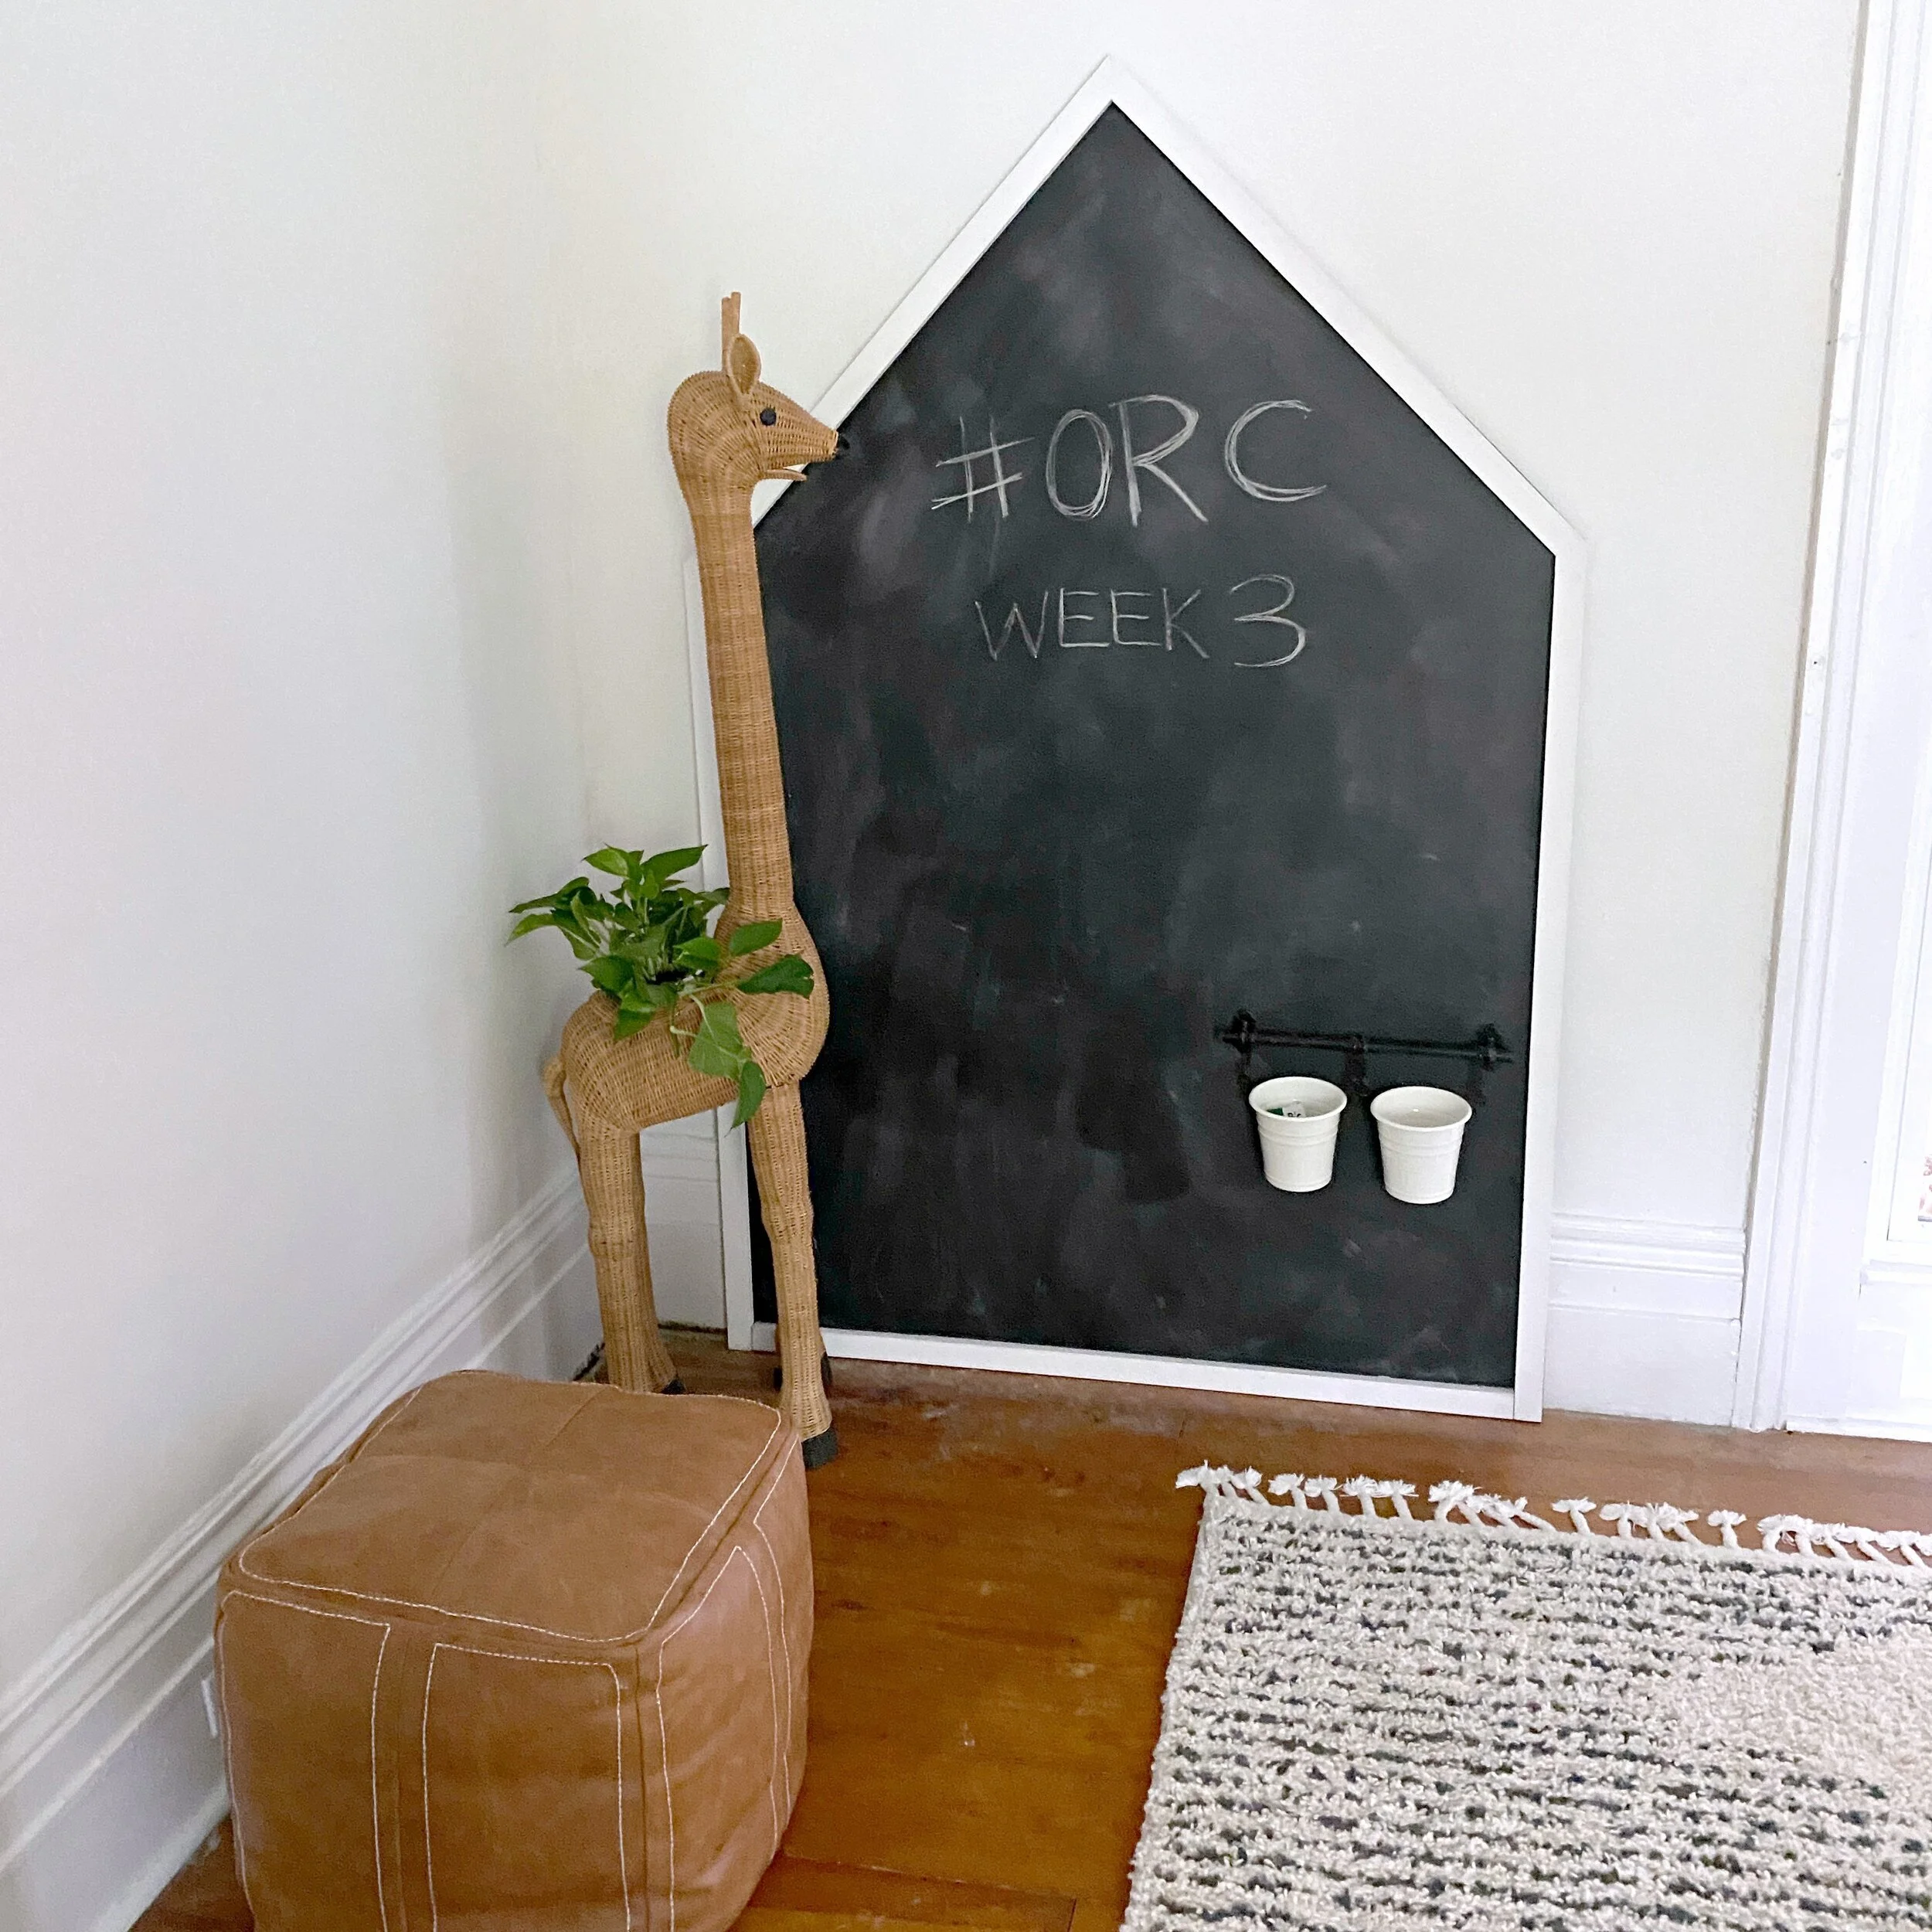
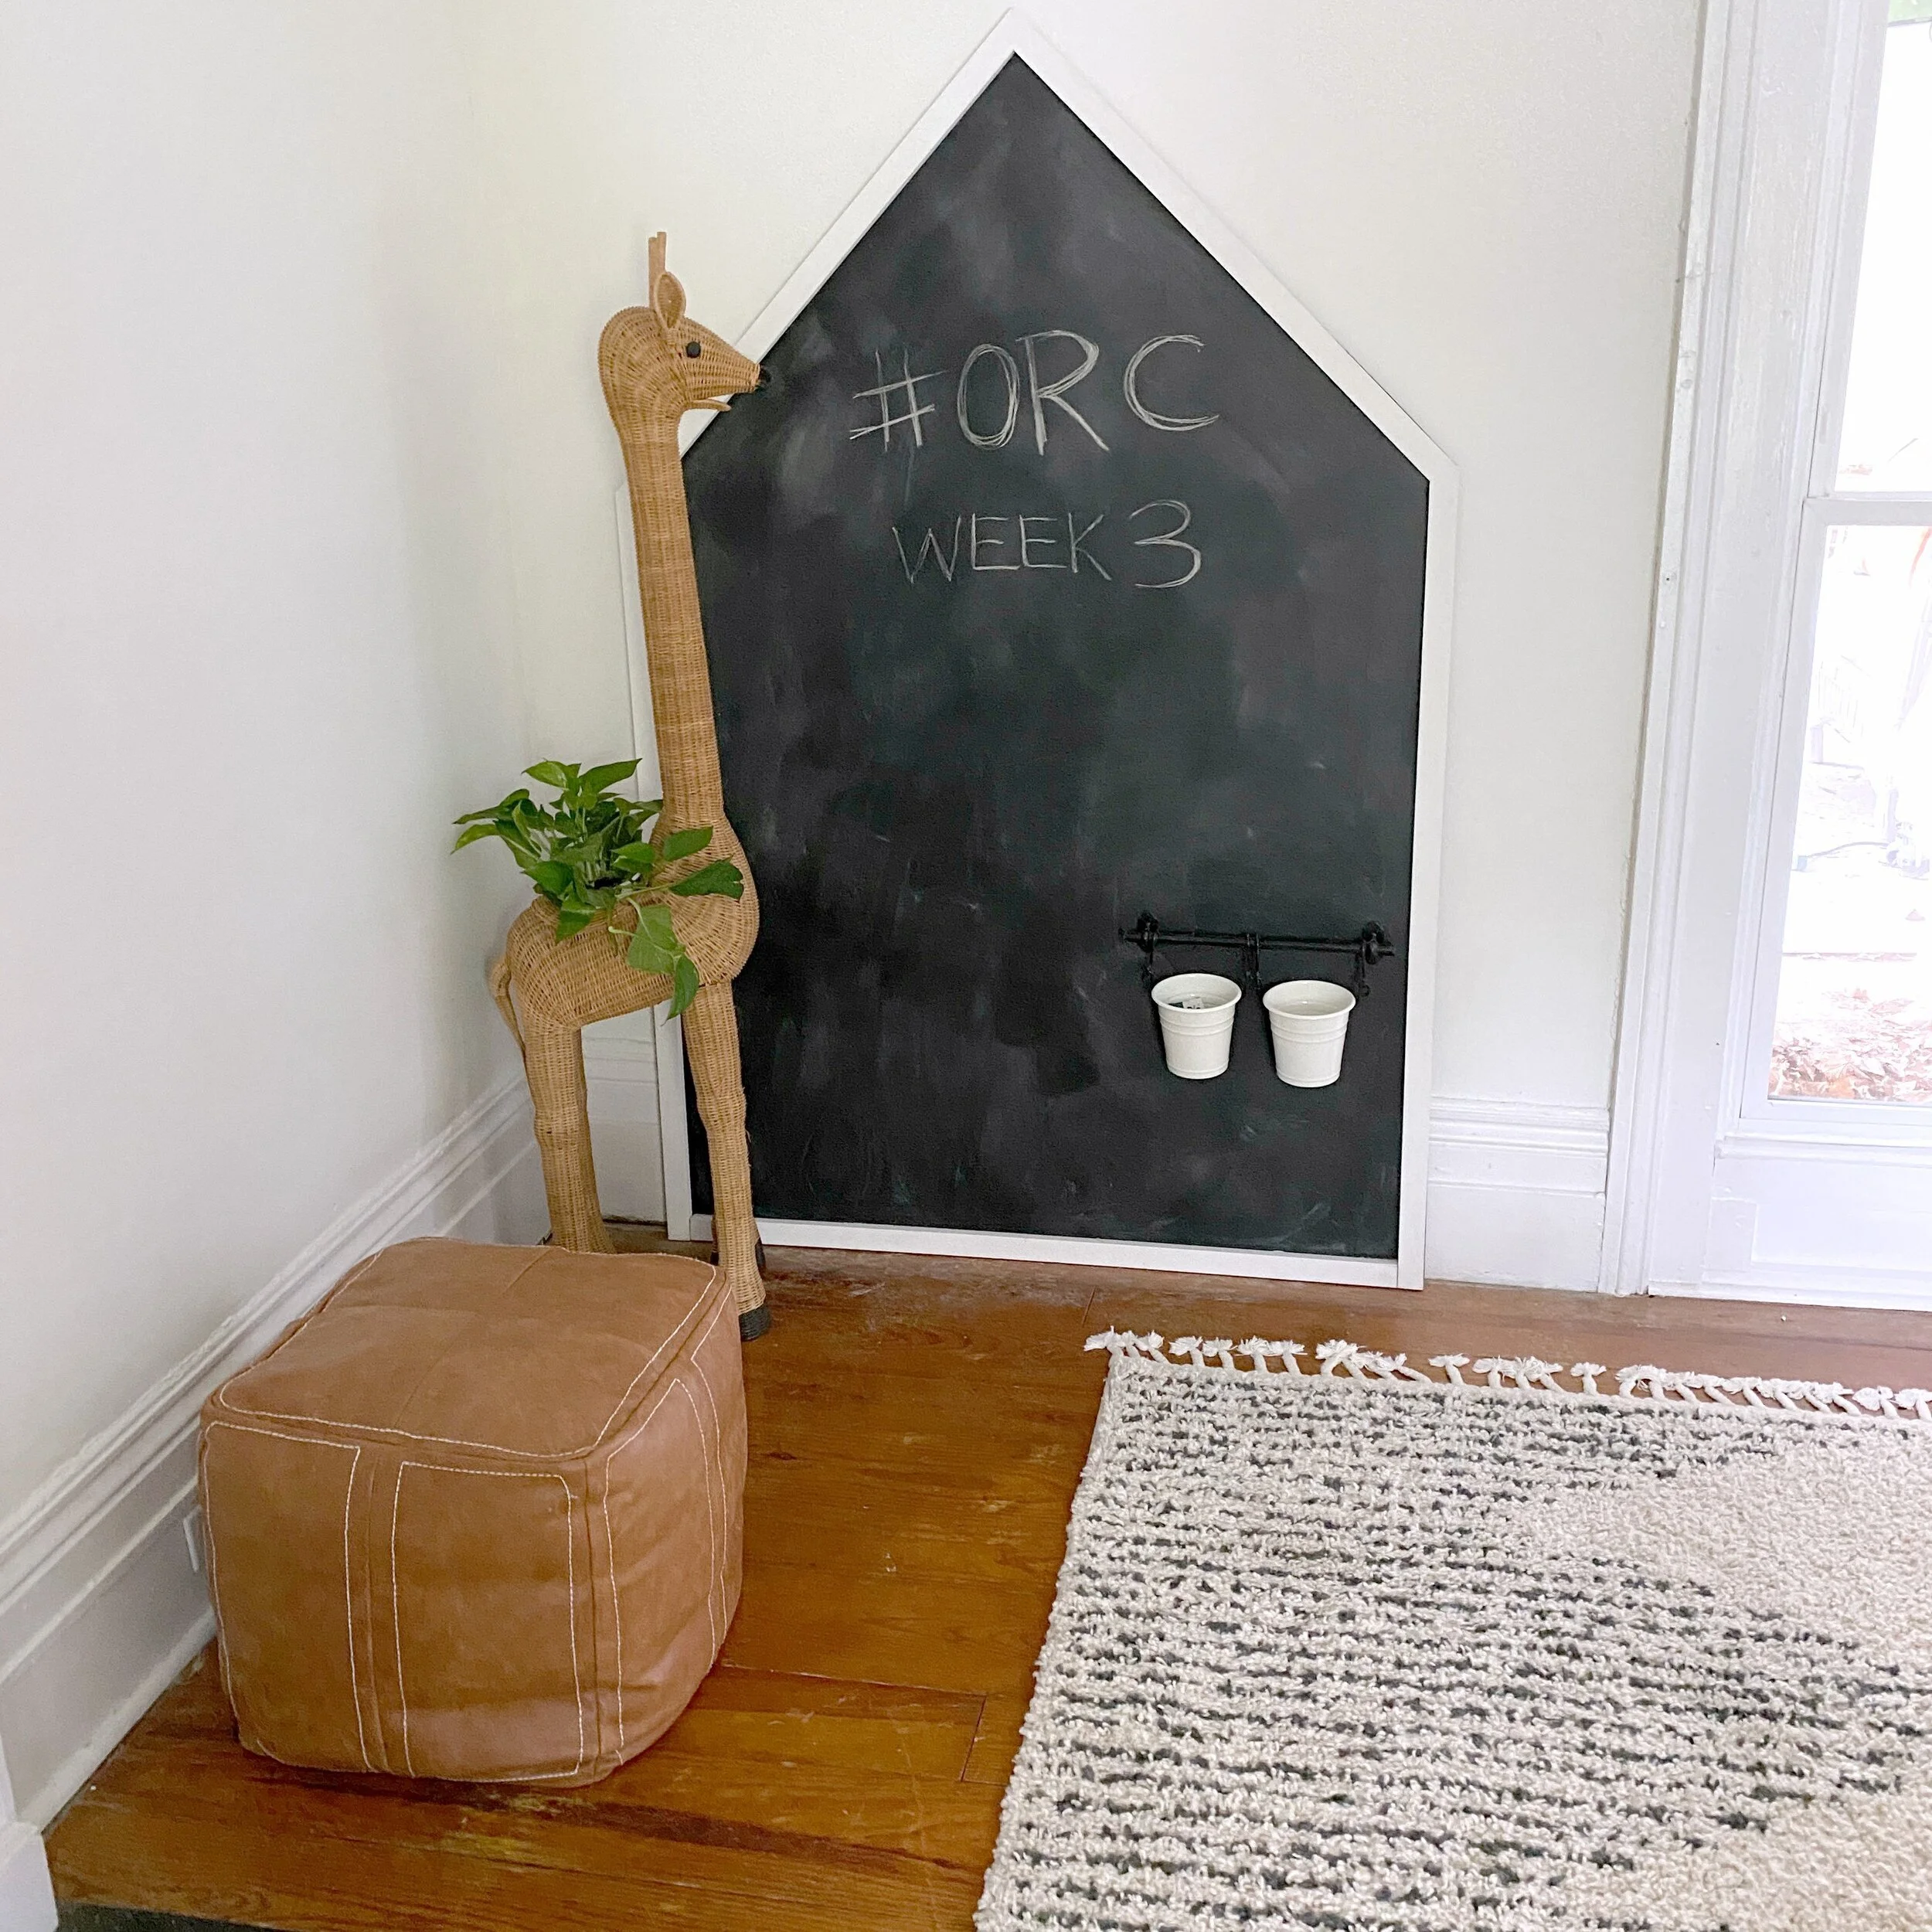
DIY Giant Playroom Chalkboard on a Budget
I kept seeing these cute chalkboard walls in the rooms I was saving for inspiration for our playroom makeover and fell in love with the idea of an oversized chalkboard to fill one of the walls. We decided to tackle this project ourselves, as I wasn’t able to find a pre-made chalkboard like this for a good price. This entire project cost about $30 to make (assuming you already have the tools you need!). Below I’m laying out what supplies you need and step by step instructions for this easy project! You really could make this other shapes as well besides the house shape if you want! It’s such a fun and functional way to fill an empty way in a nursery, kid’s room, or playroom!
xoxo
Emily


one 4x8 piece of panel board or plywood (any kind of wood will work but it will just be heavier!)
3 pieces of 8 ft white trim (you can also use different widths, wood trim, or paint it a different color if you want)
chalkboard paint or spray paint
wood glue or gorilla glue
1/2 inch wood screws
drill
circular saw (can use a hand saw if you want to do some extra measurements with the angles)
miter saw
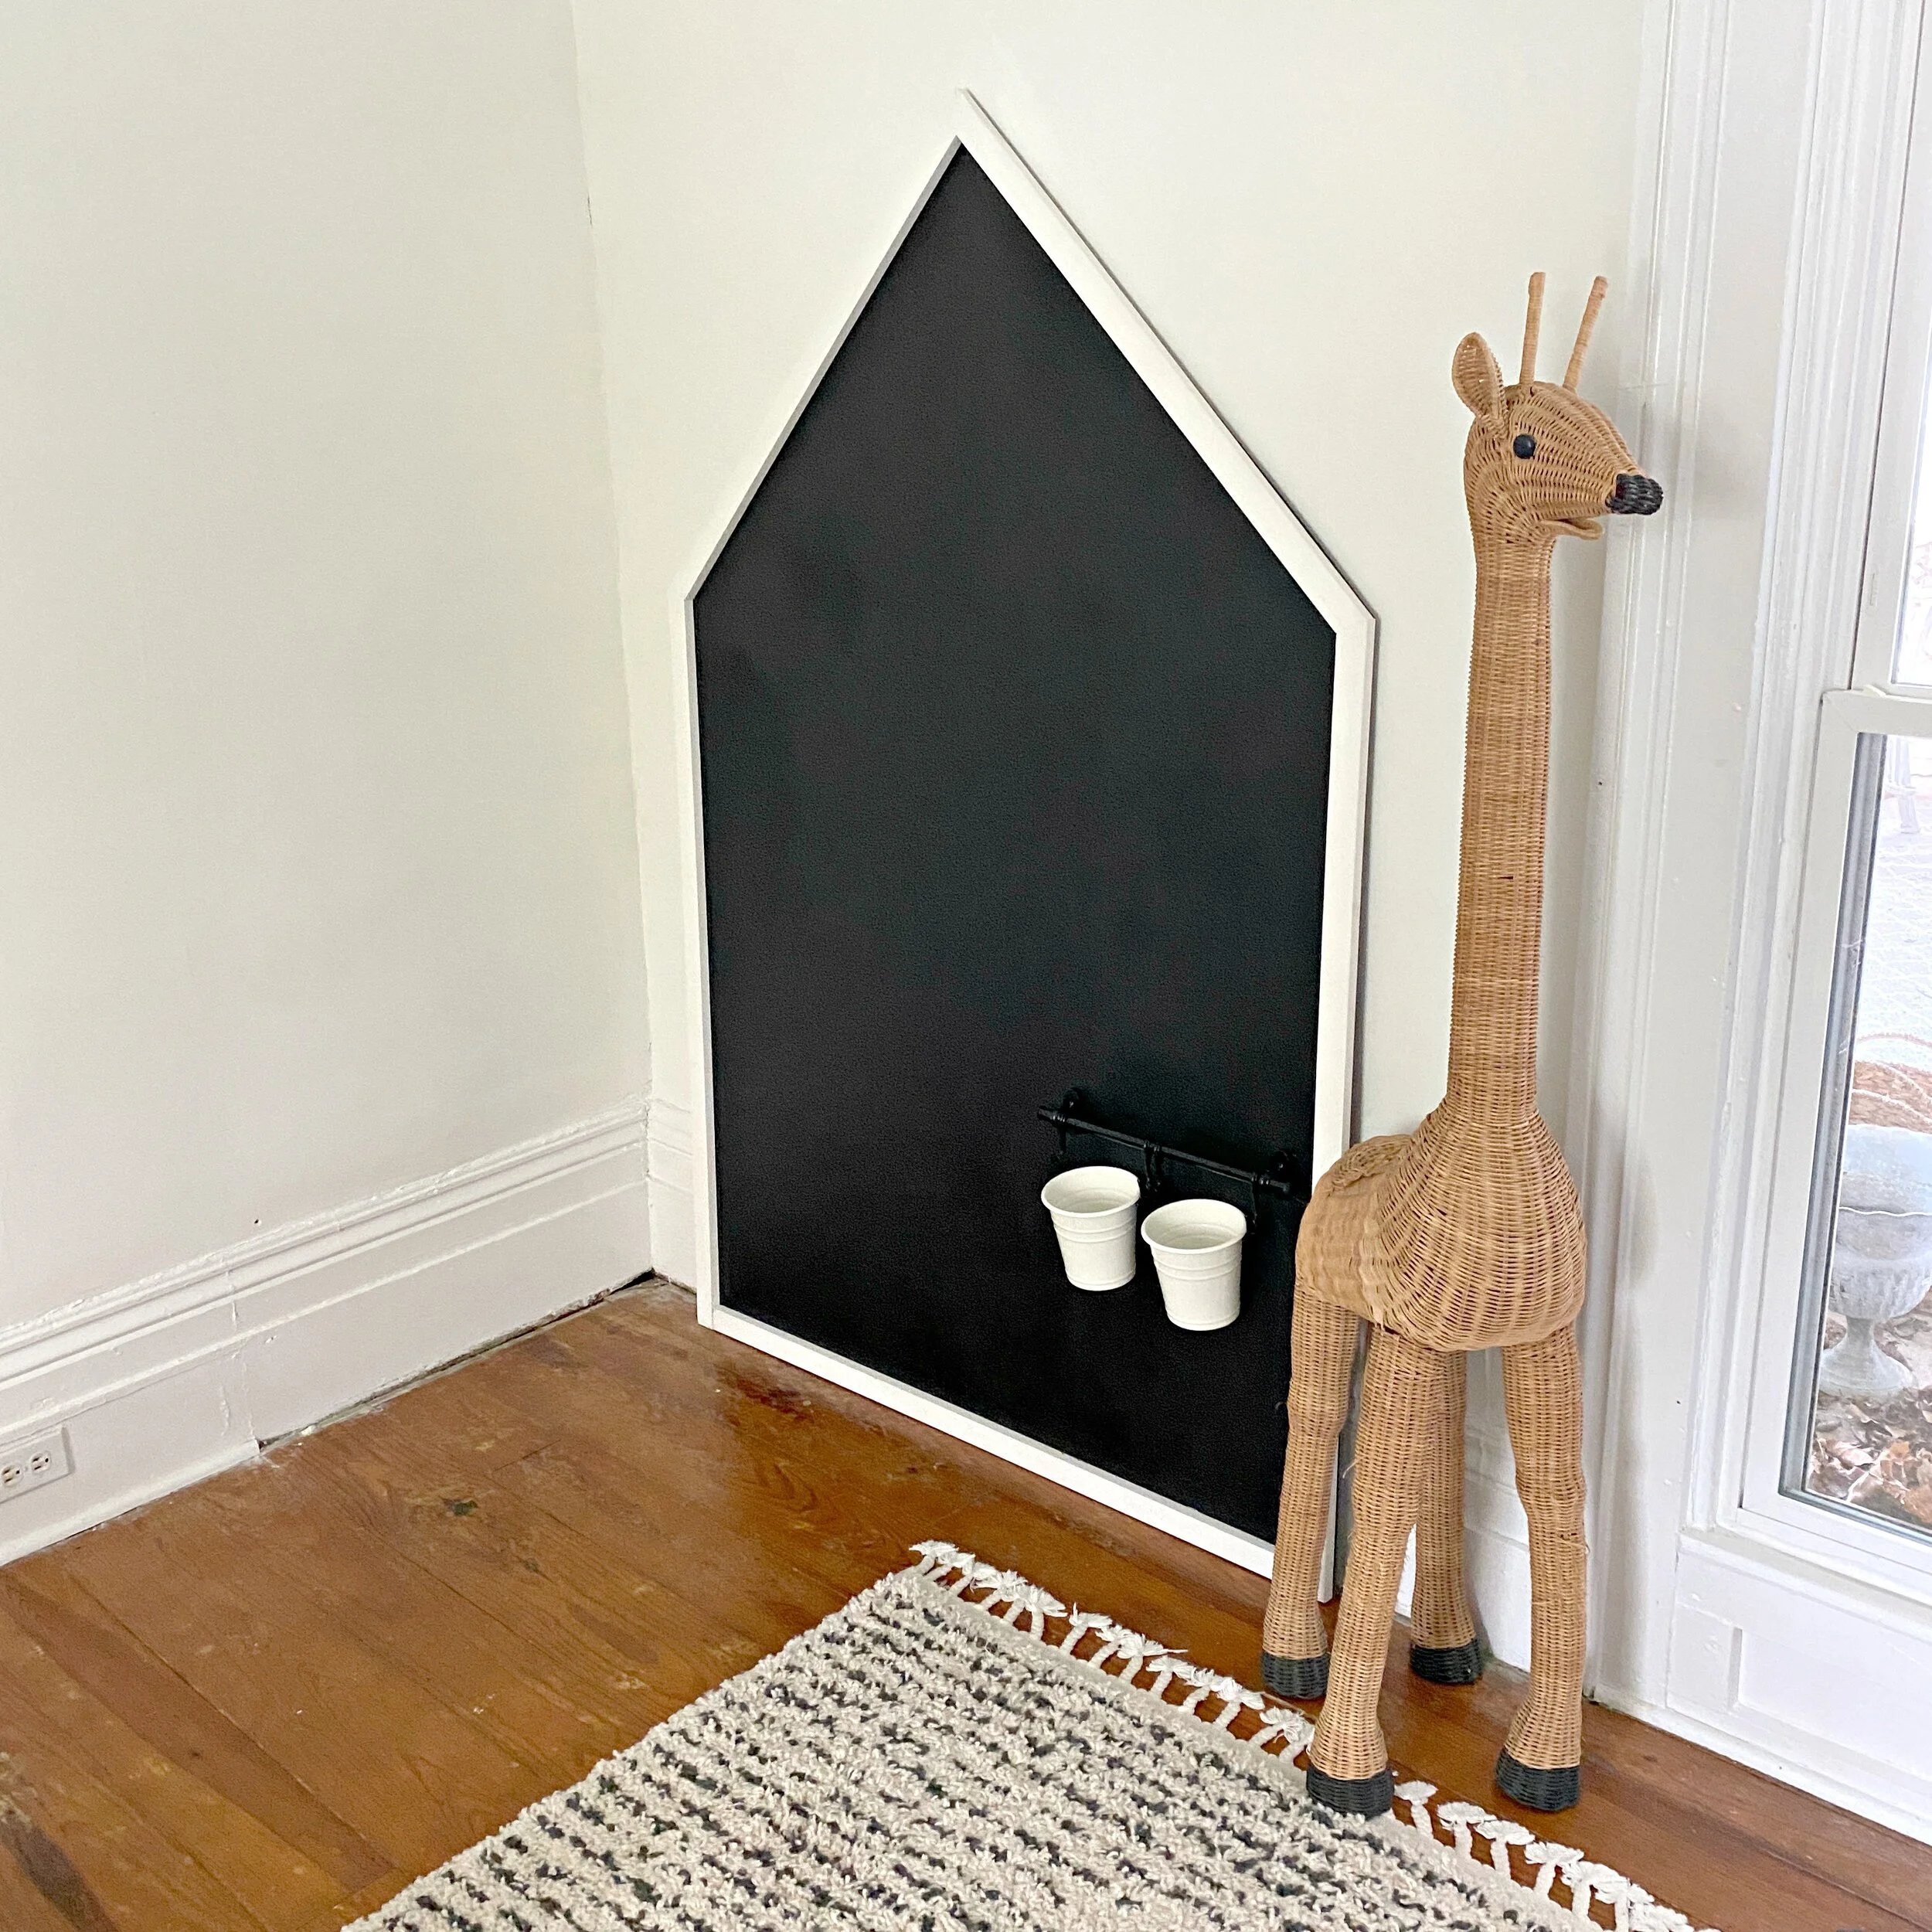
Fintorp bucket set from IKEA (optional)
d-rings and picture wire if hanging
chalk to season chalkboard after completing!


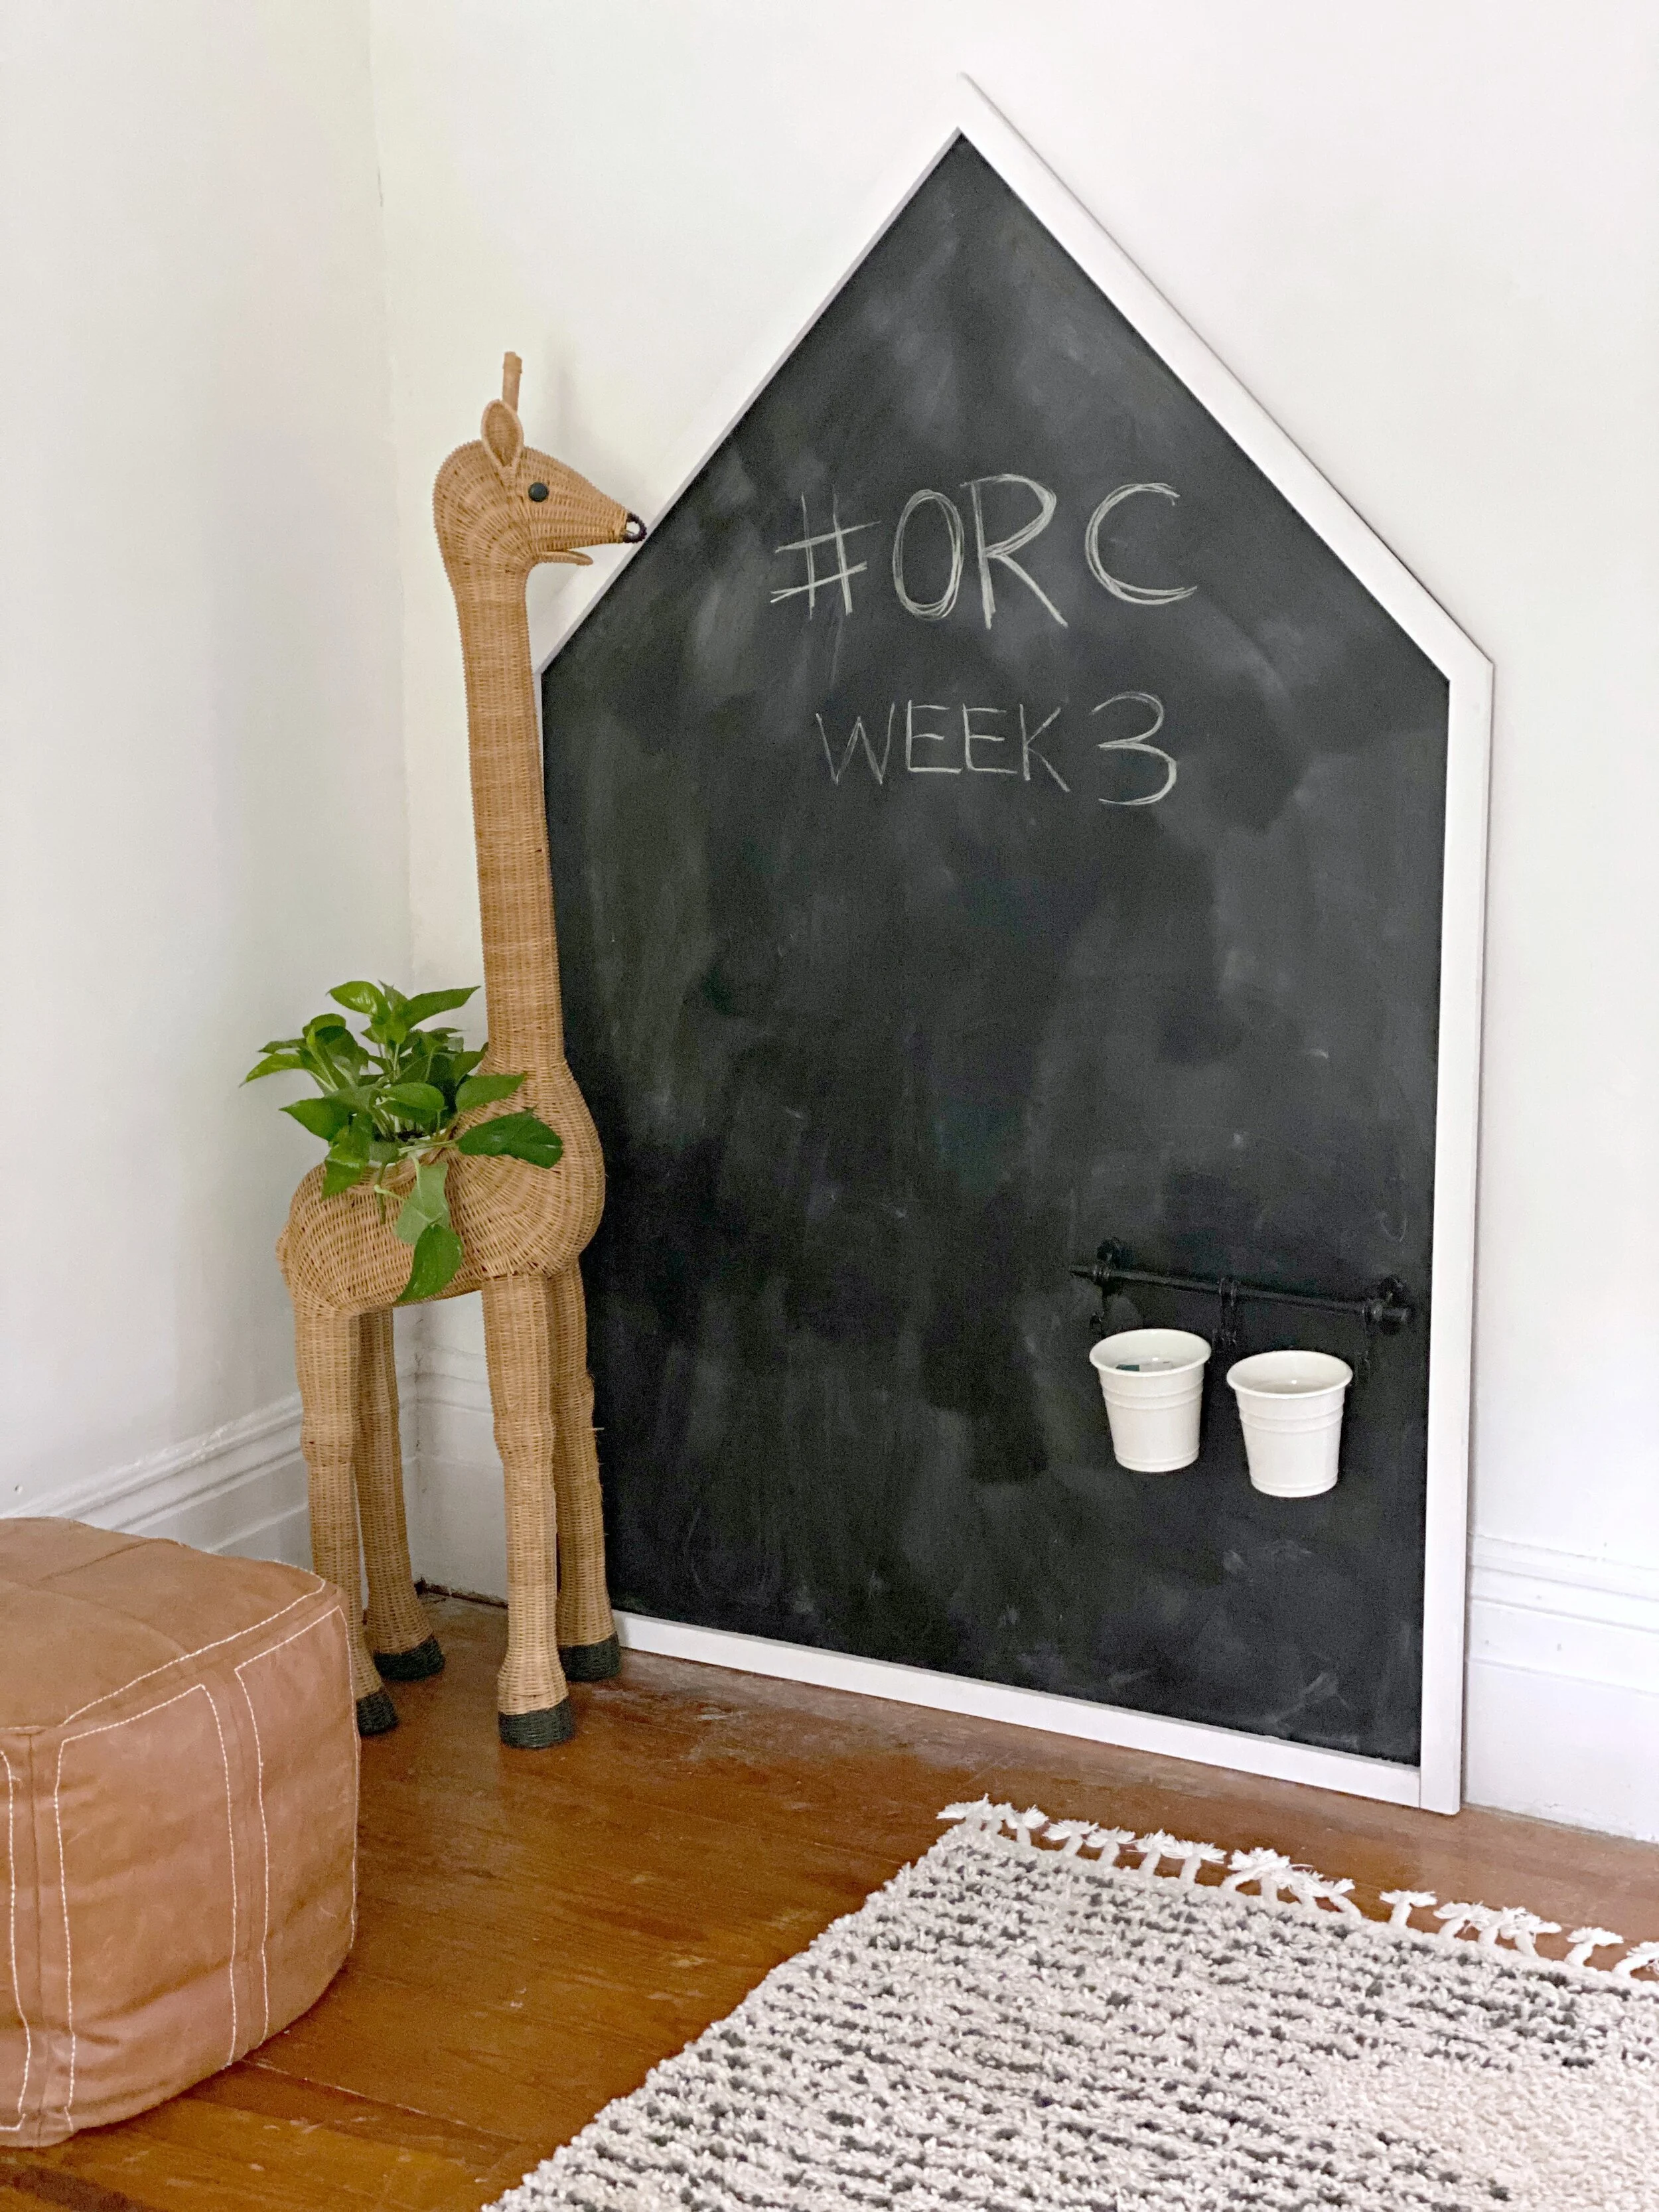
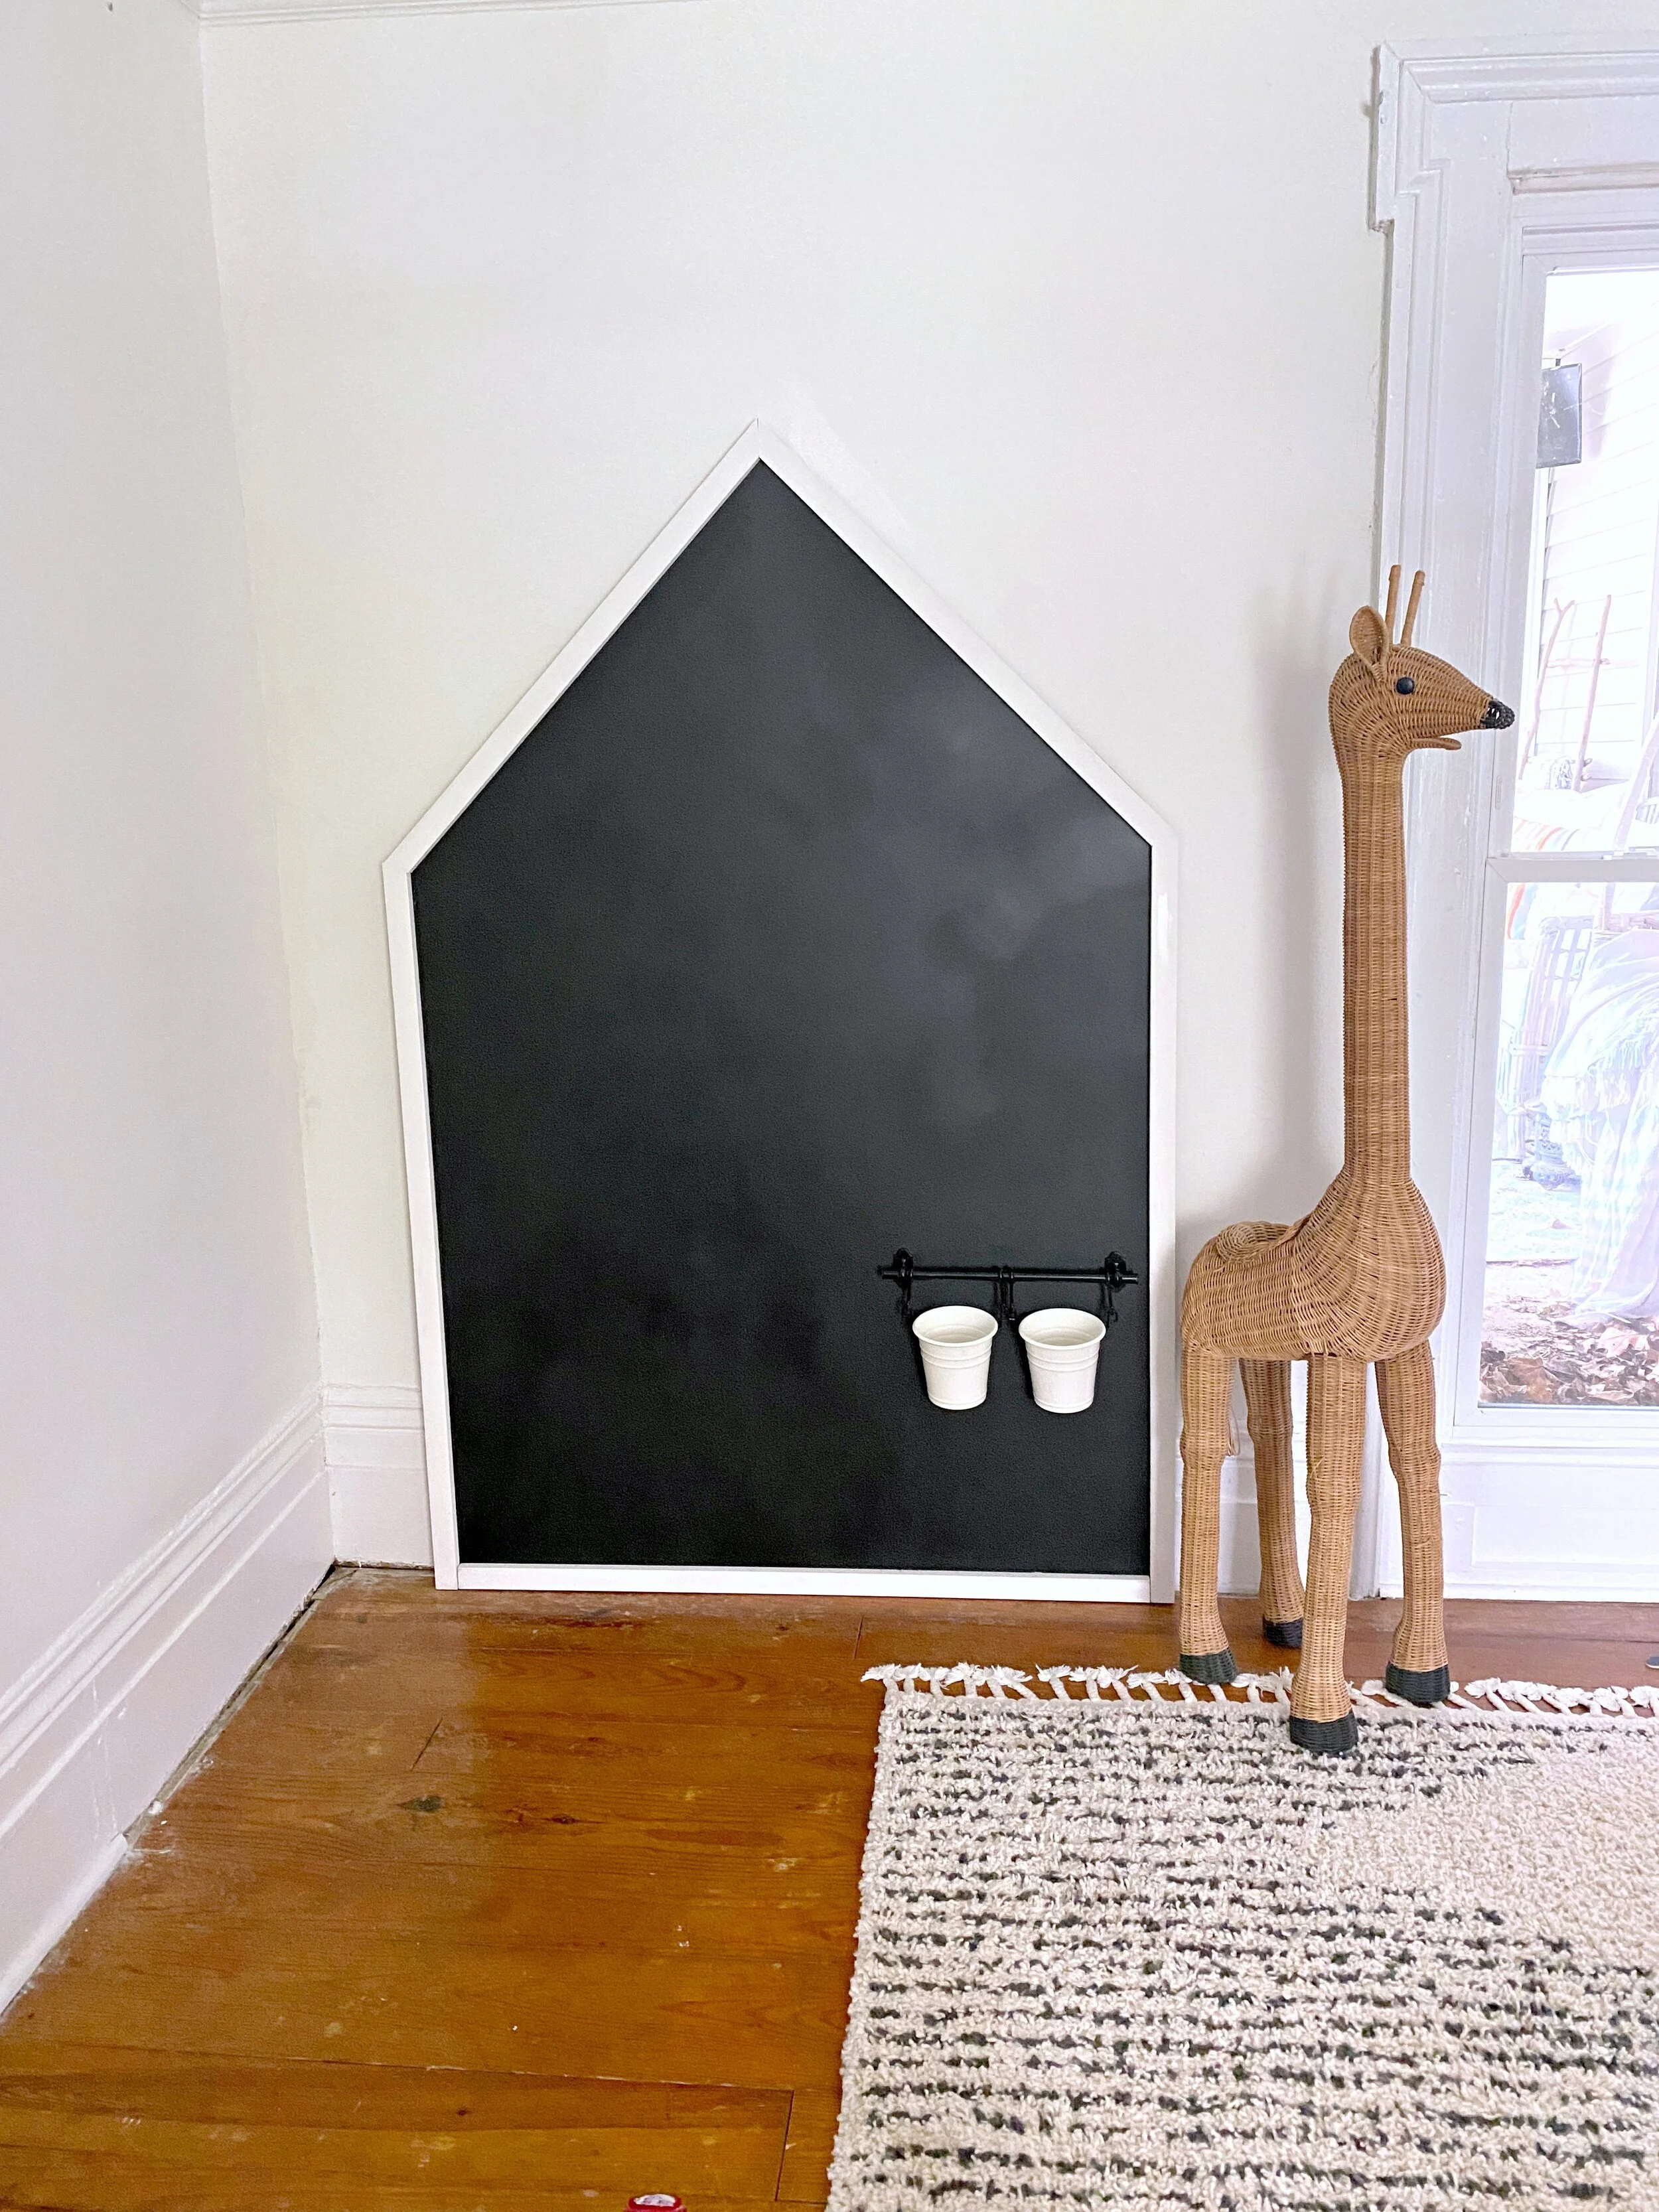
The first step will be to cut your pentagon shape out of the panel board. I wanted as large of a chalkboard as possibly to fill most of this section of wall, so I measured the wall first and then chose the size around that. The overall chalkboard is about 4 feet wide, 6 feet tall at the point.
Mark each side (height wise) at 4 feet with a pencil and ruler, then using a circular saw cut a 45 degree towards the top middle (the top point of the “roof”).
Paint the entire pentagon shape using chalkboard spray or regular paint. Let dry completely.
Next begin cutting your trim. We cut the side pieces first, measuring the outside of the frame for the length and cutting the top end at a 22.5 degree angle (the bottom edge stays flat/straight).
The top two roofline frame pieces will need to both have angle cuts on the ends. Measure the outer edge for the length of the outside edge. The bottom will be 22.5 degree angle to meet up with the side pieces, and the tops are both cut at a 45 degree angles to meet with each other. I would recommend laying these pieces out flat one by one as you cut so you can see that they meet up flush.
Finally cut the bottom trim piece to fit in the gap between the two side pieces (no angle cuts needed here!).
After you’ve laid out the pieces and ensured all your cuts are lining up, you can use some wood/gorilla glue to secure everything onto the board. I used some handweights to make sure they laid flat while drying.
Let dry overnight, then carefully flip the board over and secure by adding the wood screws from the back (we did about 3-4 evenly spaced per side).
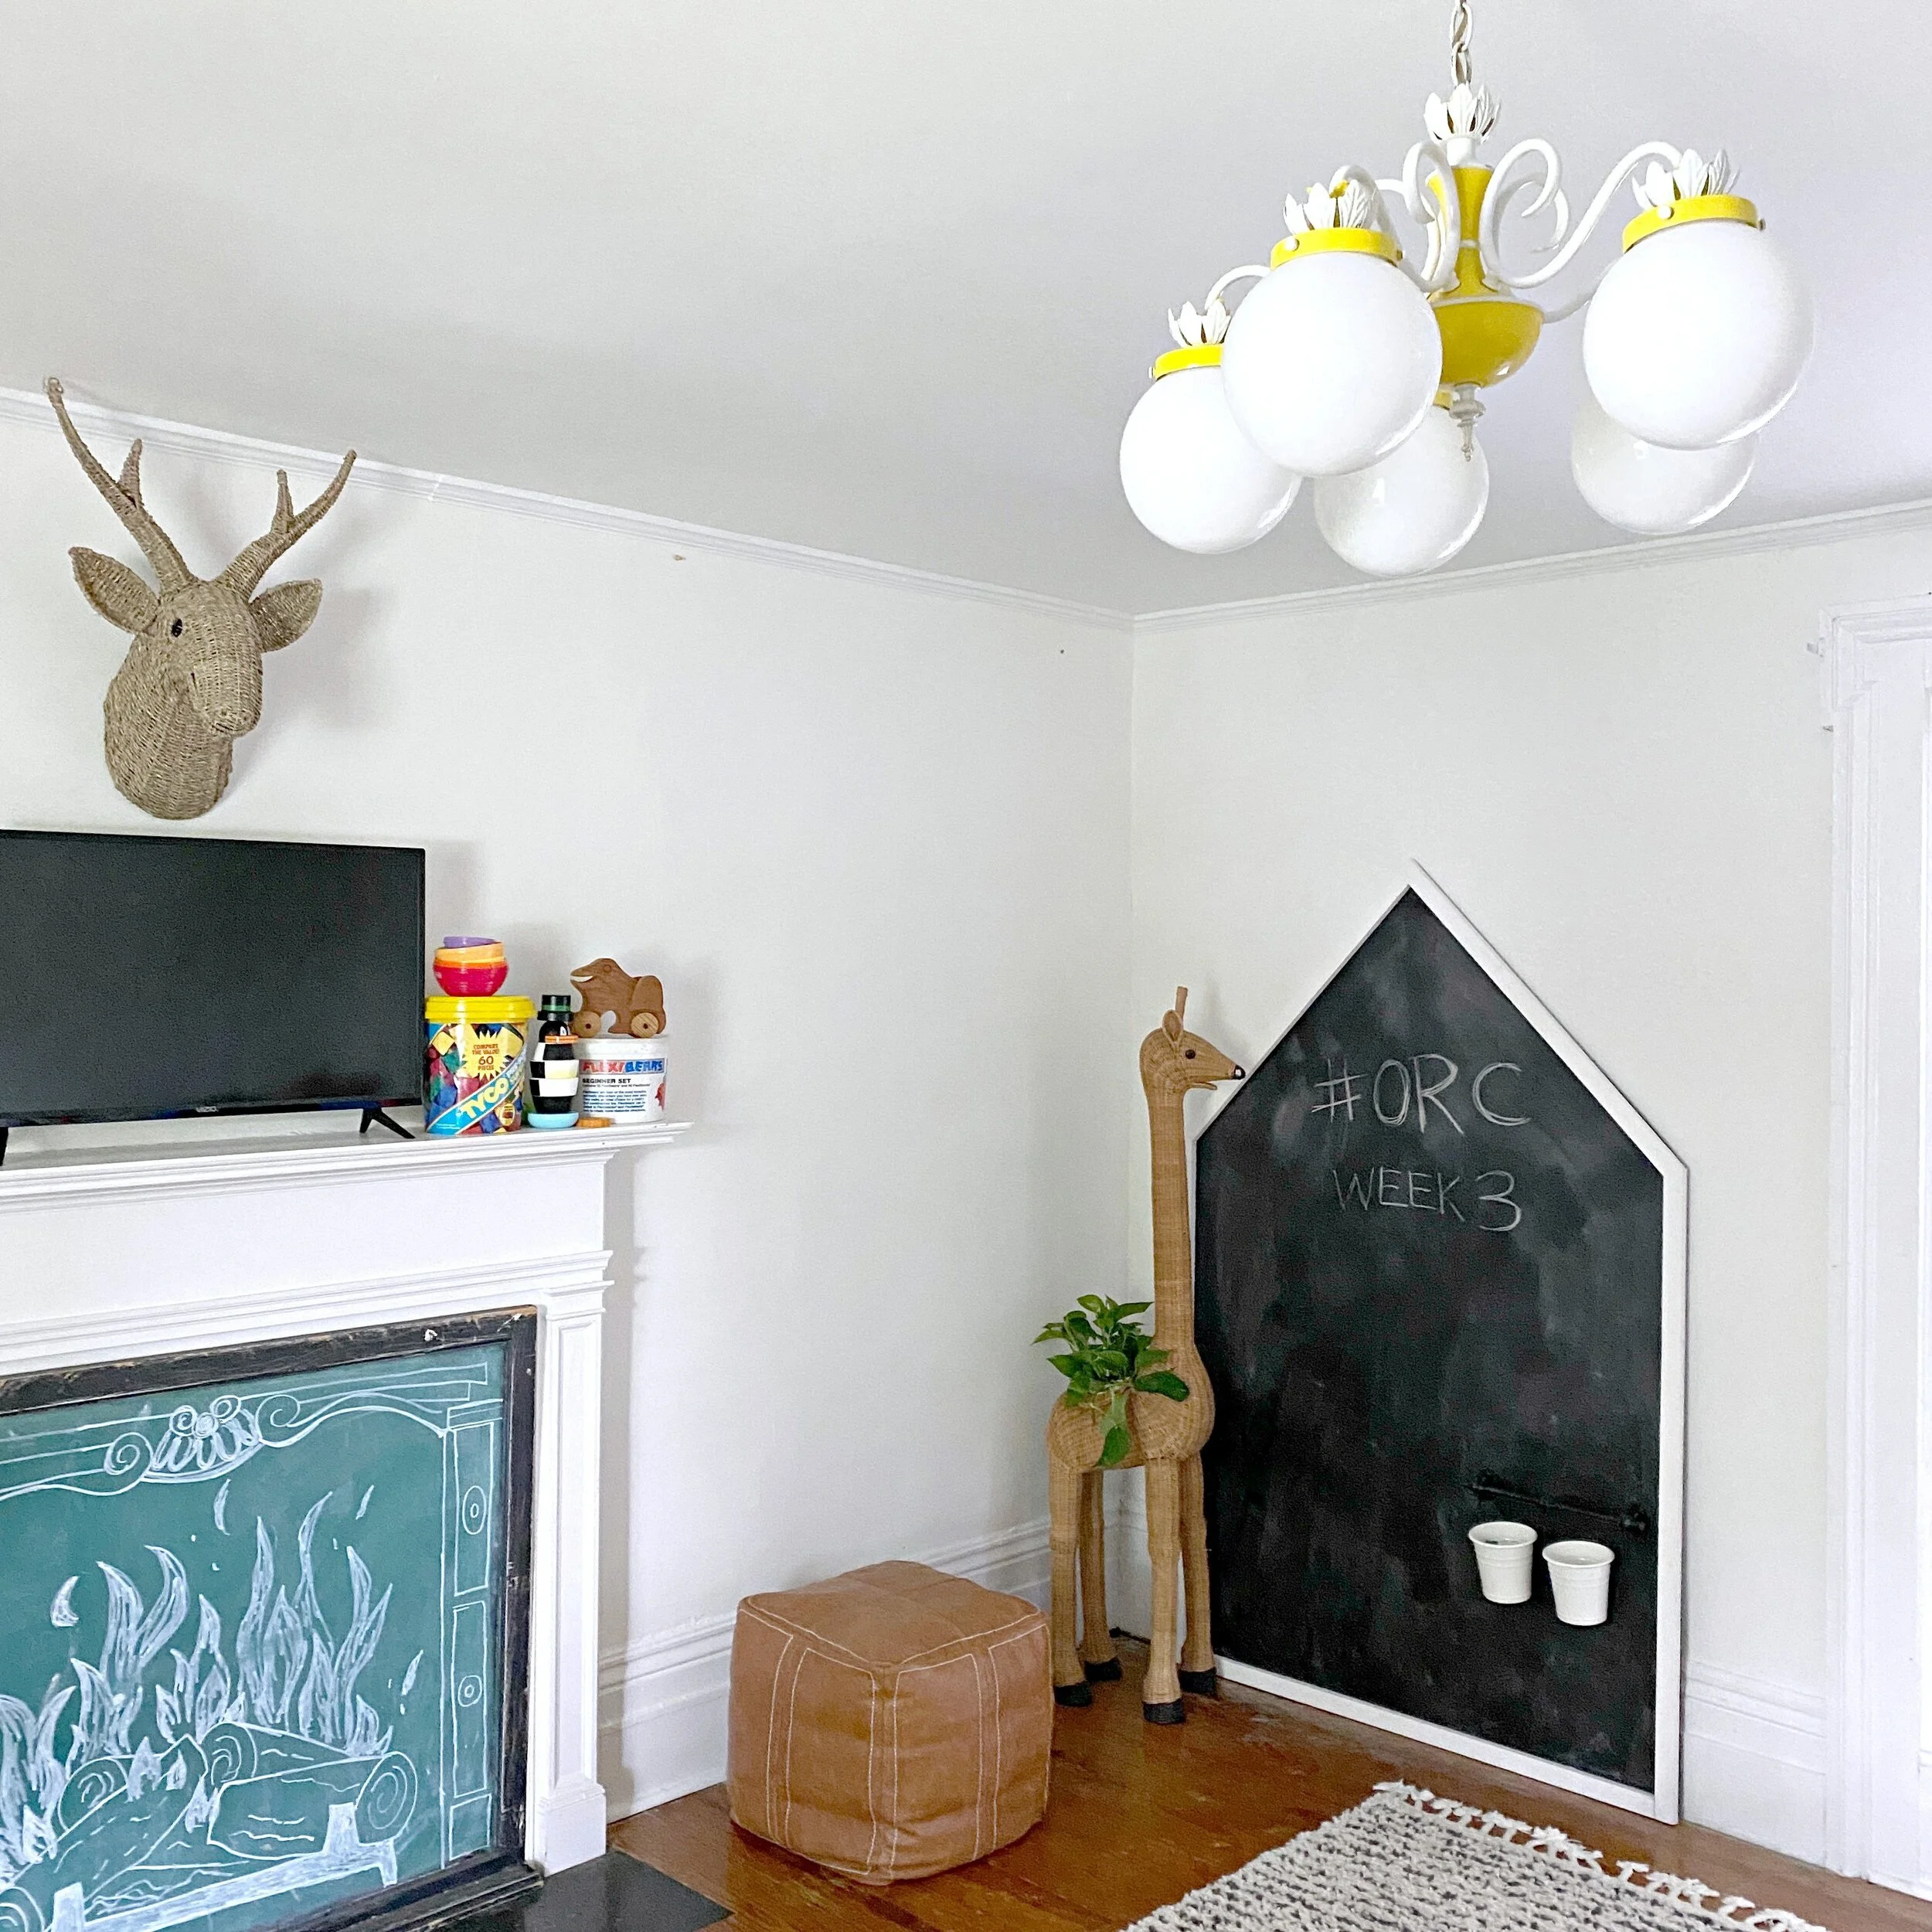
The hardest part of this entire process was hanging that damn IKEA piece! We had to add an extra trim piece behind the panelboard in that area just so it had enough thickness to screw into securely as the panelboard is very thin and flimsy. Follow the instructions that come with your Fintorp system to hang that wherever you please on the chalkboard (or beside the chalkboard on the wall if you want!).
Carefully attach the d-rings to the back of the trim on each side and then wrap your picture wire in between. We hung this on a single screw so that it still touches the ground at the bottom and appears to be leaning even though it’s still attached to the wall for safety!
Finally season your chalkboard before using by rubbing a piece of chalk all over the surface both vertically and horizontally. Then erase with a dry cloth and repeat one more time. This will help your chalk to erase easily and not stain the painted board.
I also touched up the trim with some white paint after we got this placed just because it did get a little scratched up in the process of painting/moving it!