I remember when I first discovered the beautiful Mandala Art. I was out alone in a beautiful cabin, in the woods, coloring. And as I was turning the pages of the adult coloring book I had, I wondered about the drawing technique. I couldn’t wait to be back home to start experimenting.
Youtube helped me a lot as I found a number of tutorials that were useful to me. But what helped me be who I am today is the daily practice. Mandala art became my life, became the breath I take every morning.
I started this blog a few months ago, with the beginning of confinement. During the lockdown, I couldn’t proceed with my weekly meditative art workshops. So I thought it’s a good idea to stay in touch with my followers and my students. And what better way to do that than through free tutorials. So I started my YouTube channel and my blog.
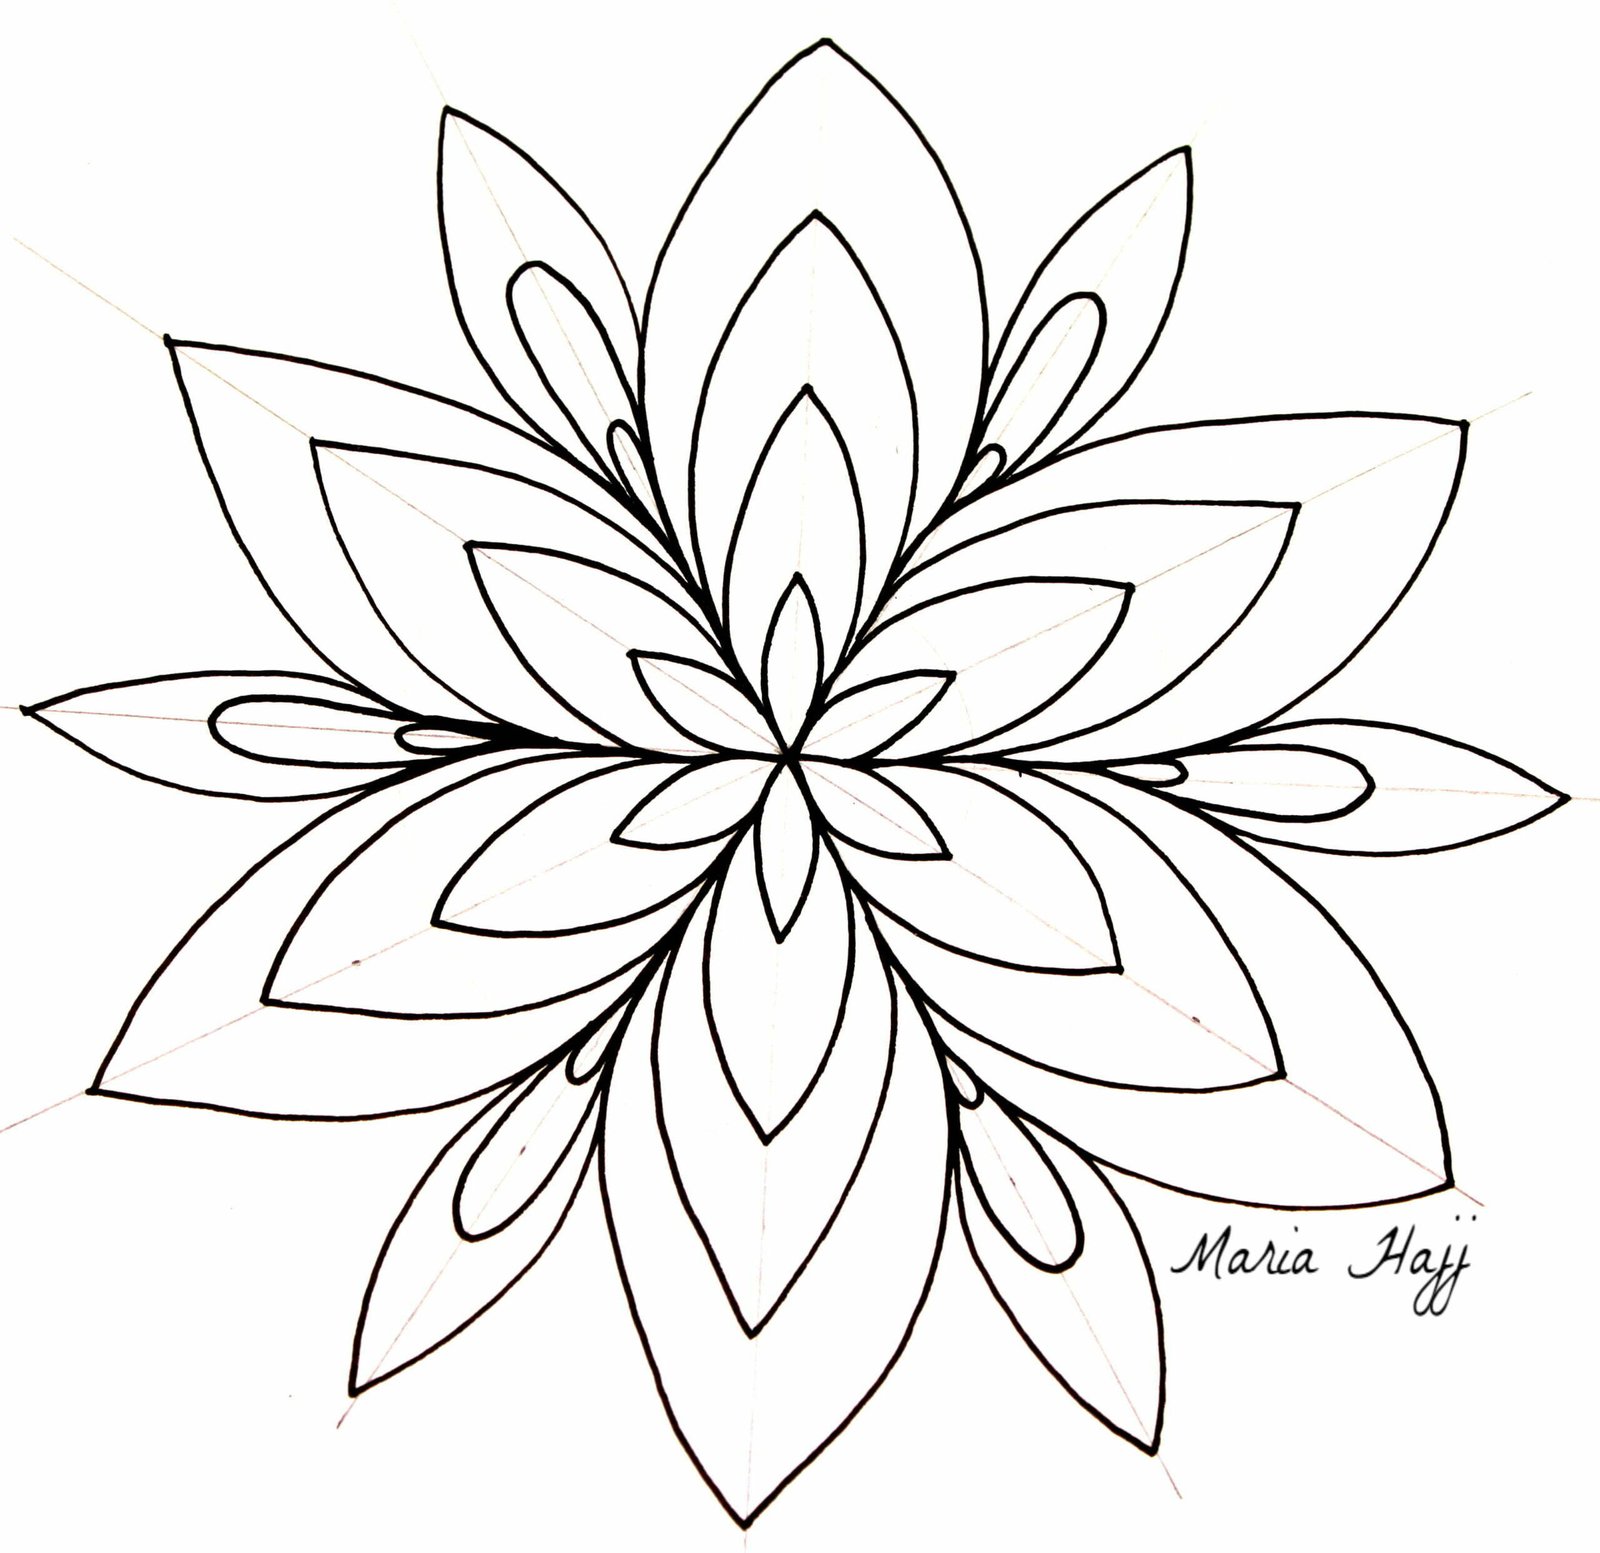
The design I have prepared for you today is a simple yet very beautiful Mandala design. As they say in french ” C’est dans la simplicité que se trouve la beauté”.
This design is perfect for beginners as the Mandala grid is simple, made with only 4 different circles, and the grid sections are wide and the shapes chosen are easy.
Few things to keep in mind when drawing a Mandala:
- A mandala consists of a number of circles organized around one center
- Always start drawing from the center out.
- Finish each line before passing to another row.
- Always have a compass, a protractor, a pencil, a ruler and a fine drawing pen by your side.
This simple Mandala tutorial has seven easy steps.
But before heading to the steps let’s start by tracing a mandala grid.

Mandala grid measures: 4 different circles ( 2, 4, 6, and 8 cm radius circles) Gridlines angle: 30 degrees
Step 1:

Step 2:

Step 3:

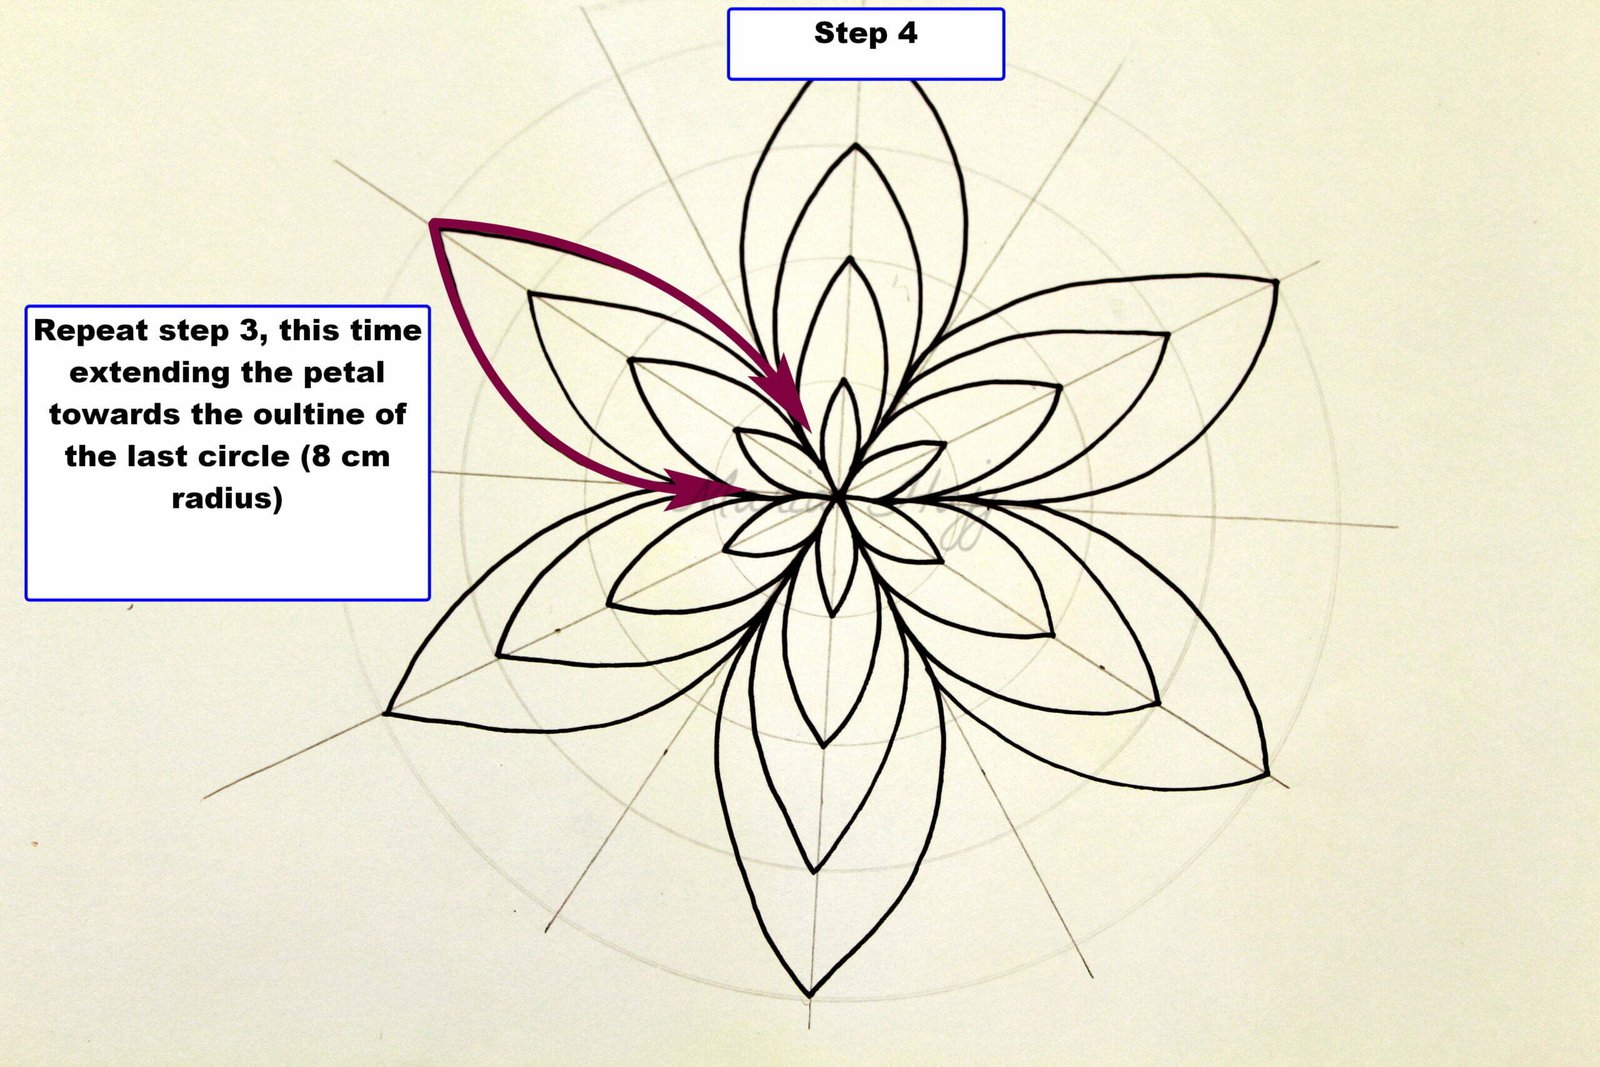
Step 4:
Step 5:

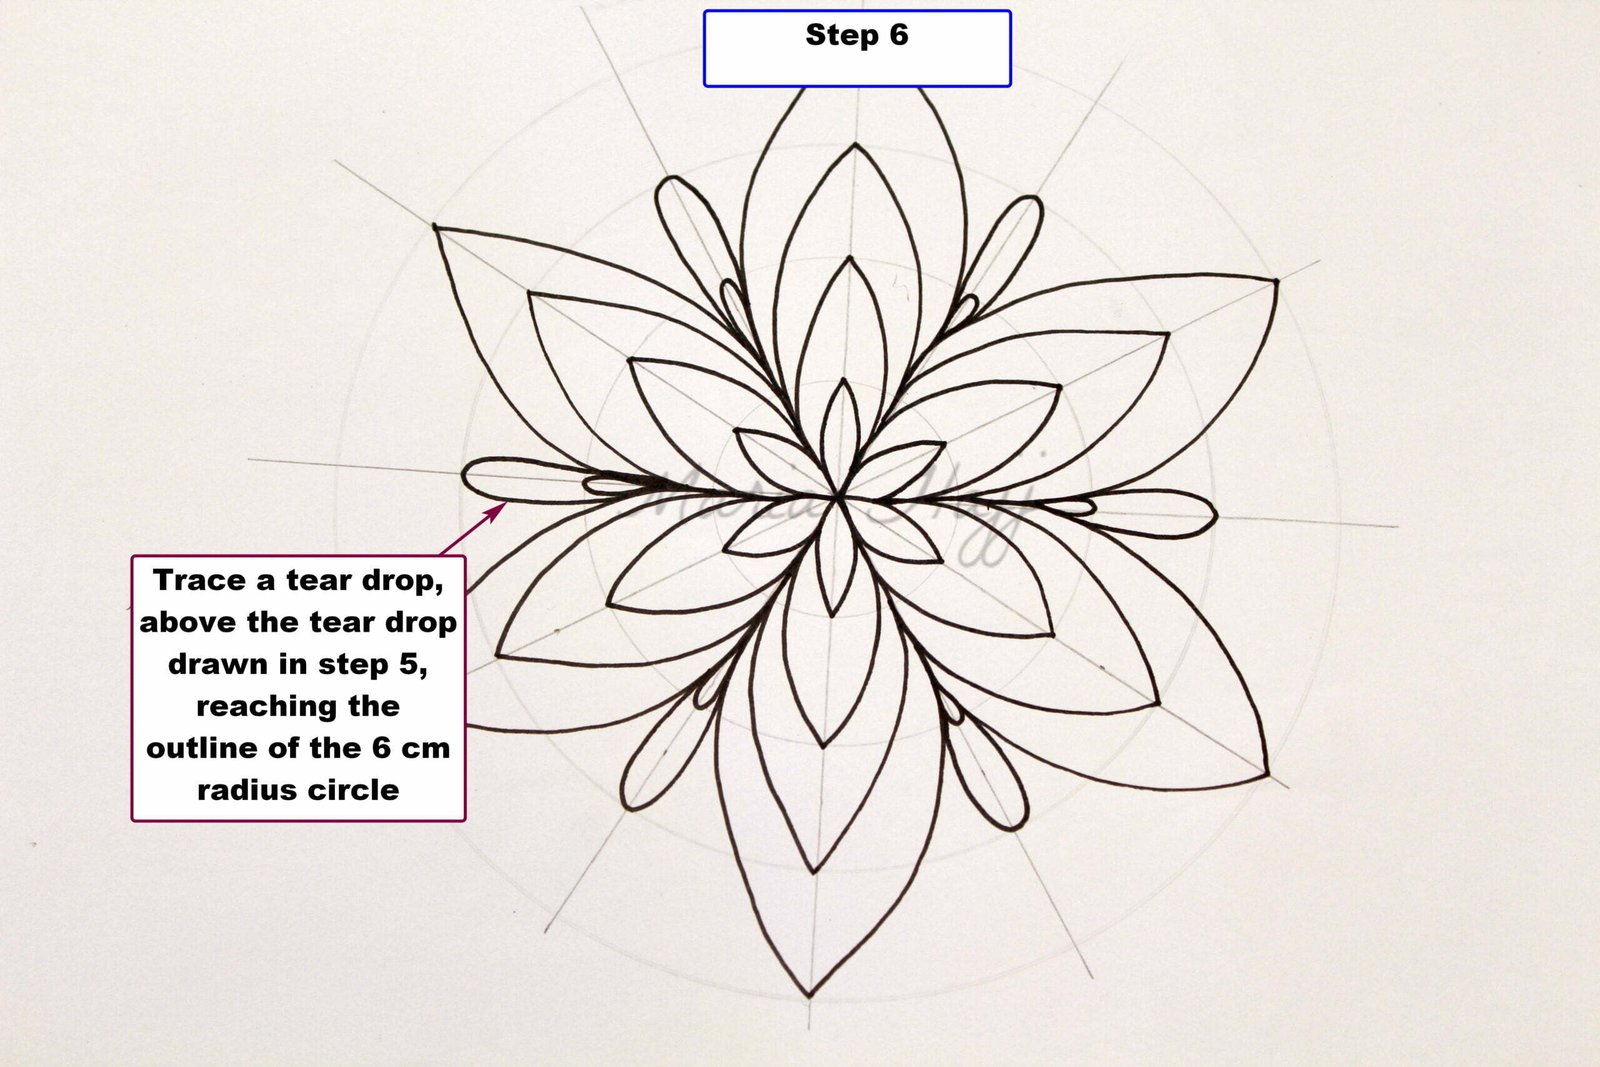
Step 6:
Step 7:

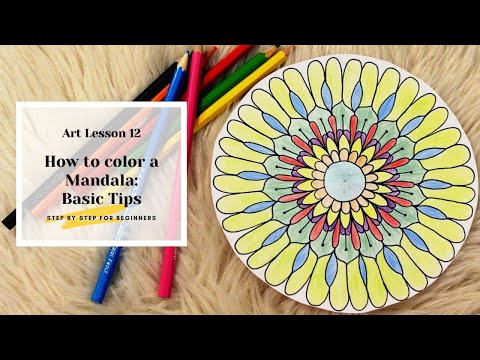
After you have traced this beautiful simple Mandala you can color it. If you need a few tips and tricks on how to color a Mandala you can check these couple of videos that I will share with you.