

Have you ever wanted to make your own chalkboard? It’s pretty easy once you have the right materials and it’s so great to have at home, whether it’s as a decoration in the kitchen where you can write your “daily menu,” at the entrance to your house where you can keep a running list or schedule, in your child’s playroom where they can learn to draw with chalk, or anything else you can think of!
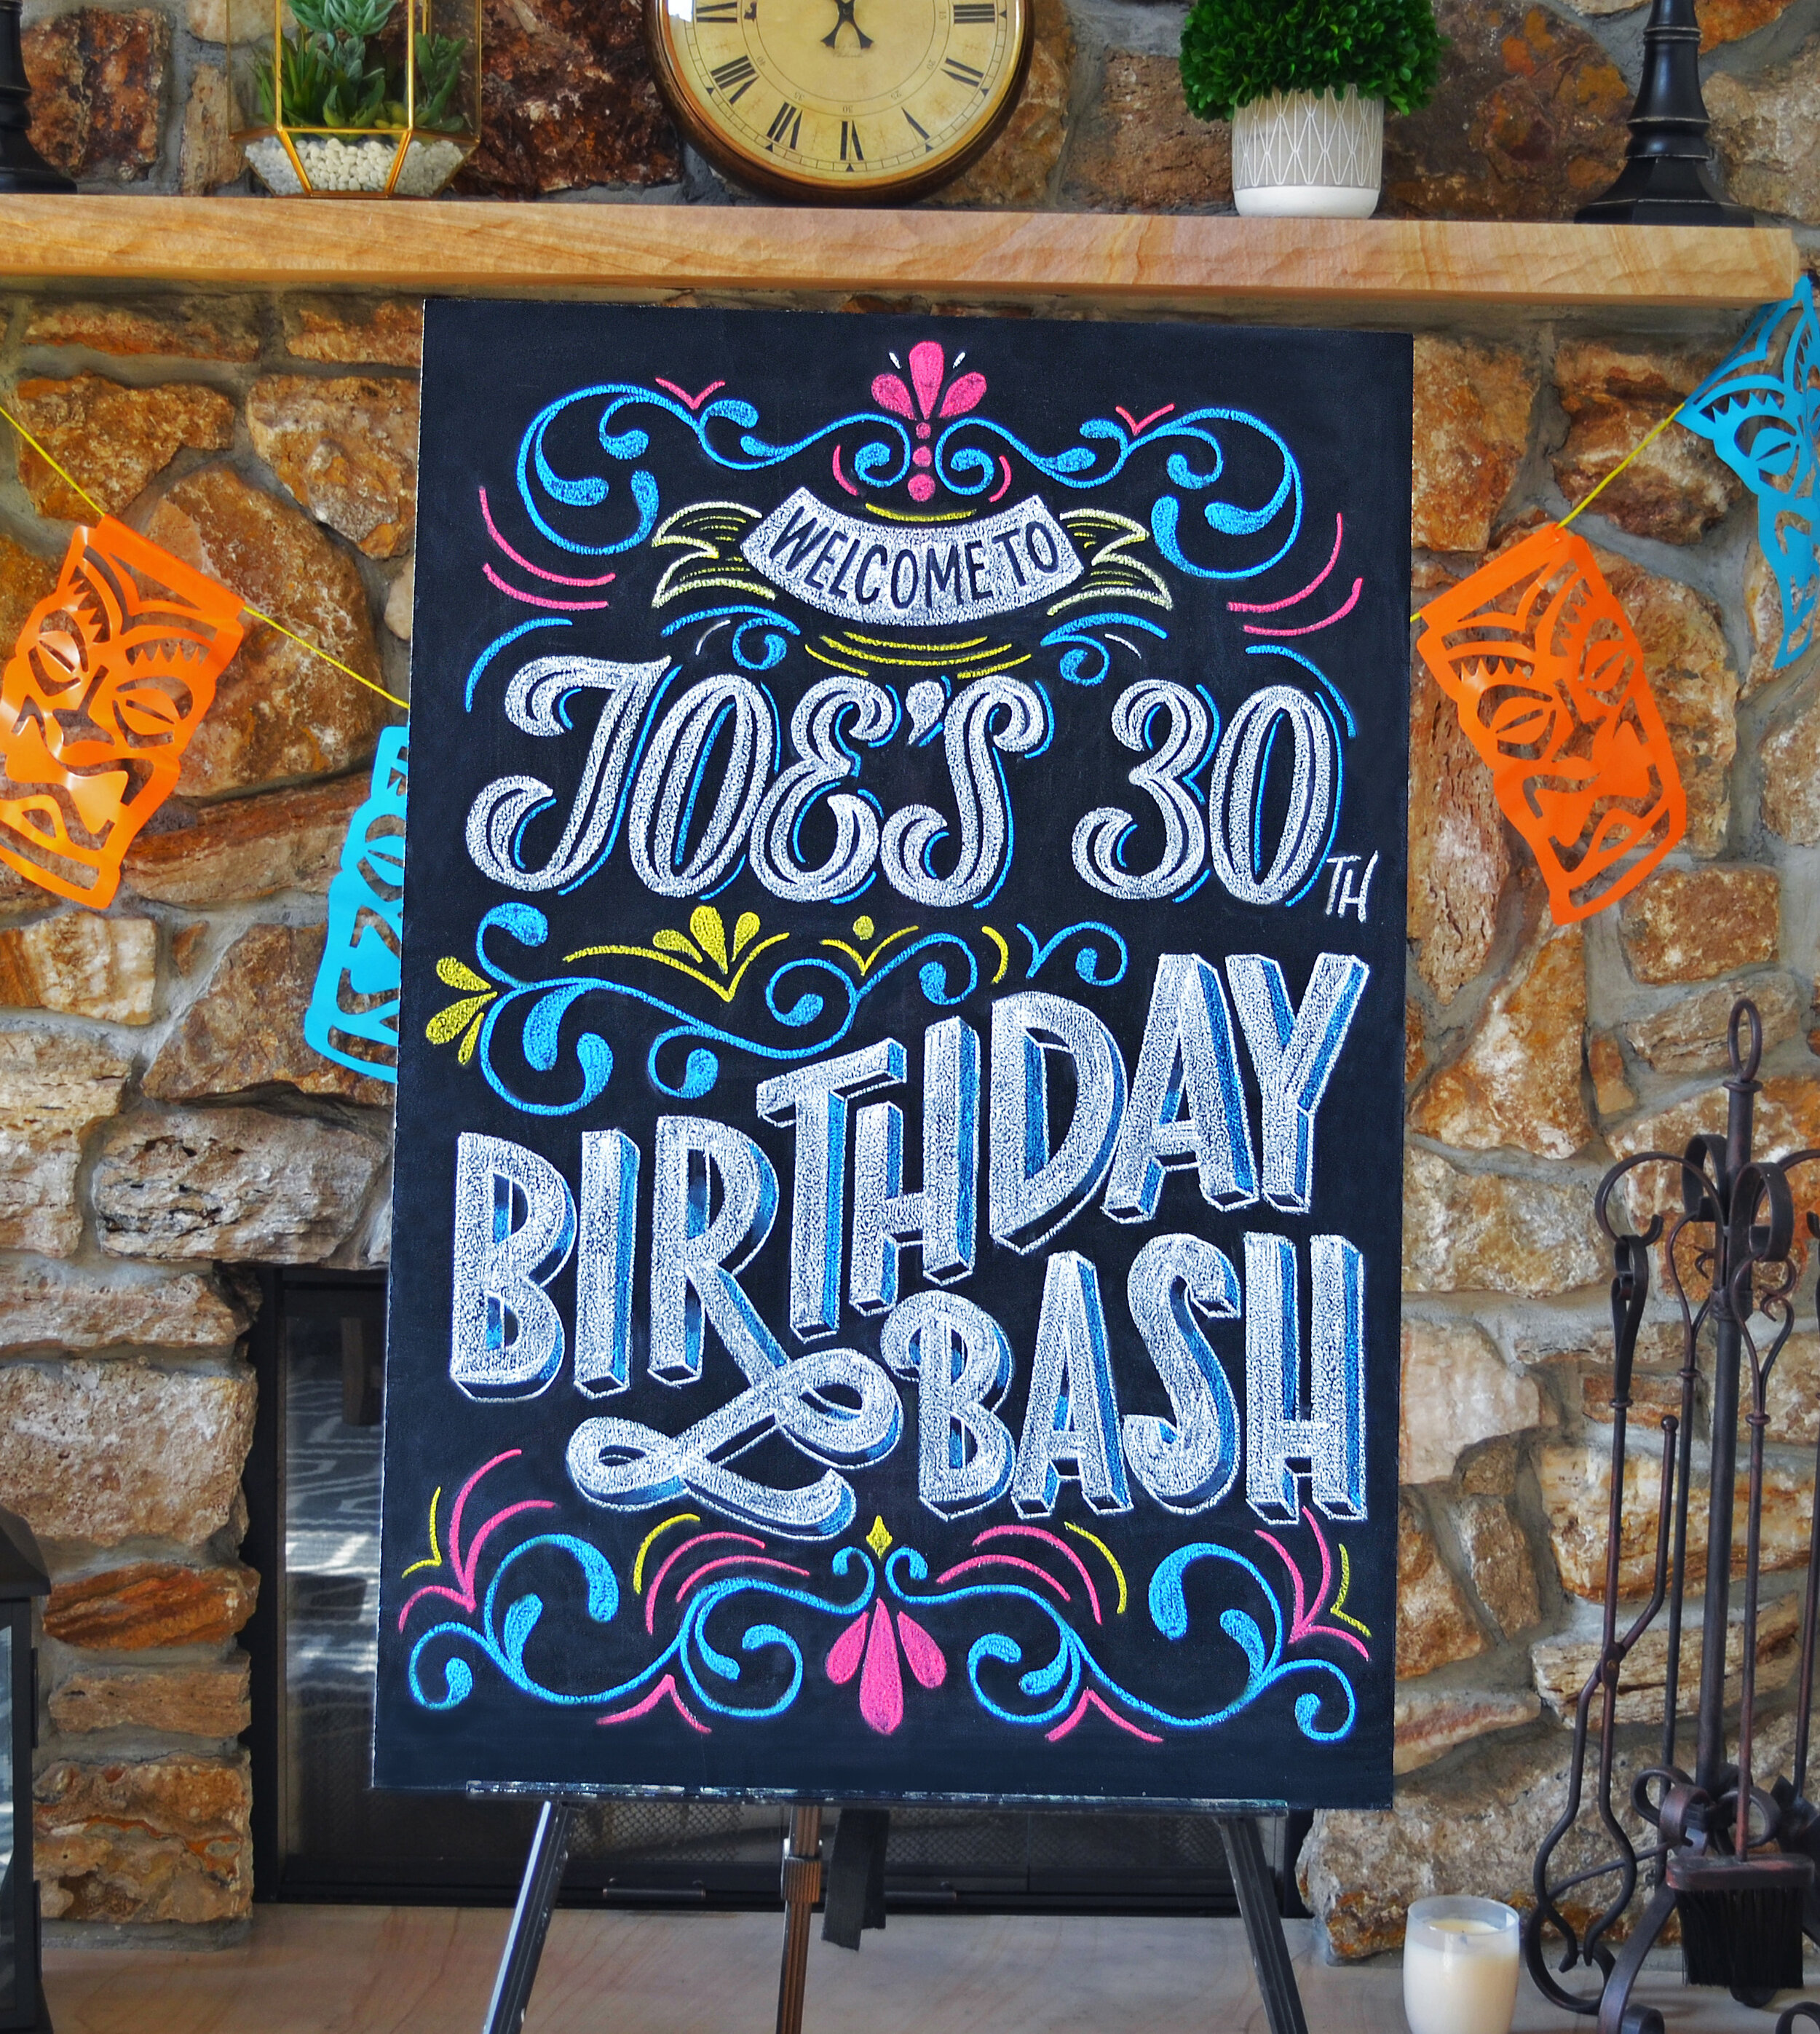
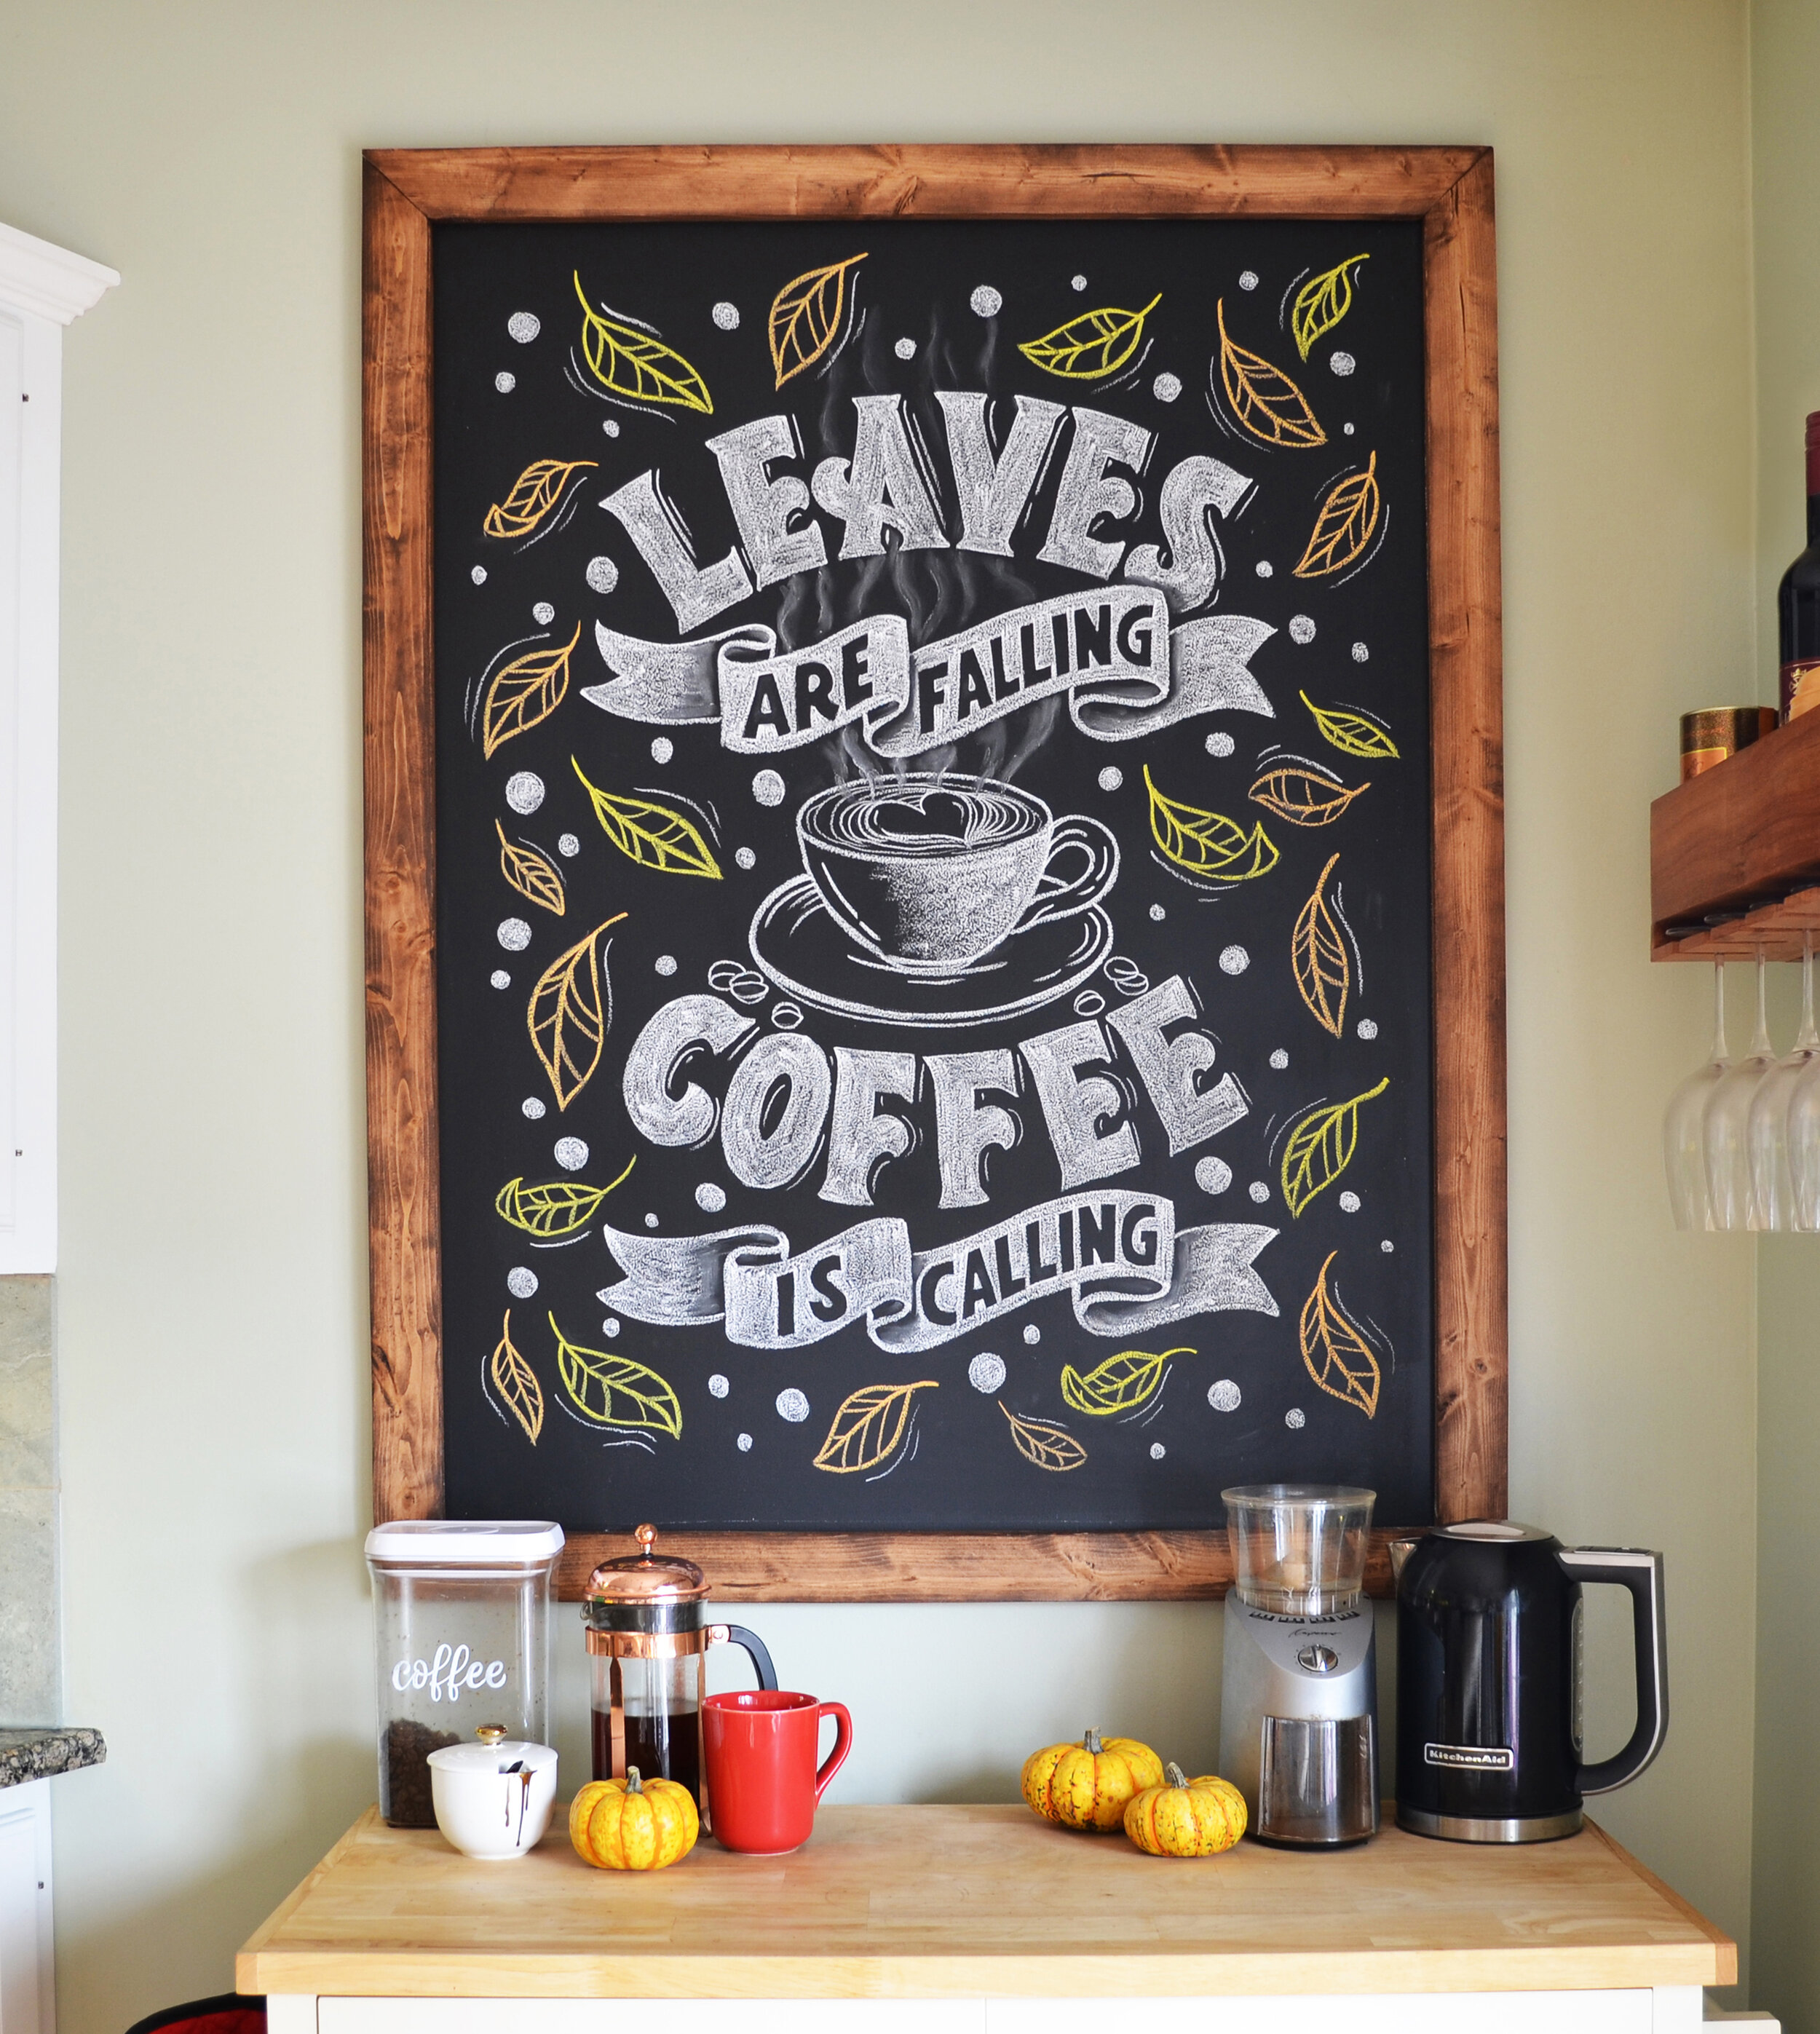
So far, throughout the past several years, I have made 5 chalkboards, big and small, and I have learned a lot through the process. But before I jump into it, I wanted to show you some of my chalkboards. You can see how they progress from a simple, frameless board, to a small badly framed one, to giant boards with perfectly stained and cut frames (thanks to my husband who built the frames). I guess we both learned a lot throughout our years making these boards :)


So first thing’s first, here are the materials you will need for the chalkboard (I am going to only briefly mention the framing in this tutorial because it’s not necessary and it can vary a lot depending on how you want to frame your boards)
YOU WILL NEED:
A 3/16” thick hardboard like THIS ONE (I’ve also used 1/8” hardboard, MDF, and plywood)
A grey tinted primer like THIS ONE
Chalkboard paint with a writable/erasable finish like THIS ONE (they come in different colors, like black, green, even clear, so pick your favorite! I always go with black. There is also a magnetic primer option if you want your chalkboard to be magnetic)
Paint roller like THIS ONE (I use a small 6” roller)
Foam paint roller cover with the finest nap you can find
Paint tray
Clean cloth
320 grit sand paper (either to sand by hand or with a random orbital sander if available)
Paint can opener (optional)
Tape (optional but useful if framing the board)
Here is a video that shows my whole process with the step by step written out below:
STEP 1: PREP YOUR BOARD
Cut your board to desired size and clean it with a damp cloth.
STEP 2: PRIME
Paint one coat of grey primer over the entire surface. If you’ll be gluing a frame to the edges, tape off a bit of the edge to leave it clean, as it will be easier for the glue to stick if there’s no paint there. Wait for the primer to dry completely, about 2-4 hours.
STEP 3: SAND BEFORE PAINTING
Sand the entire surface of the board with 320 grit sand paper to remove any primer ridges and to give the board a very slight texture so the paint sticks better. Clean with a damp cloth to remove any debris.
STEP 4: TWO COATS OF PAINT
Paint your first coat of chalkboard paint with a clean roller. Here’s a little trick I learned when painting surfaces that need to be very smooth: when you’re finished applying the paint, move your roller in straight lines throughout the whole board, without putting any more paint on it beforehand, and without applying any pressure at all (see the video for reference). This will even out any paint lines left by the roller edge and make the surface a lot smoother. Wait 8 hours for the first coat to fully dry and repeat Step 4 again with the second coat. No sanding required here.
STEP 5: FRAME IT
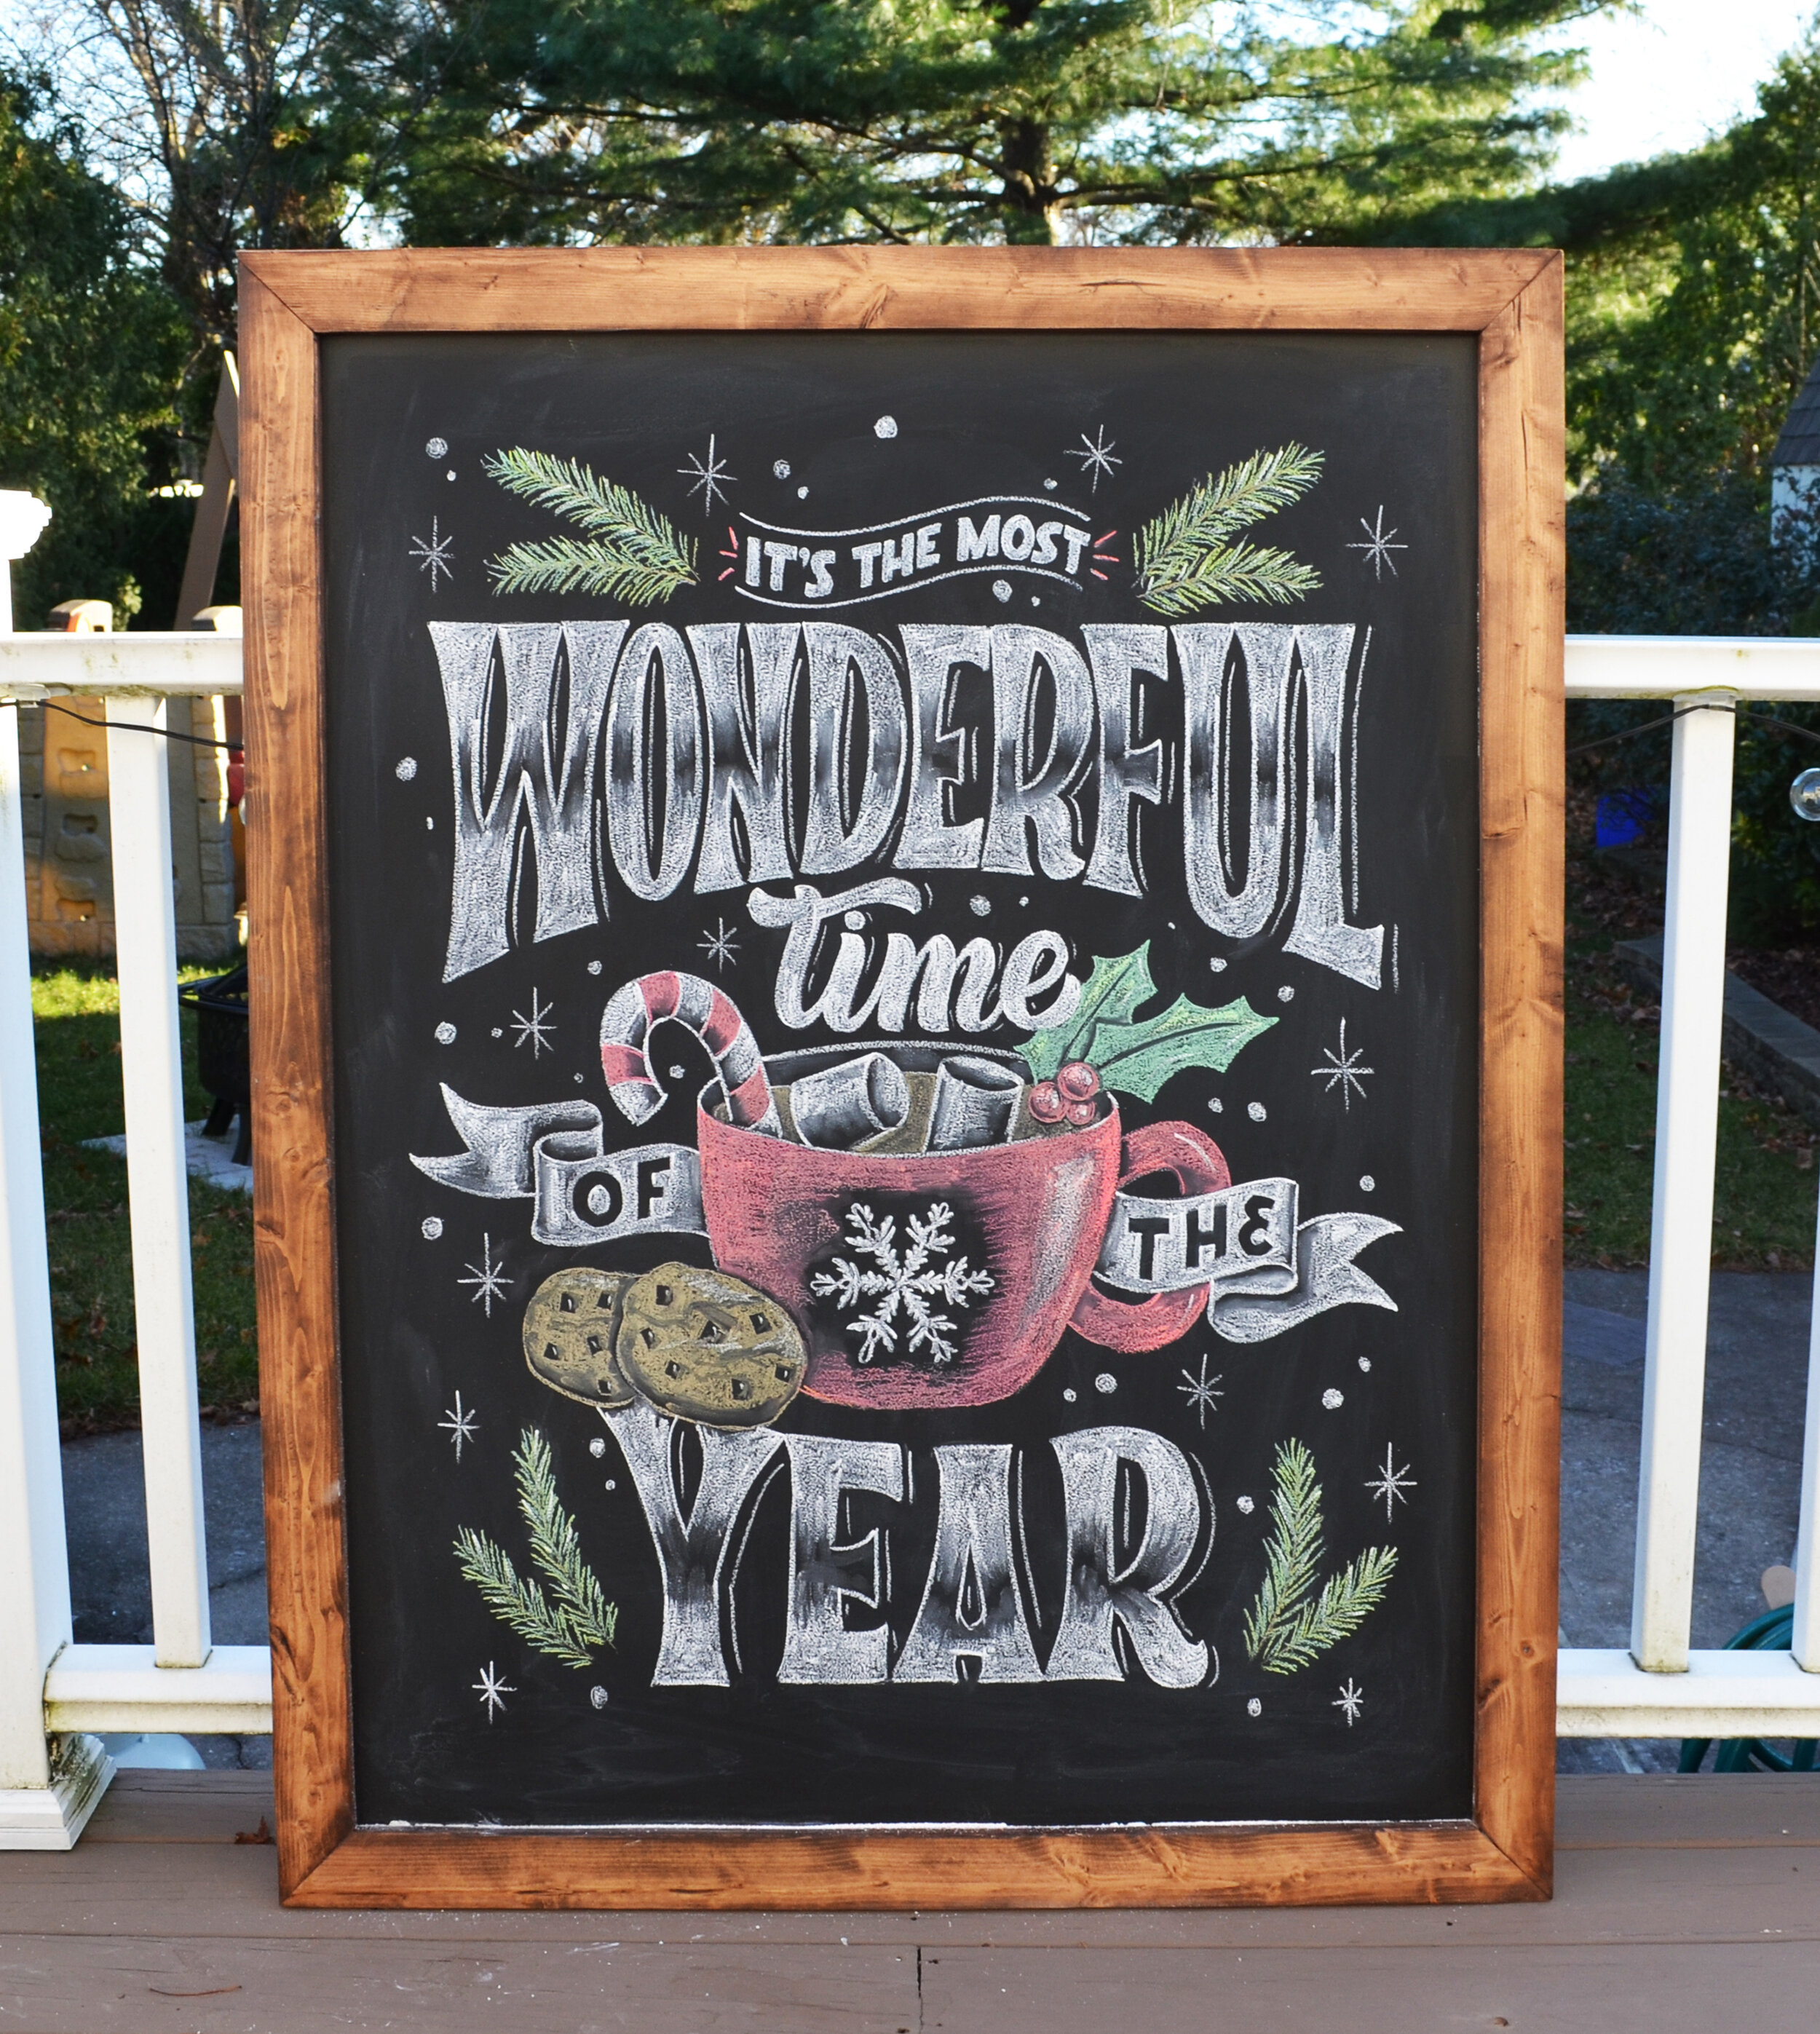
If you are framing your board, you can do it now after it’s finished being painted. What we did with the board below is we got some 1”x3” boards, measured off the size for the chalkboard, cut the ends at 45 degree angles, stained them, and then used wood glue to glue them onto the chalkboard and screwed them in from the back. There are many different ways to make a frame, though, this was one of the simplest ways for us.
STEP 6: SEASON YOUR BOARD BEFORE USING
To season, wait at least 3 days after you’re finished painting the board. Then, using the long side of a chalk stick, swipe it across the entire board until it’s all covered. Erase all chalk with a dry cloth to finish off. Wait another 3-4 days before using the chalkboard (this is usually following the directions on the chalkboard paint can, which says to wait 7 days for the paint to cure before using and before cleaning it, but you can season it after 3 days). After the 7 days are done, I like to clean the board with a damp cloth to make it really clean before I use it.
Let me know if you have any questions about my process in the comments below. If you end up following my tutorial and making your own chalkboard, I would really love to see it! You can post a photo and tag me @olgamuzician on Instagram. Have fun!