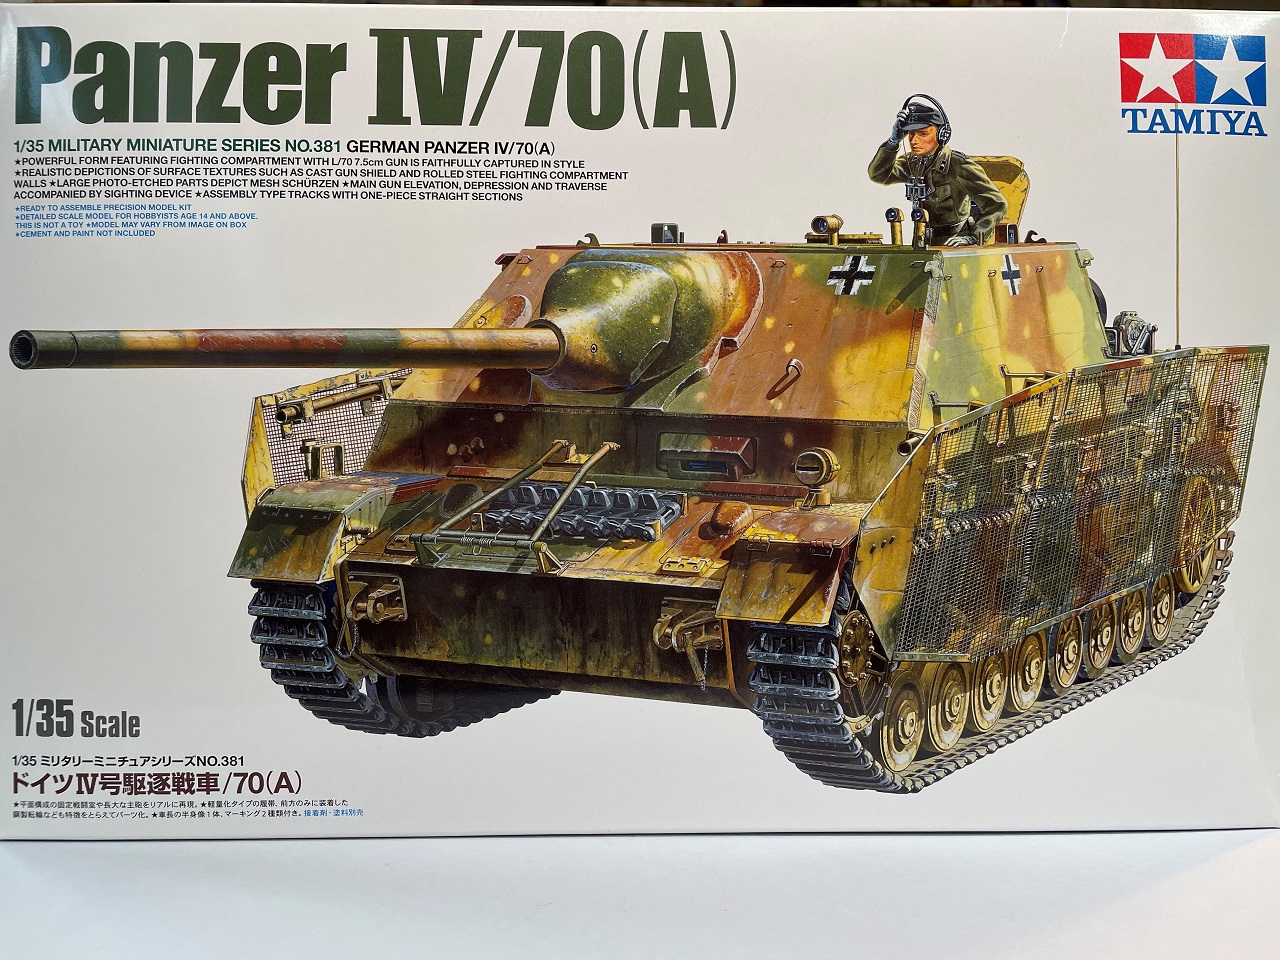
Panzer IV/70(A)

Tamiya’s new ‘Panzer IV/70(A)’ kit depicts a late war German ‘stopgap’ design attempting to mount a high-velocity L/70 75mm anti-tank gun on a minimally modified Panzer IV chassis. The resulting vehicle had a taller profile than most other turretless Panzer IV and III types. Since this is a late-war vehicle, the lack of zimmerit is appropriate.
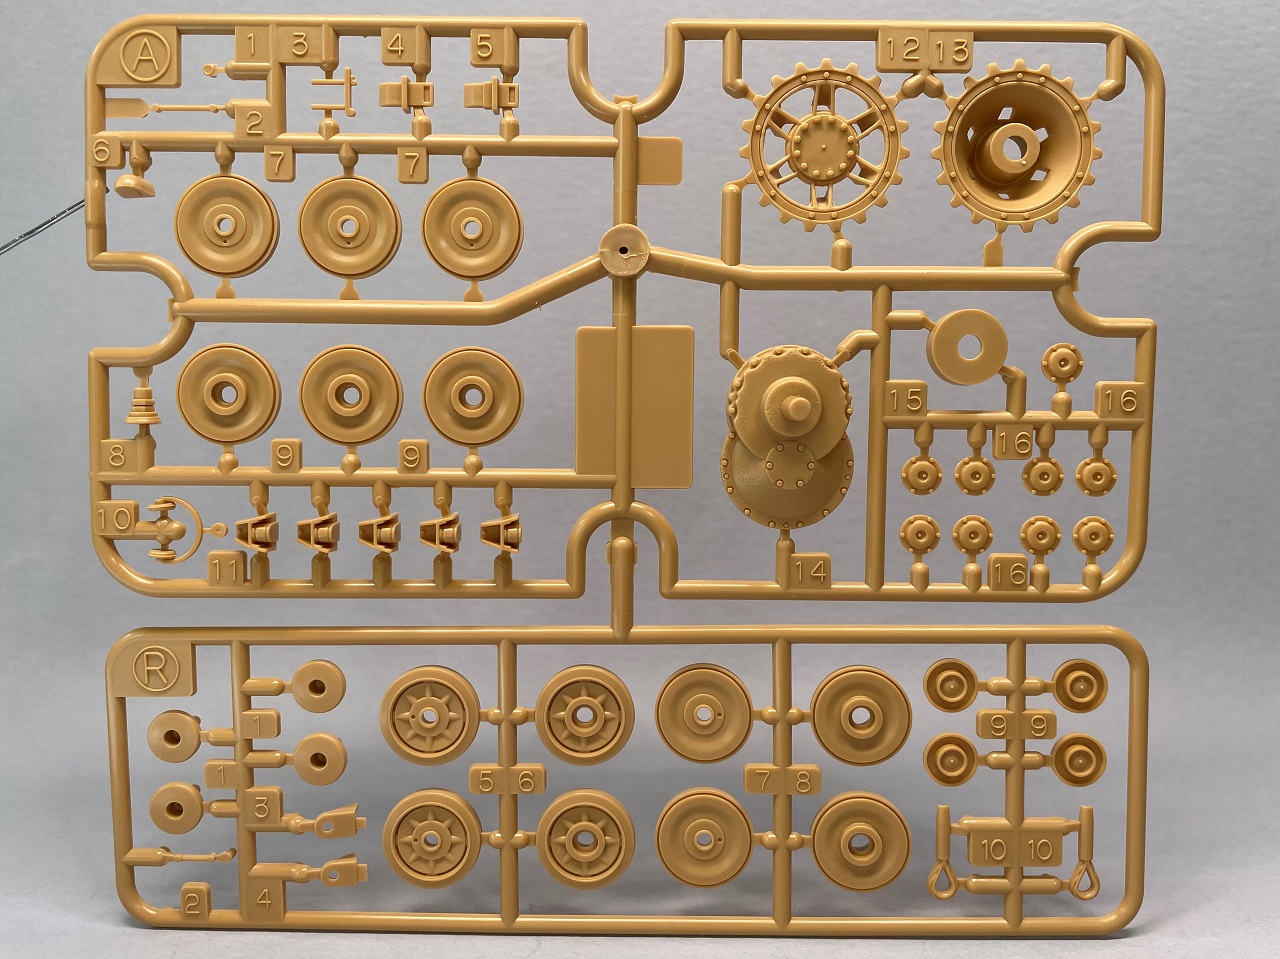
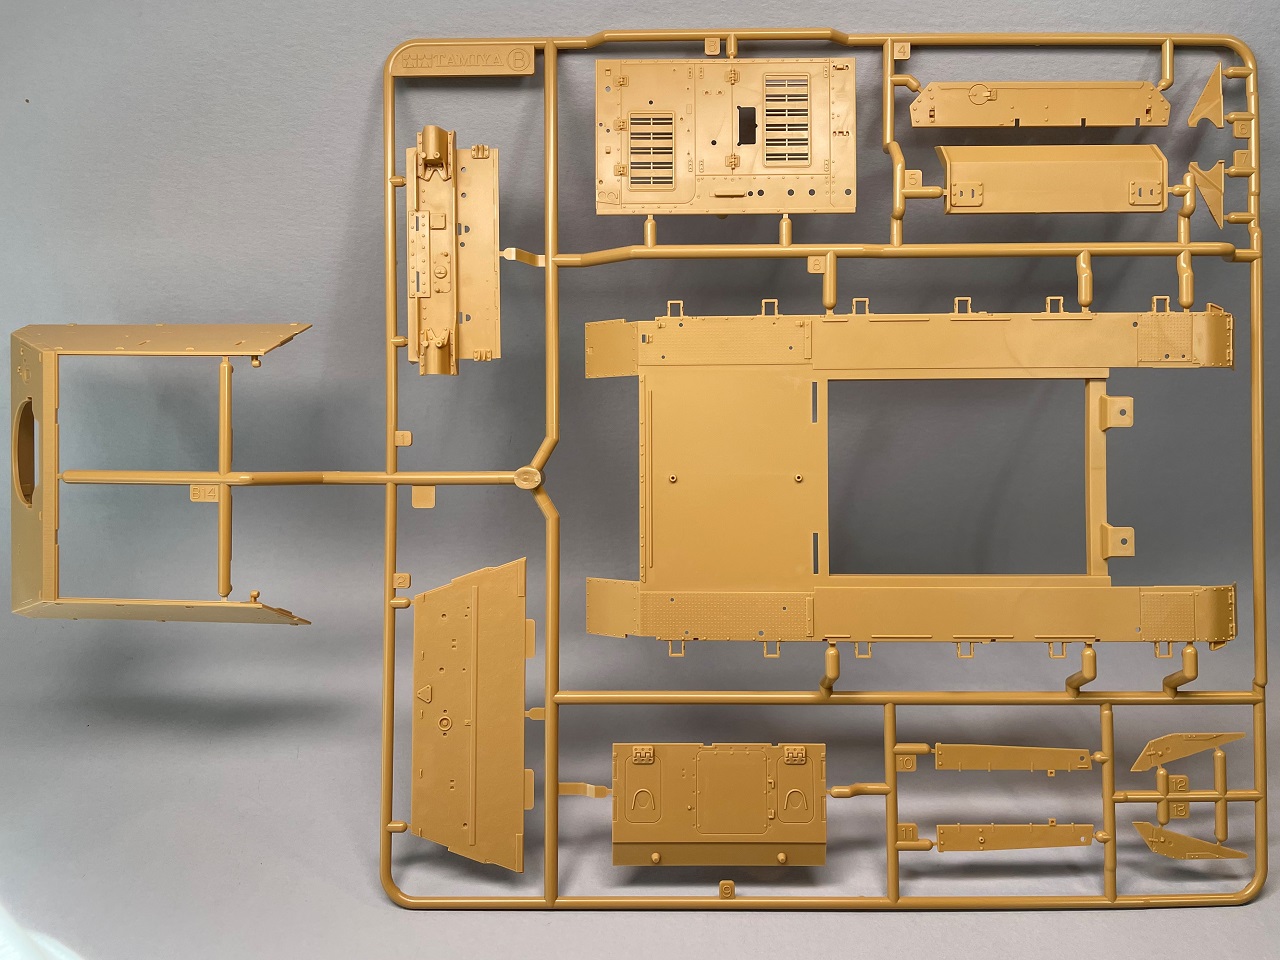
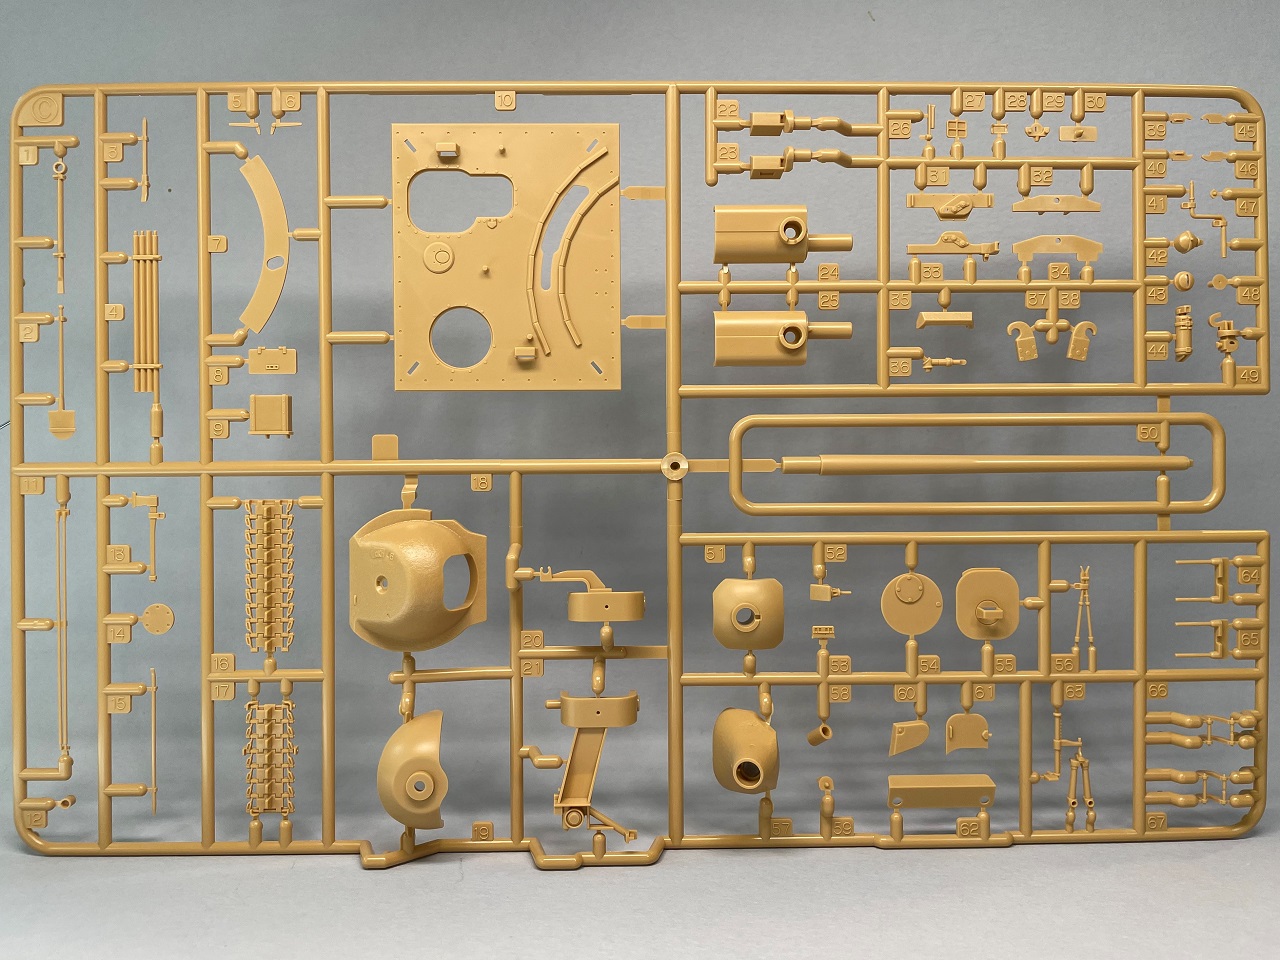
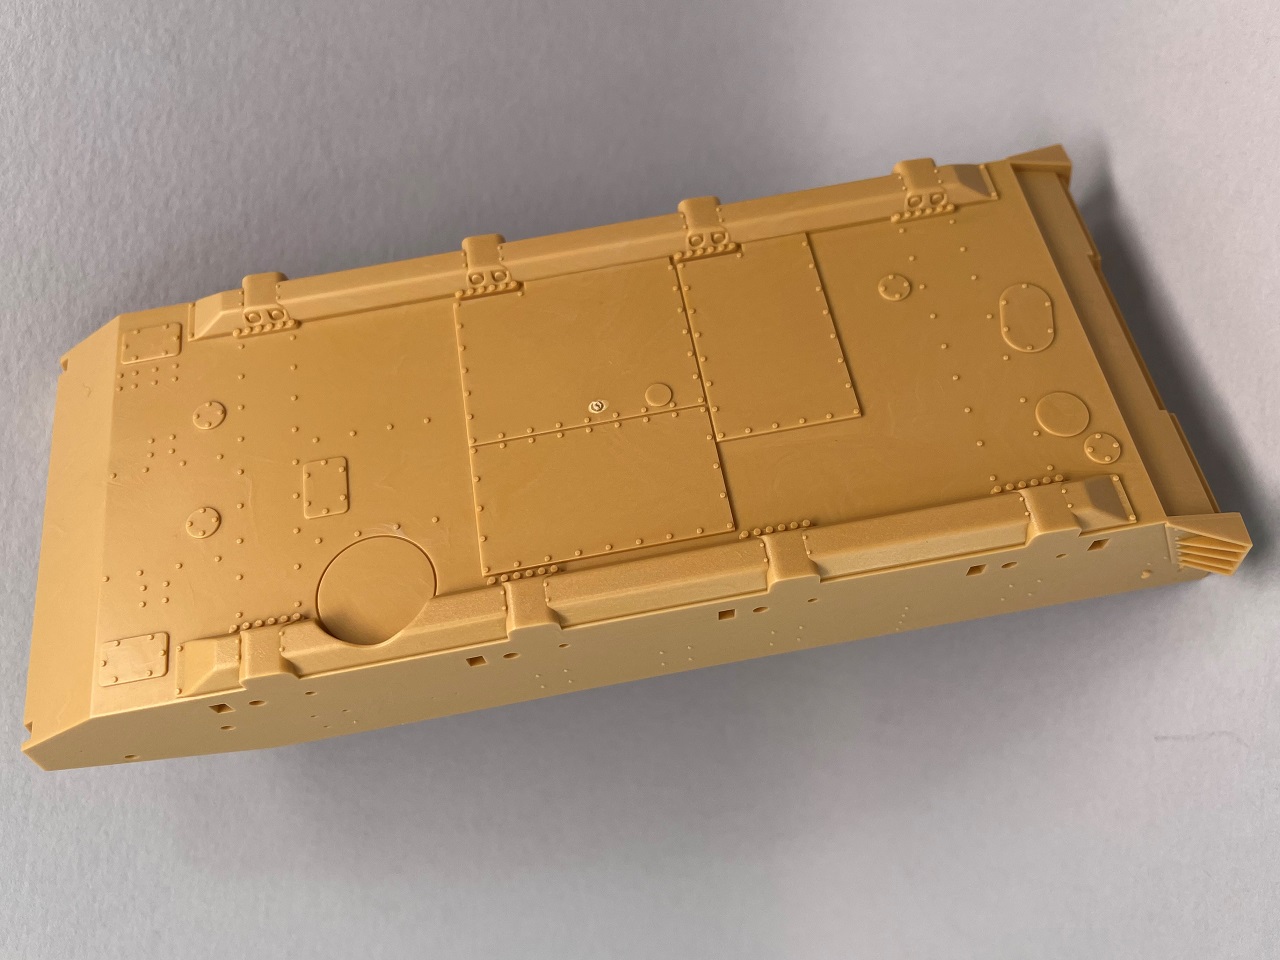
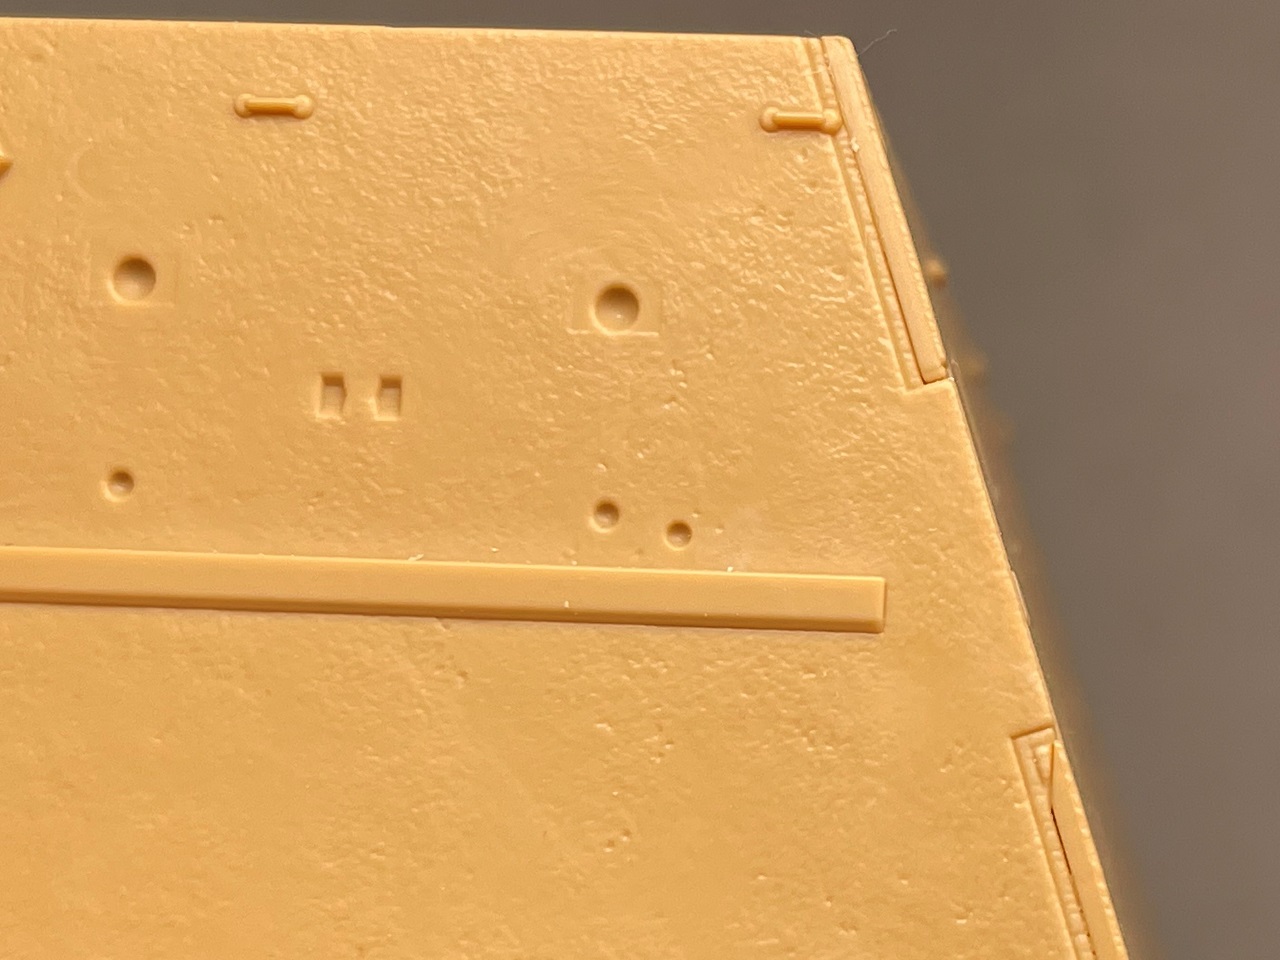
The kit includes individually bagged sprues. As one would expect from a modern Tamiya kit, the parts are crisply molded with very faint mold parting lines. The lower hull front, sides, and bottom are molded in a single piece. The new lower hull mold is made by modifying Tamiya’s Panzer IV J mold with new components to depict new detail on the sides. The lower hull tub shows copyright dates for both 1994 and 2023. The drive sprockets, return rollers, road wheels, and other minor parts on sprue ‘A’ date to the 1994 kit, all other parts are new. The gun shield and mount have a convincing cast texture molded in. The armor plates of the upper hull have a simulated rolled-steel texture. Finely sculpted weld bead detail is included where appropriate.
The instruction book is printed in black and white with clear illustrations and helpful text in Japanese, English, French, and German. Detail painting call-outs reference Tamiya’s range of acrylic paints. Both Tamiya acrylic and lacquer options are suggested for the camouflage pattern. Construction finishes in sixteen steps. In steps where there is potential for confusion or the sequence of assembly is important, addition clarifying text and illustrations are provided. I found no errors in part number call-outs or illustrations.
Three different sizes of poly-caps are provided for attaching the drive sprockets, gun mounts, and gunner’s periscope.
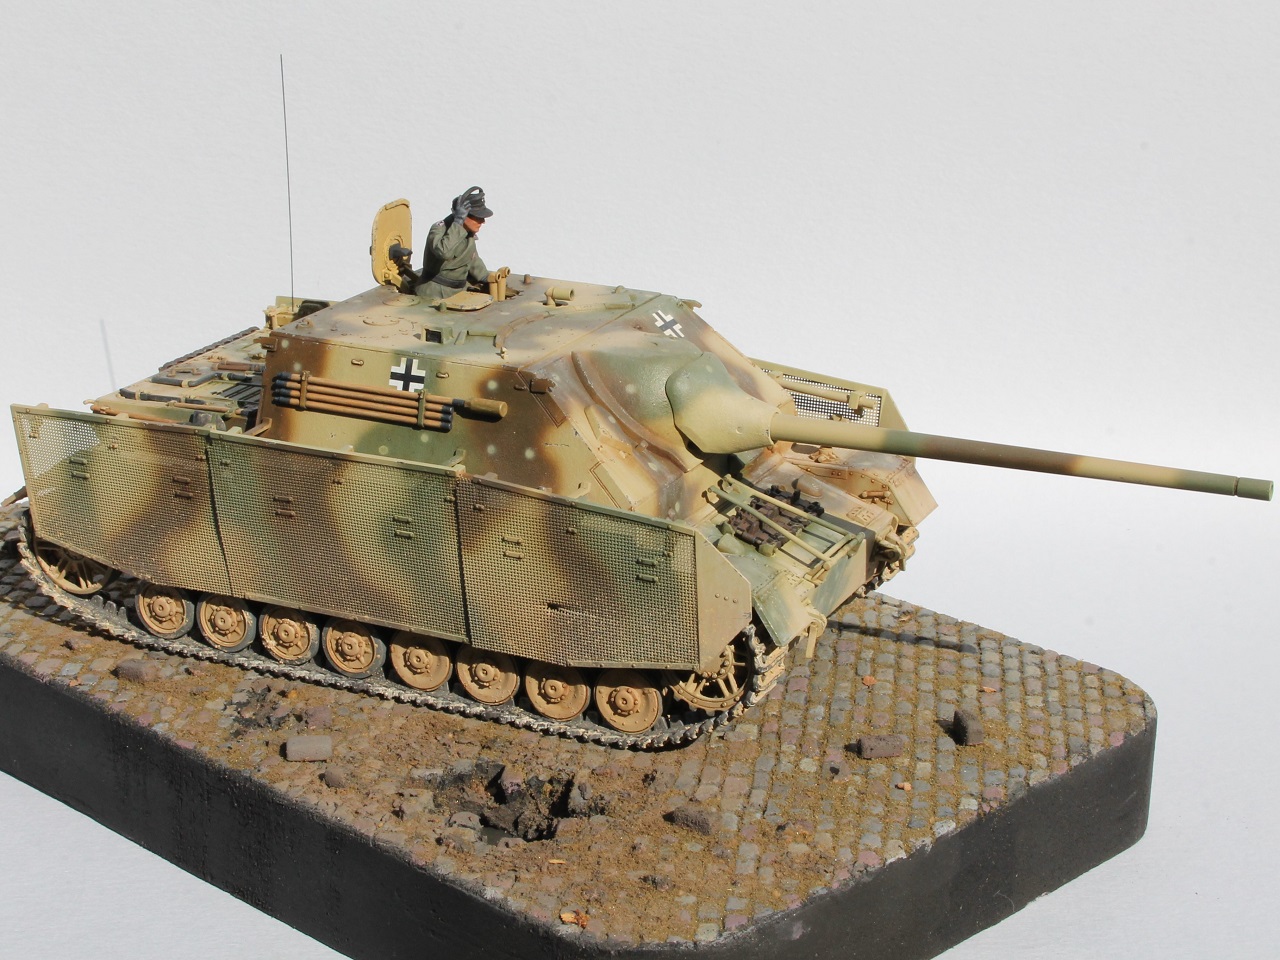
The tracks are provided as link-and-length parts. The upper run of track has a realistic sag between the return rollers molded in. The frontmost return roller on each side has a protruding pin that corresponds to a hole in the upper run of track to ensure that it is correctly located. When assembling the tracks be careful not to over-tension them. When I built my first run, I butted the individual links going around the idler wheel tightly against each other and found my track to be too tight. When I re-assembled the links with a very slight gap, the track fit well. There are two extra links in the kit that can be used if you lose one or have a tension issue. The Tamiya instructions have the builder assemble the tracks on to the suspension in step 10 and then build and attach the fenders in steps 11 and 12. If you like to remove your assembled tracks for painting and then re-install them at the end of the build, you should know that there won’t be enough room between the return rollers and the fenders to slide the tracks on from the side. I attached my wheels and rollers temporarily with white glue while I built my tracks then popped them off for painting. The fit of the fenders and upper hull to the lower hull is good enough that you could paint and weather the model with them separated and bring them together at the end.
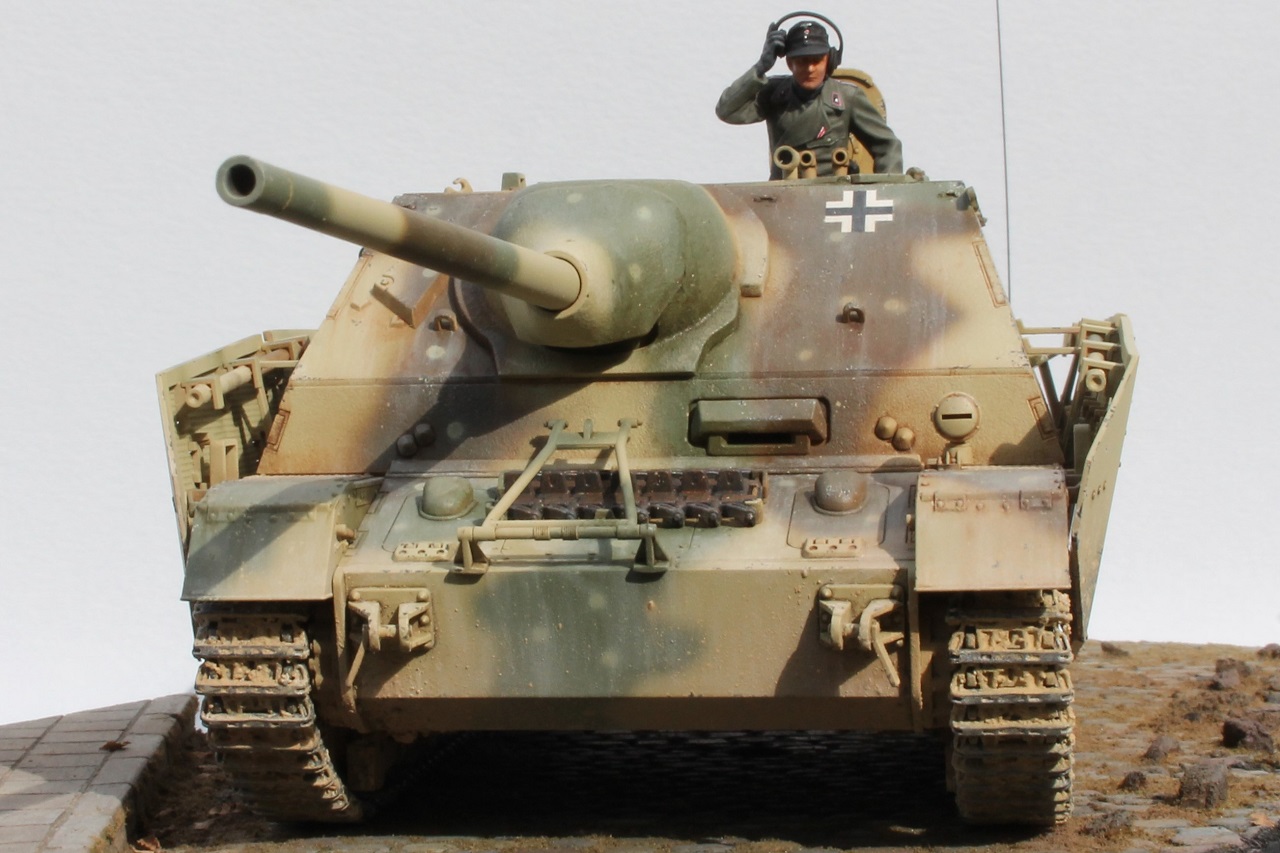
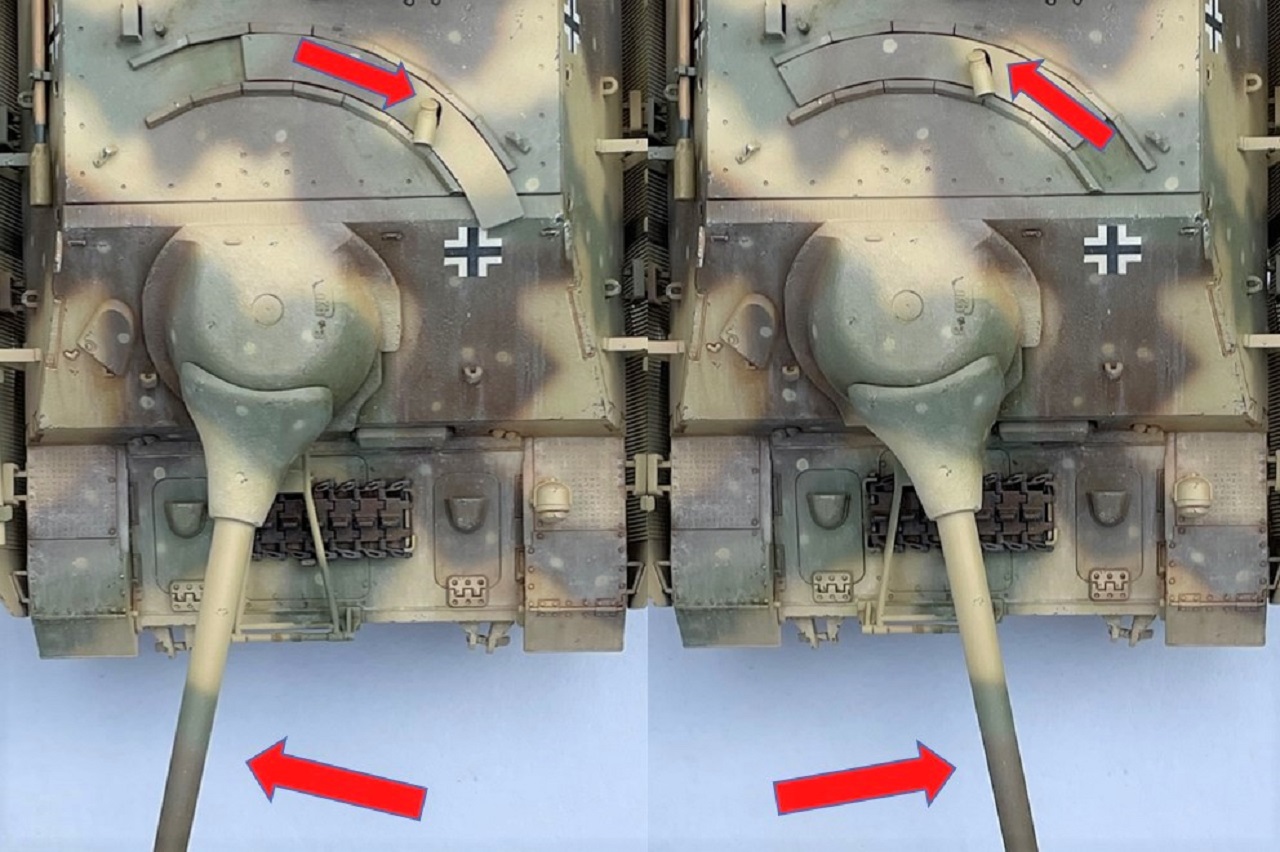
The gun barrel is molded as a single piece with a separate muzzle, so there is no tricky glue-up or seam to deal with. The breech-end of the gun has a linkage to connect it to the gunner’s periscope so that they move in unison. For those who would like a metal barrel, the instructions note that the Tamiya “Jagdpanzer IV /70 (V) Lang Metal Gun Barrel Set (12660)” can be used for this kit as well.
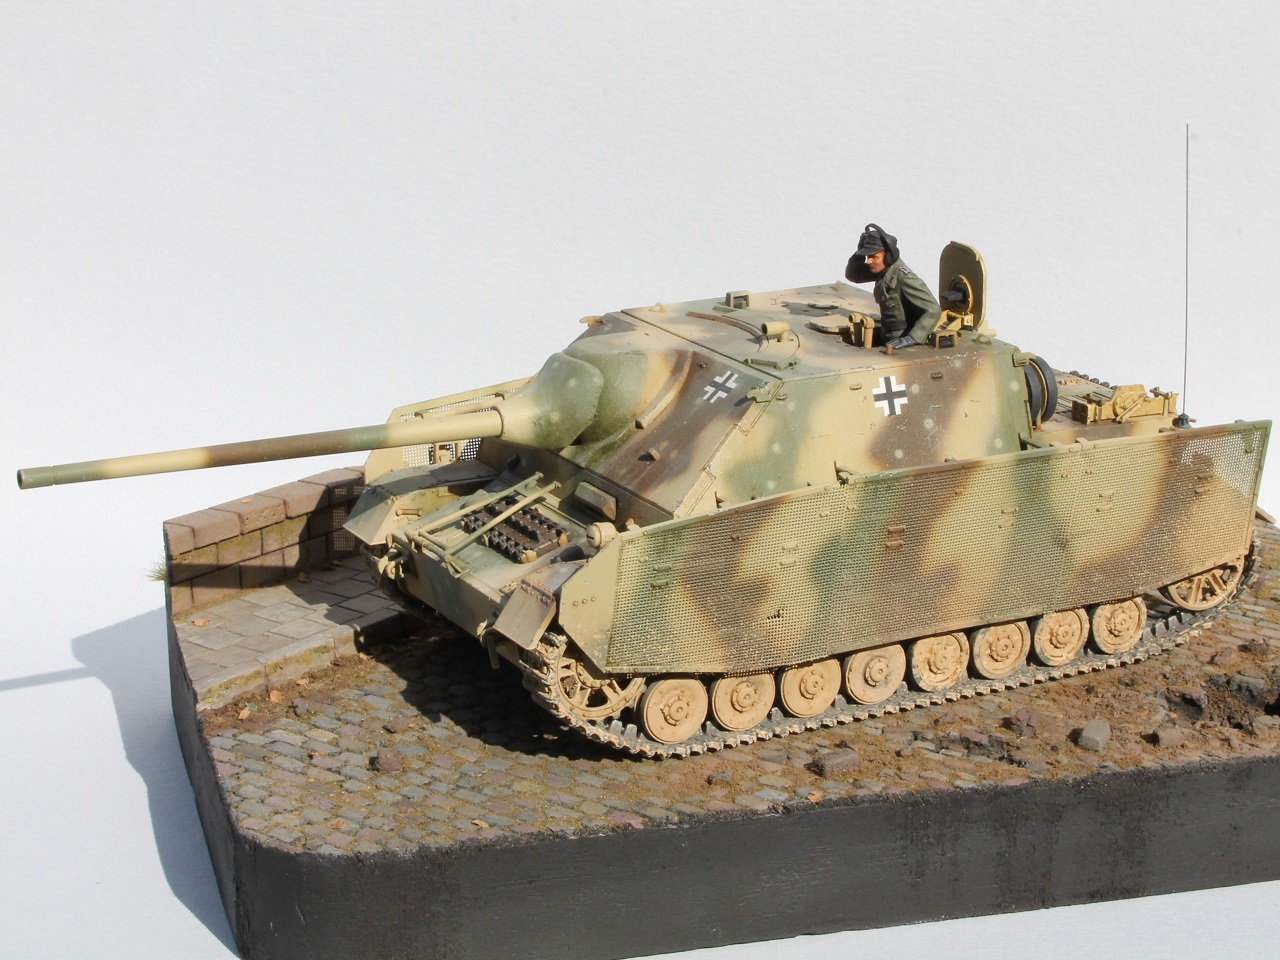
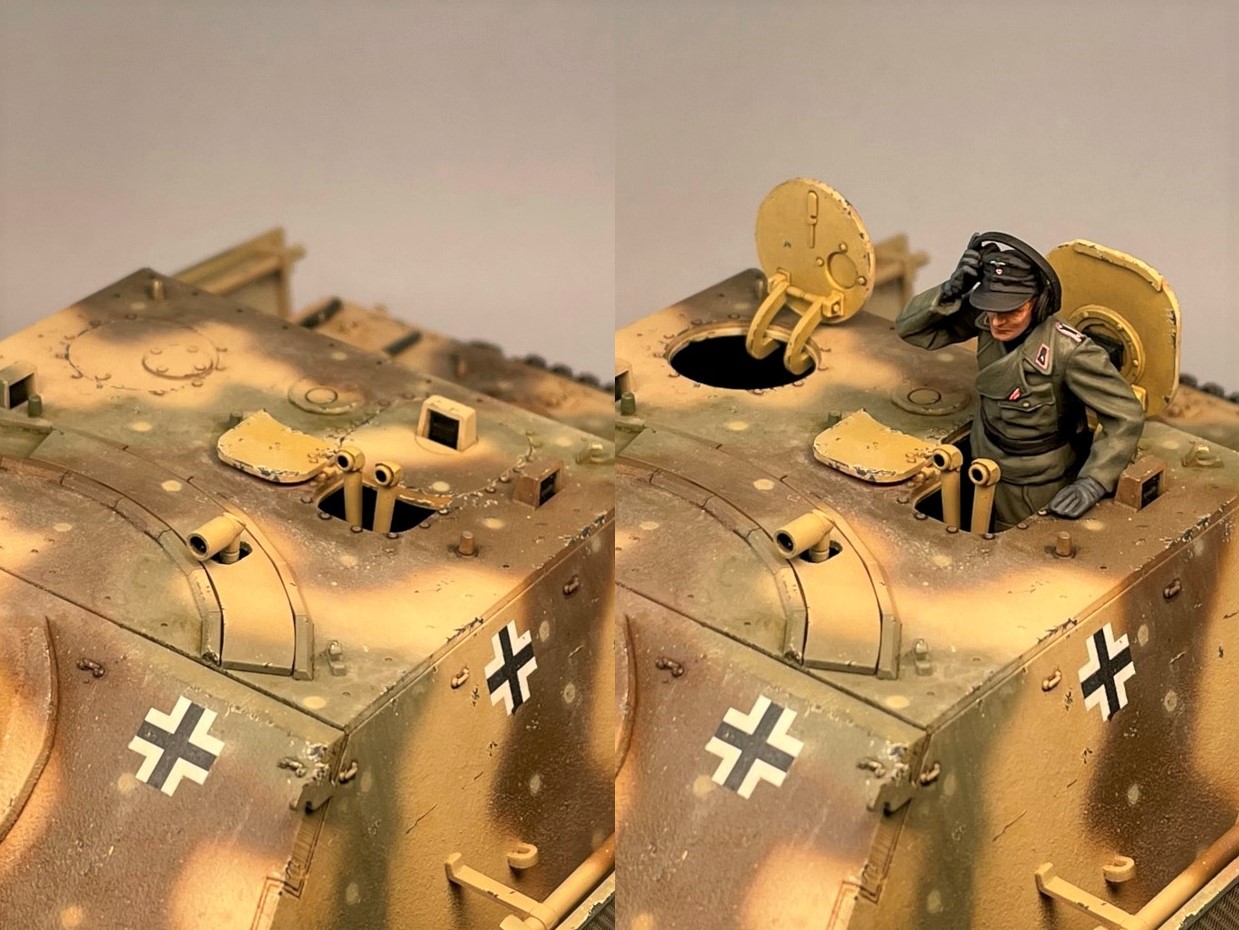
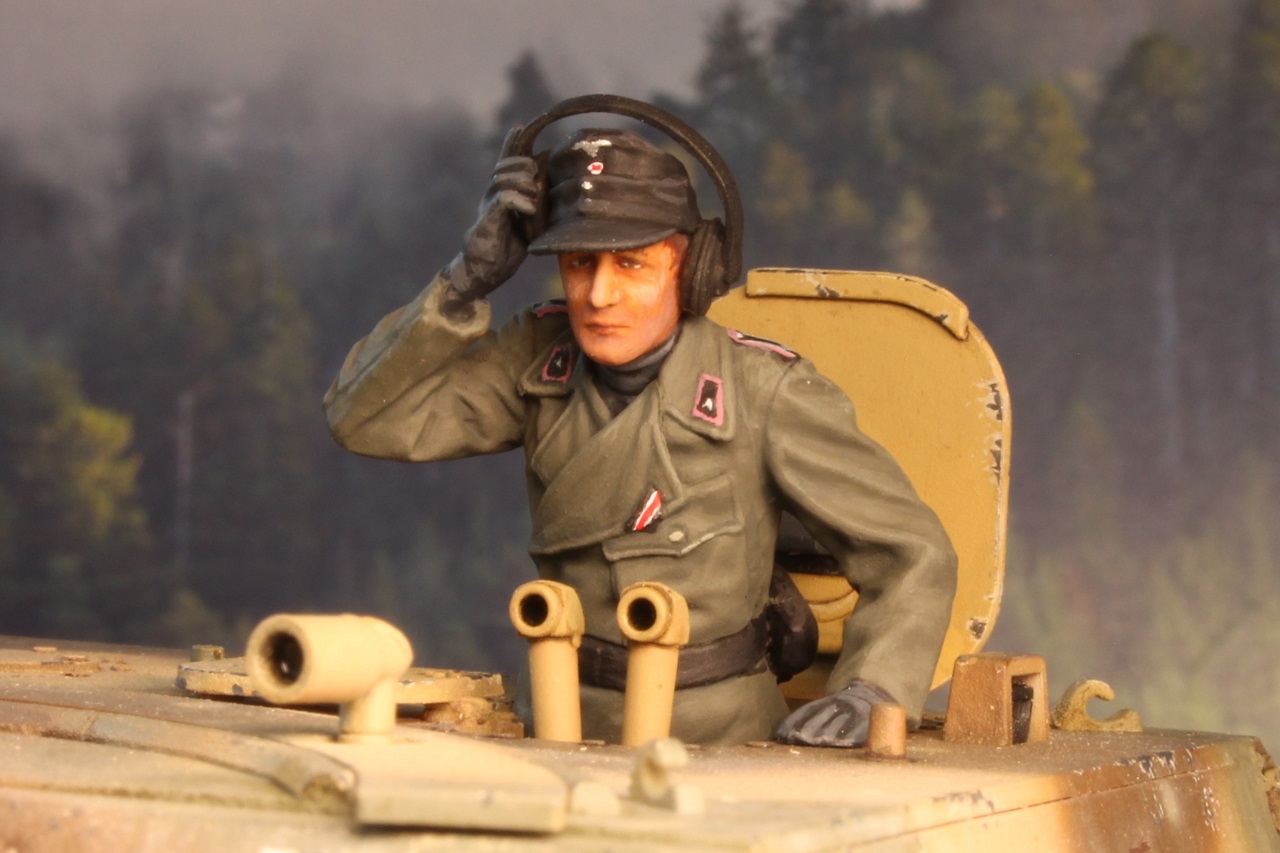
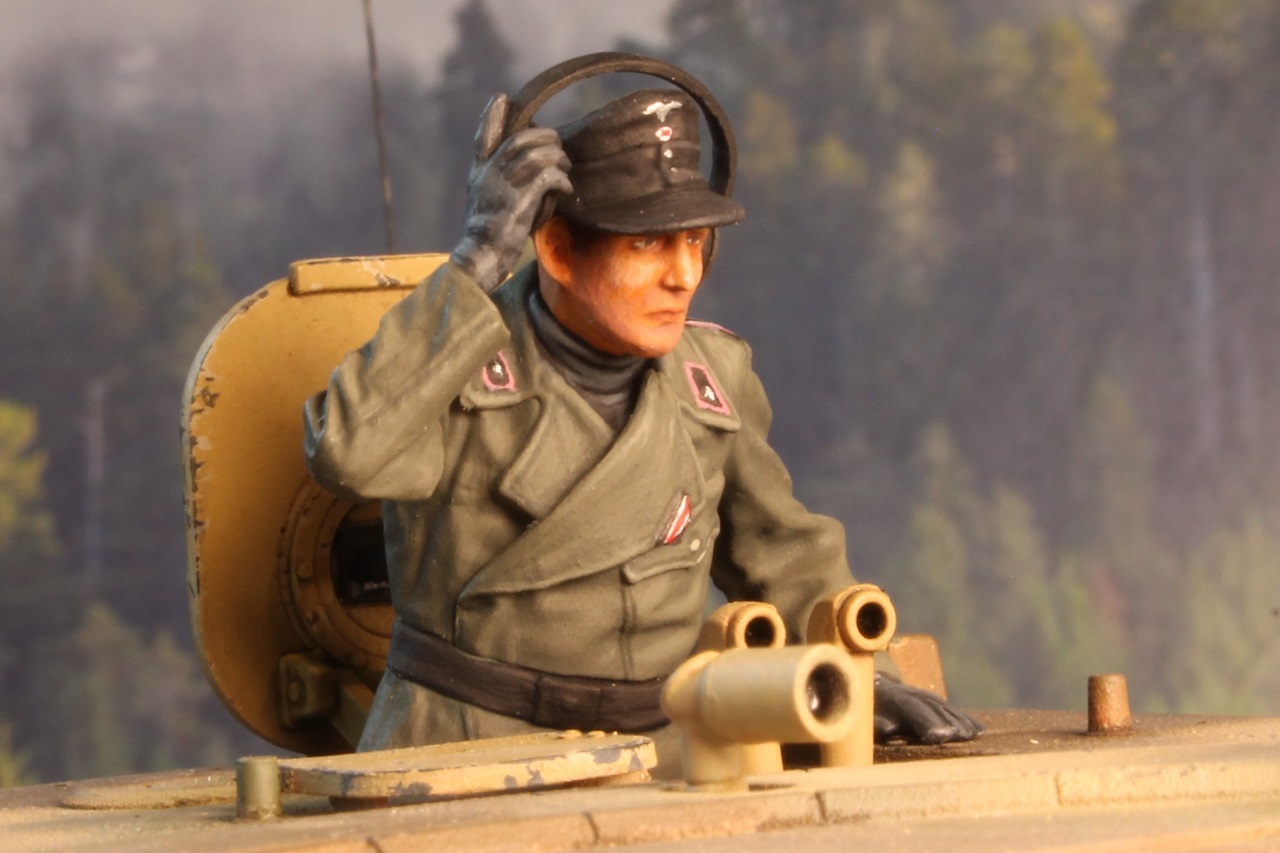
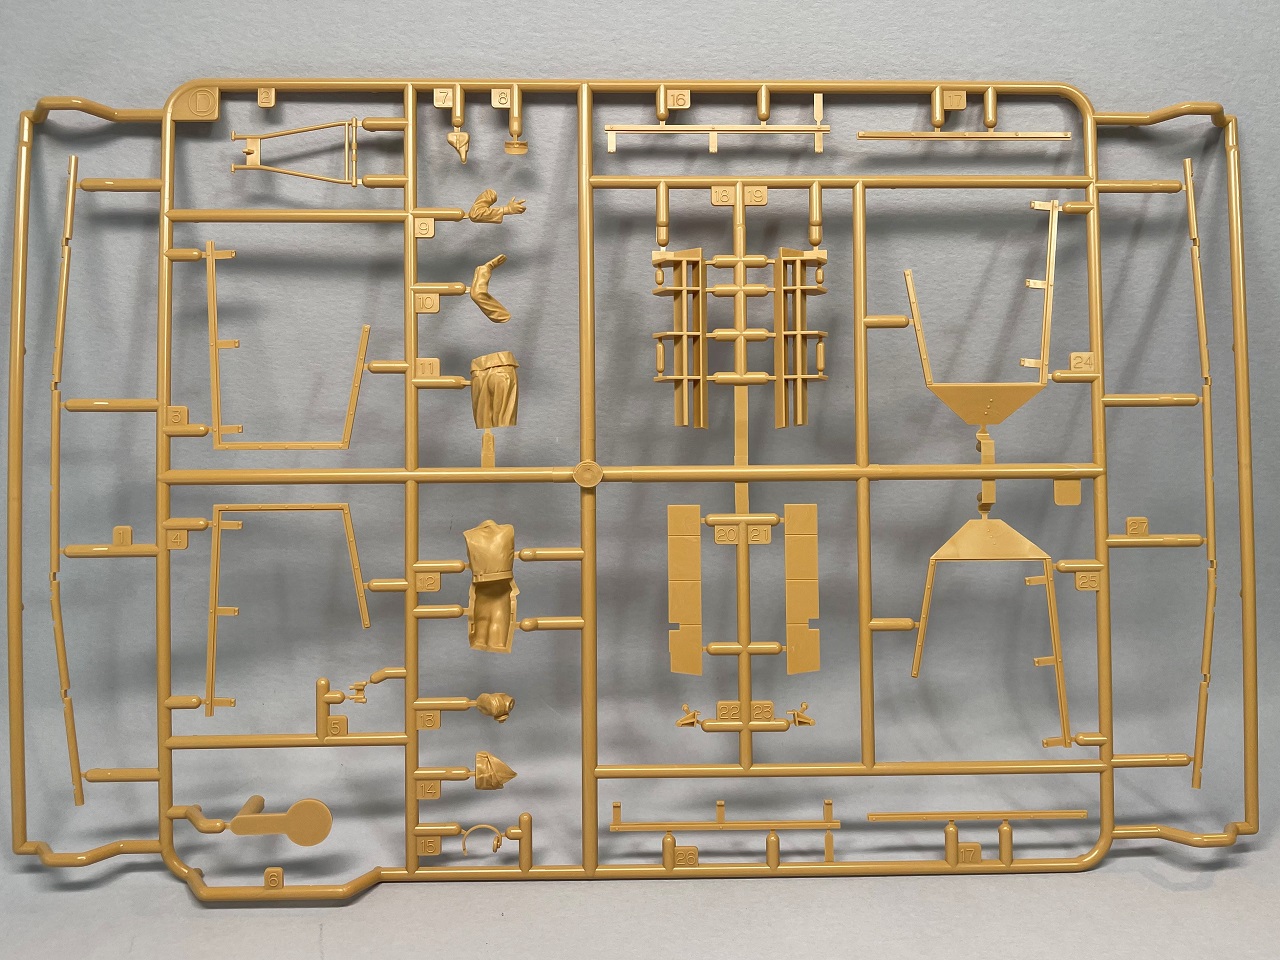
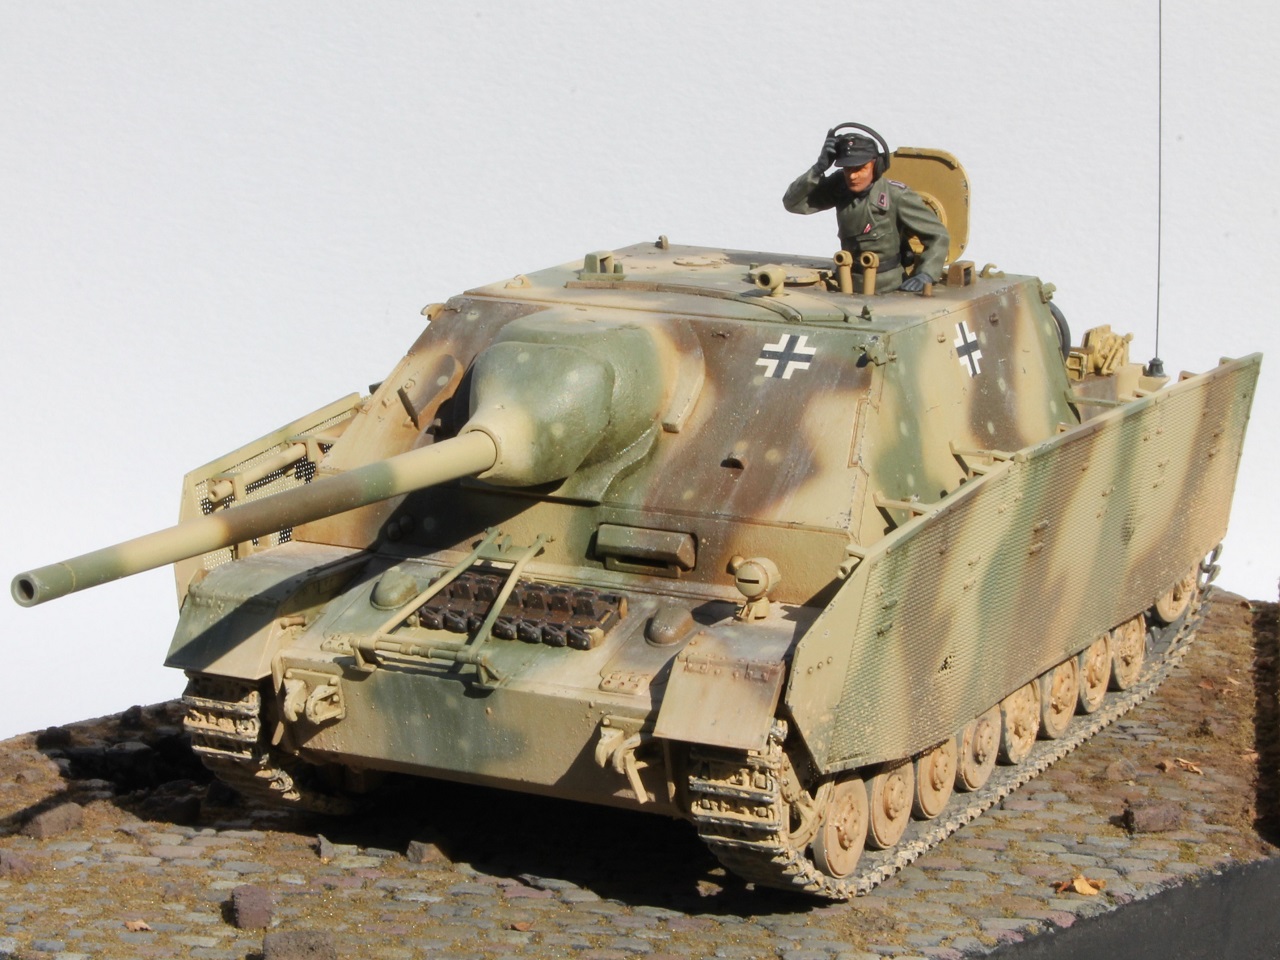
If built carefully, the hatches in the roof can operate. Although there is detail on the underside of the hatches there is no interior detail to see in the fighting compartment. If you want both hatches open you will need to source another figure or build your own interior. A well sculpted commander figure is provided. The figure has no lower legs as it is intended to posed in the open hatch. The figure has a recess molded into its hip that exactly fits his pistol holster, a nice feature to ensure that the holster looks heavy. The painting instructions for the figure are basic and don’t give any guidance for painting the insignia on the uniform. I painted my figure to match the box-top illustration.
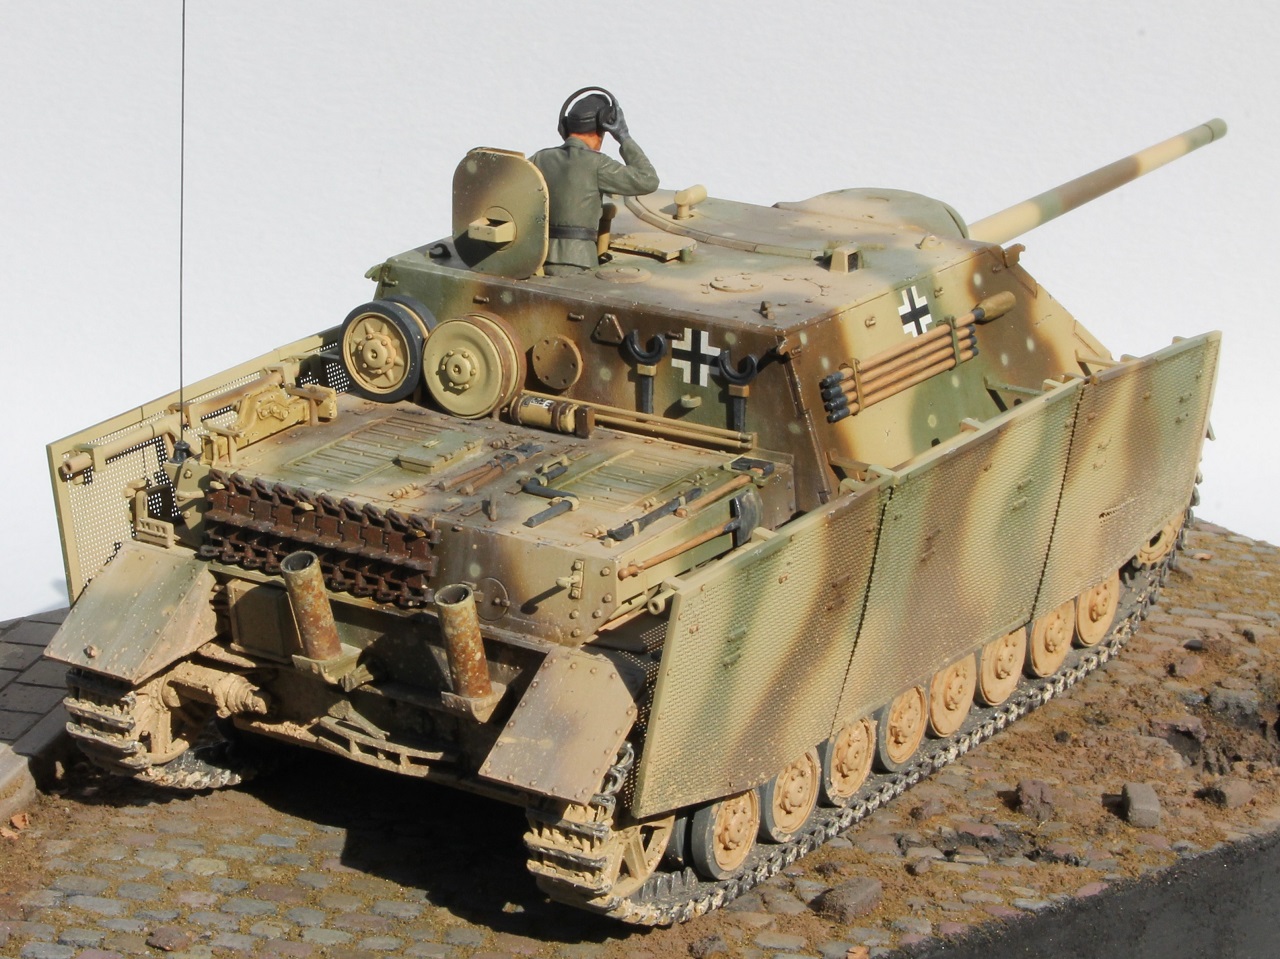
The pioneer tools and cleaning rods are separate parts with clamp and strap detail molded to the tools. Lifting hooks and engine hatch handles are separate parts. Very thin details such as tie-down rings are molded in place rather than as separate parts, a reasonable compromise between detail and buildability in my opinion. Tow cable ends are included on sprue A but are not mentioned in the instructions and no tow cable material is provided. There is an insulated antenna mount provided but no material for the antenna. I made an antenna from stretched sprue. When you’re done with the kit you will have some extra wheels for the spares box.
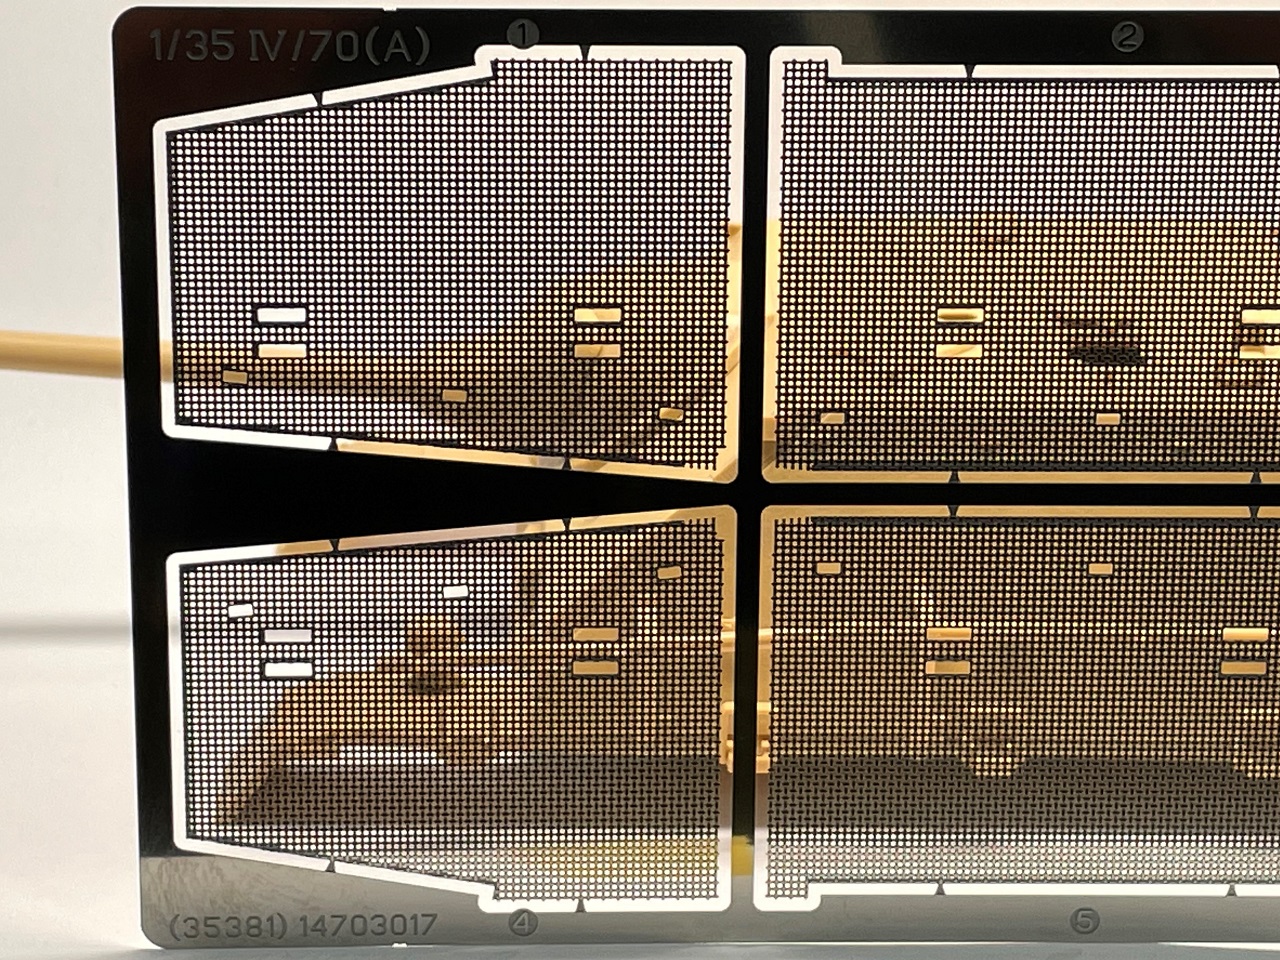
A sheet of photo-etch is included to simulate the wire mesh “shurzen” armor. The sheet is protected in its own bag with a sheet of cardboard to keep it flat. The photo-etch sheet appears to be stainless steel and was unaffected by the blackening fluids I tried. I tried to anneal the etch parts using a butane torch. My efforts darkened the steel slightly and caused some warping but didn’t reduce to springiness of the steel. Reflecting the ‘stop-gap’ nature of this vehicle, the mesh armor looks like it was designed to fit a turreted tank and doesn’t come all the way up the side of the hull.
A very small decal sheet provides crosses, a fire extinguisher label, and vehicle numbers. The decals worked well using hot water and Tamiya’s “Mark-Fit” setting solution.
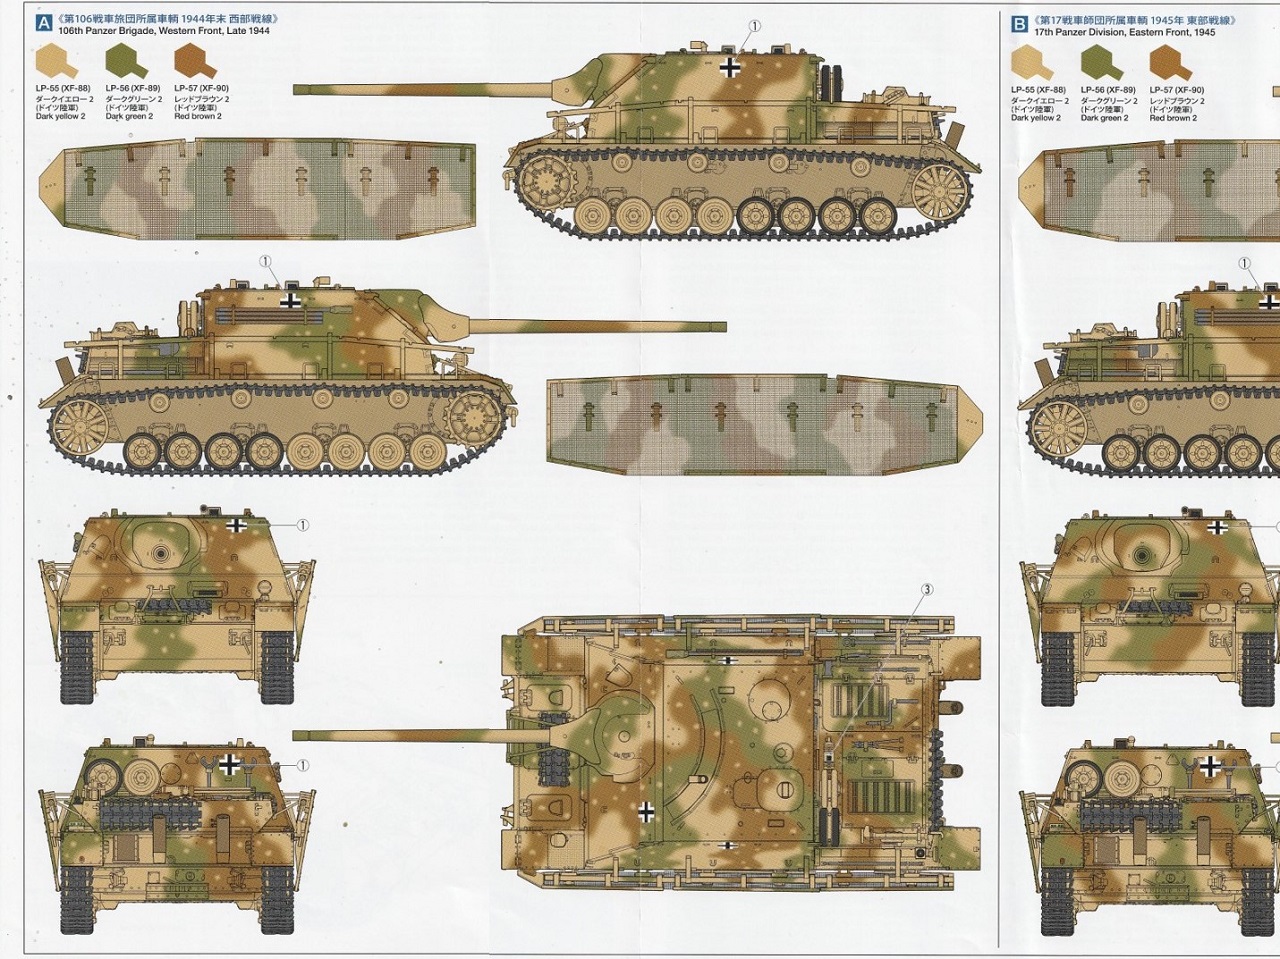
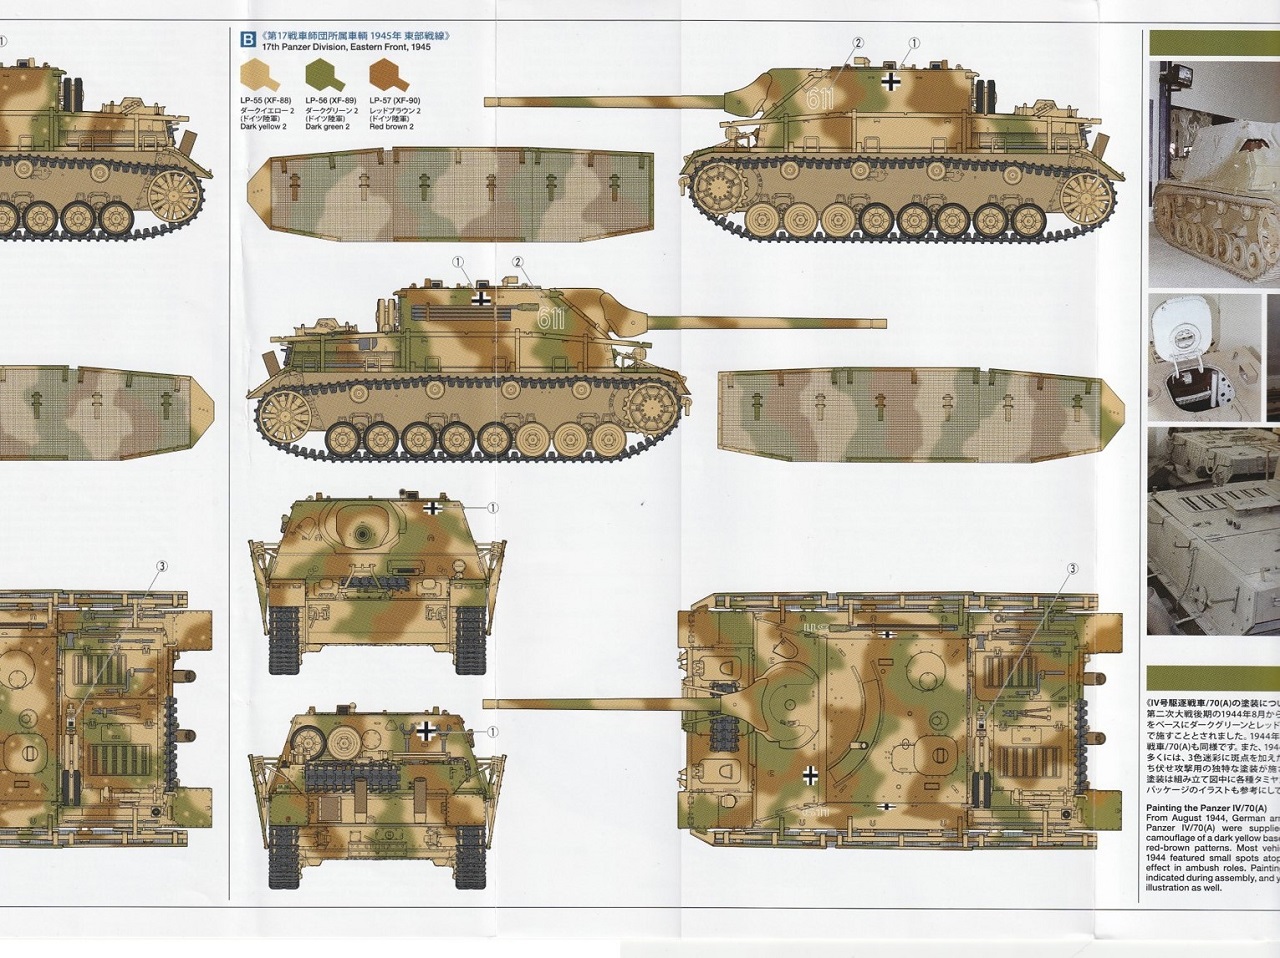
A color painting guide and historical summary is provided in a glossy paper leaflet. Painting instructions are provided for a 106th Panzer Brigade vehicle on the Western Front, and a 17th Panzer Division vehicle from the Eastern Front. The painting guide shows both marking options from all sides and are large enough to see clearly. The leaflet includes several photos of a surviving vehicle in a French Museum.
Throughout the construction of the kit, I was impressed by the thoughtfulness of the kit’s designer(s). Where there are similar looking parts that could be confused, the parts have locating pins that are sized or shaped to be installed in only one location and orientation. Where there are ejector pin marks, they are small and not in obvious places. I had a lot of fun building this kit. The Tamiya engineers seem to have found a good balance between detail and simplicity. Enough detail is provided to make a convincing replica without introducing so much complexity that the build becomes tedious. The fit of parts is excellent, at no time did I feel like I was fighting the kit to get it together.
I am very grateful to IPMS USA for providing the opportunity to review this kit. Tamiya USA deserves thanks for providing this kit for review and for continuing to bring to market kits that are both interesting and fun to build.

Comments
Add new comment
This site is protected by reCAPTCHA and the Google Privacy Policy and Terms of Service apply.