
Frameless Chalkboard DIY
What started as a need to conceal an electrical panel that was located in a very visible space in the house, lead to the creation of a frameless chalkboard and creative space for our kids.
I wanted something that had a modern vibe, less of a rustic feel and that acted more like a work of art. I was inspired by the chalkboard in these rooms I found on Pinterest: modern, simple, clean lines. My goal was to design a piece to focus on the art that would be created and less on the chalkboard itself.


Step 1: So I set out on a trip to Home Depot and had them custom cut a piece of 1/4" birch plywood to fit my space. I also purchased a few long pieces of .75"x1.75" birch trim to build the frame.
Step 2: Using a miter saw, I cut the .75"x1.75" wood strips to create a frame on the back of the plywood that would not only provide support but give it a more substantial look. I mounted the frame to the back of the plywood with wood glue and wood screws and voila! Simple as that!
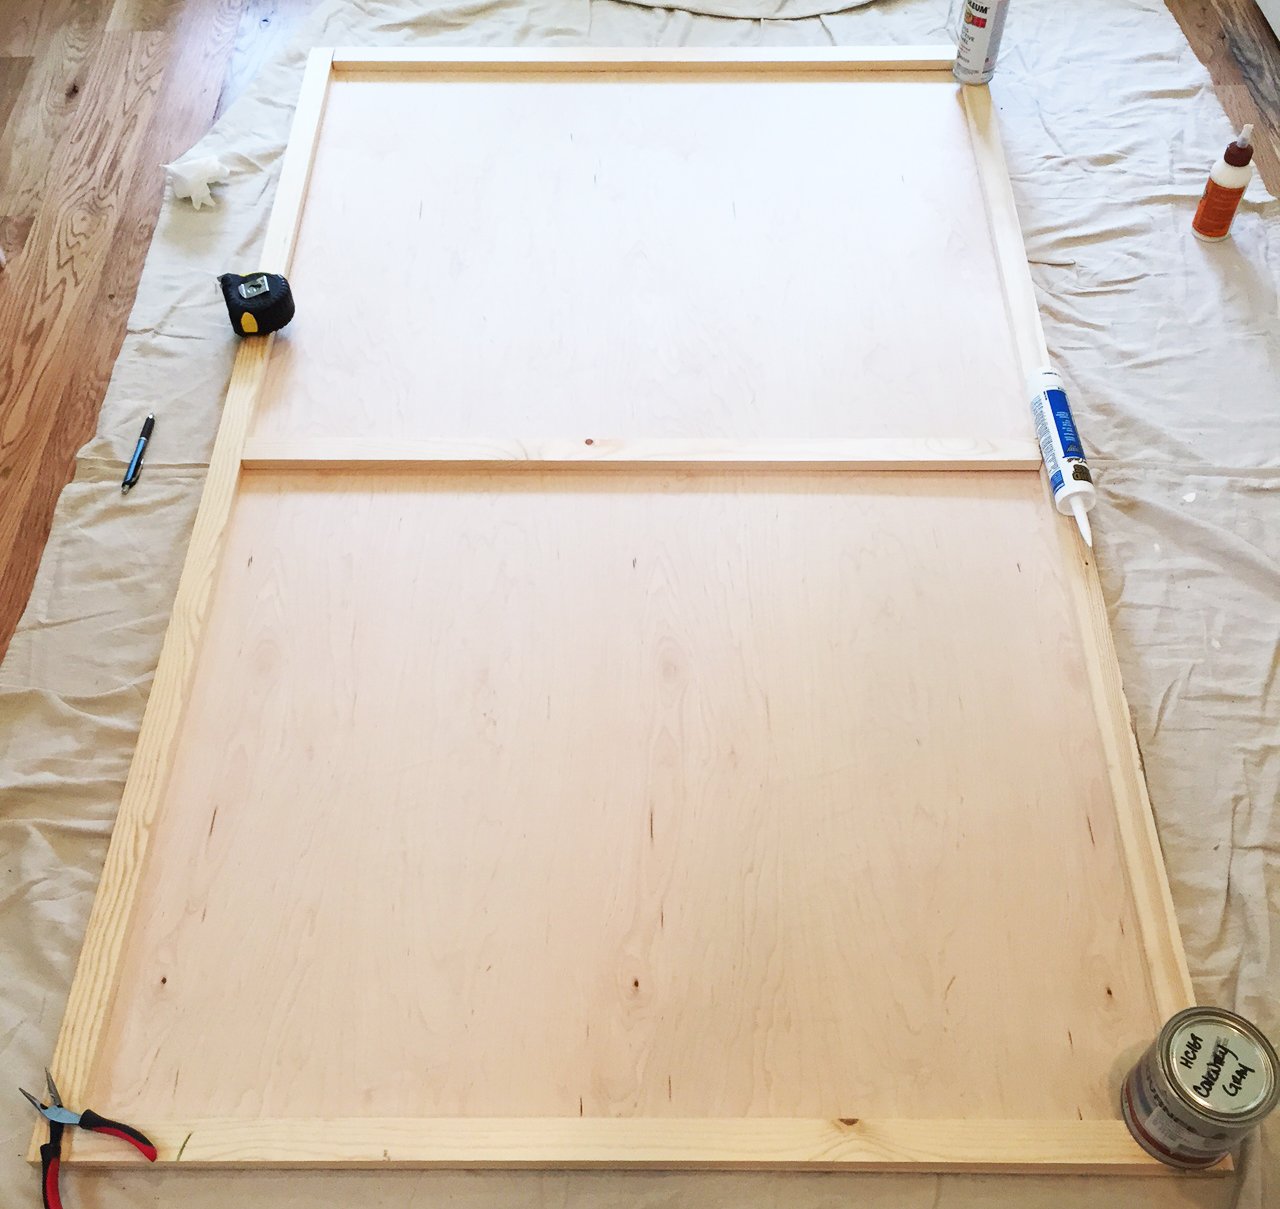
I weighted down the edges of the 3/4" x 1 3/4" strips to ensure I had cut them correctly and they fit together seemlessly (don't laugh at the pliers...after getting up and down a thousand times a girl has to do what a girl has to do).
Step 3: I flipped the chalkboard over, gave it a good sanding on all sides, wiped the piece clean with tack cloth and primed the front/ sides using a Kilz primer. Having worked for Benjamin Moore and knowing the excellent quality of their products, I only use or recommend Benjamin Moore. Although their chalkboard paint can be custom tinted in any color, I again wanted that sleek modern look so I opted for black.

I am pretty excited how easy this project was and what a dramatic impact it made to this small space. Across from the chalkboard is an awkward space that sits under the stairs that used to house our washer and dryer pre-renovation. I converted this area into a built-in desk and shelf where the kids can craft the day away. More to come on this half of the project.....
