DIY Statue of Liberty Costume Feat. Her Right Foot
DIY Statue of Liberty Costume
Feat. Her Right Foot
A little background: I absolutely live for when my friends ask me to do weird projects for them. I honestly can't think of a thing that makes me feel happier or more like I actually contribute to society than when a friend asks me to do a weird project for them. It's my favorite. Any question that starts with "Hey Victoria, could you make..." is going to be answered with a "Yes". Probably before I even hear the second part of that question, if I'm being honest. Unfortunately these are usually other peoples' projects and I don't exactly get to share them. Luckily, this is not one of those times.
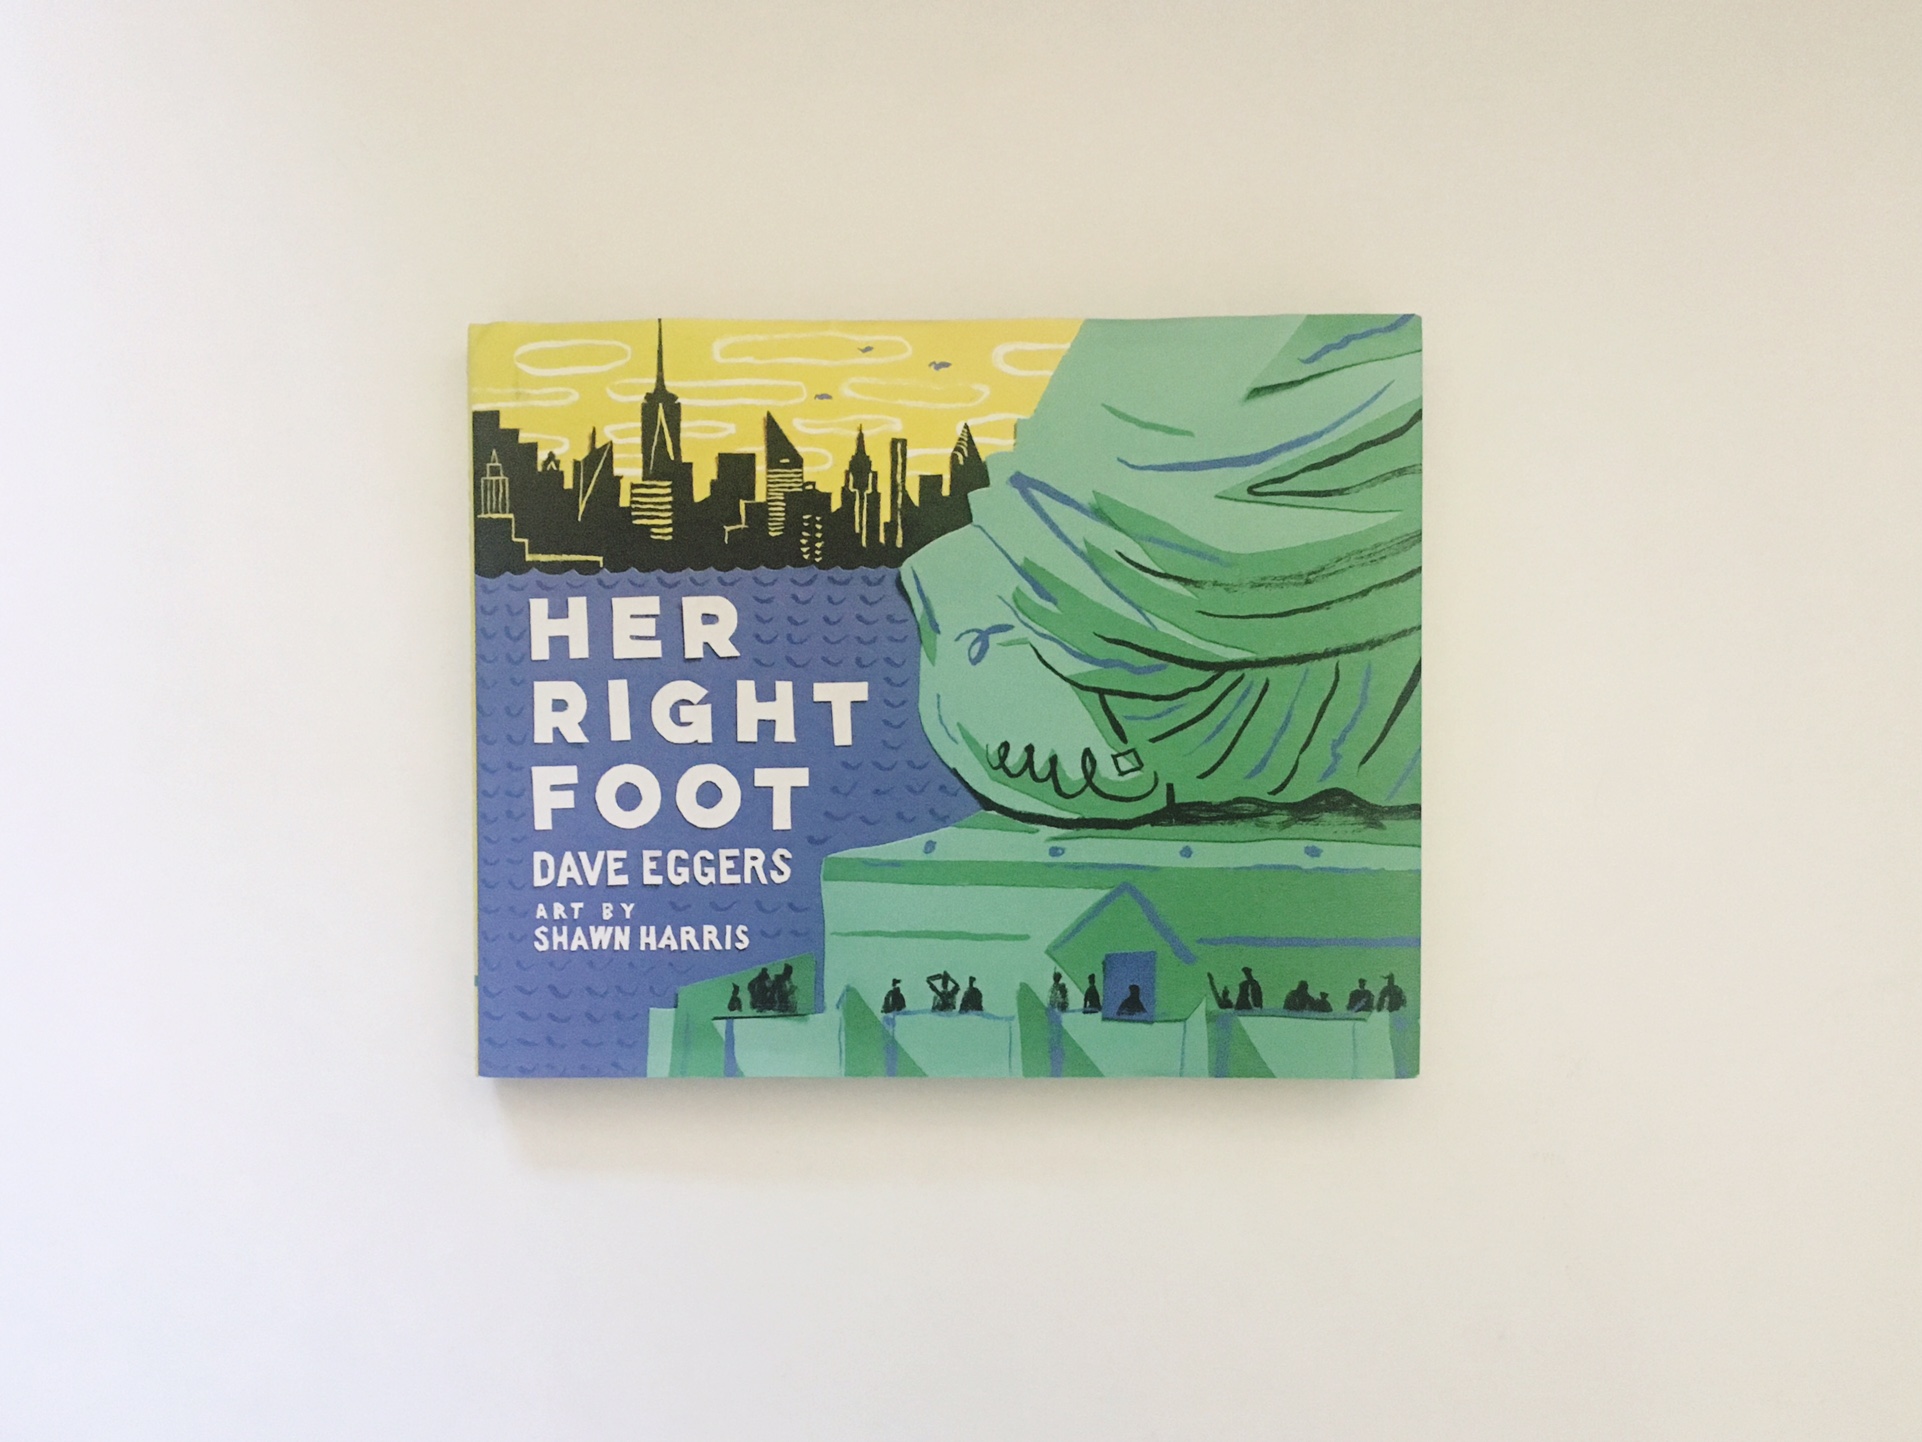
A couple weeks ago my friend Shawn asked me if I could make a Statue of Liberty costume for my daughter, Alice. Shawn illustrated a children's book about the Statue of Liberty. It's called Her Right Foot. It's delightful. It kind of made me cry a little. And if you take the dust jacket off of it, it looks just like the book from the statue. Hence the costume.
(Side note: one day I'll tell you the hilarious and awkward story about how Shawn and I became friends. We don't have time for that today, but trust me. It's hilarious. And awkward.)
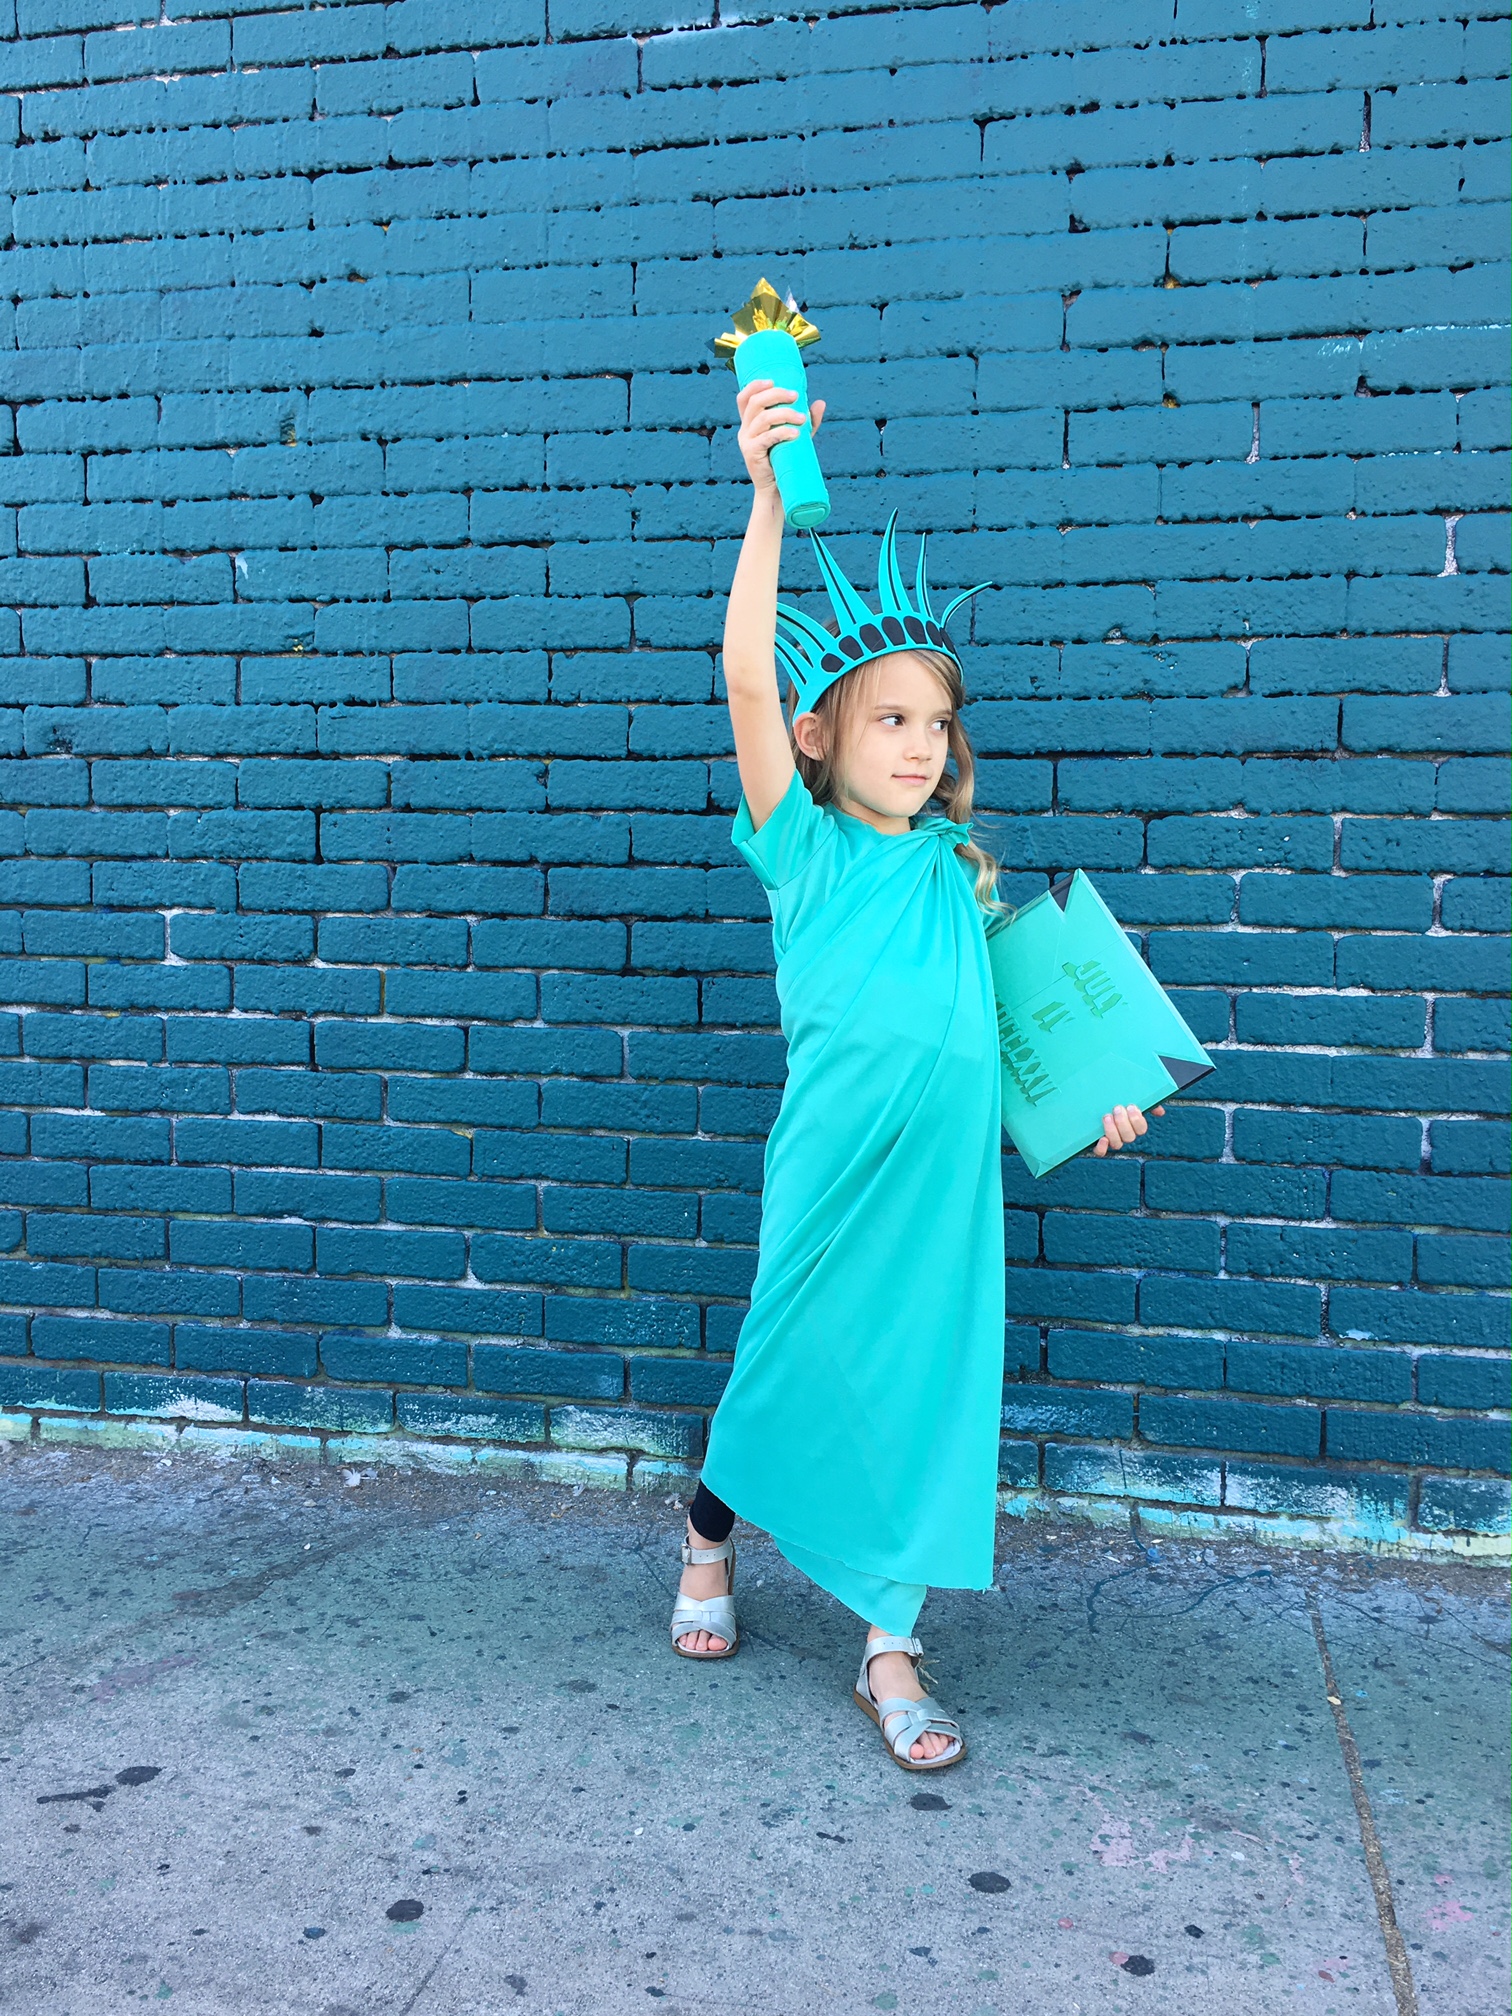
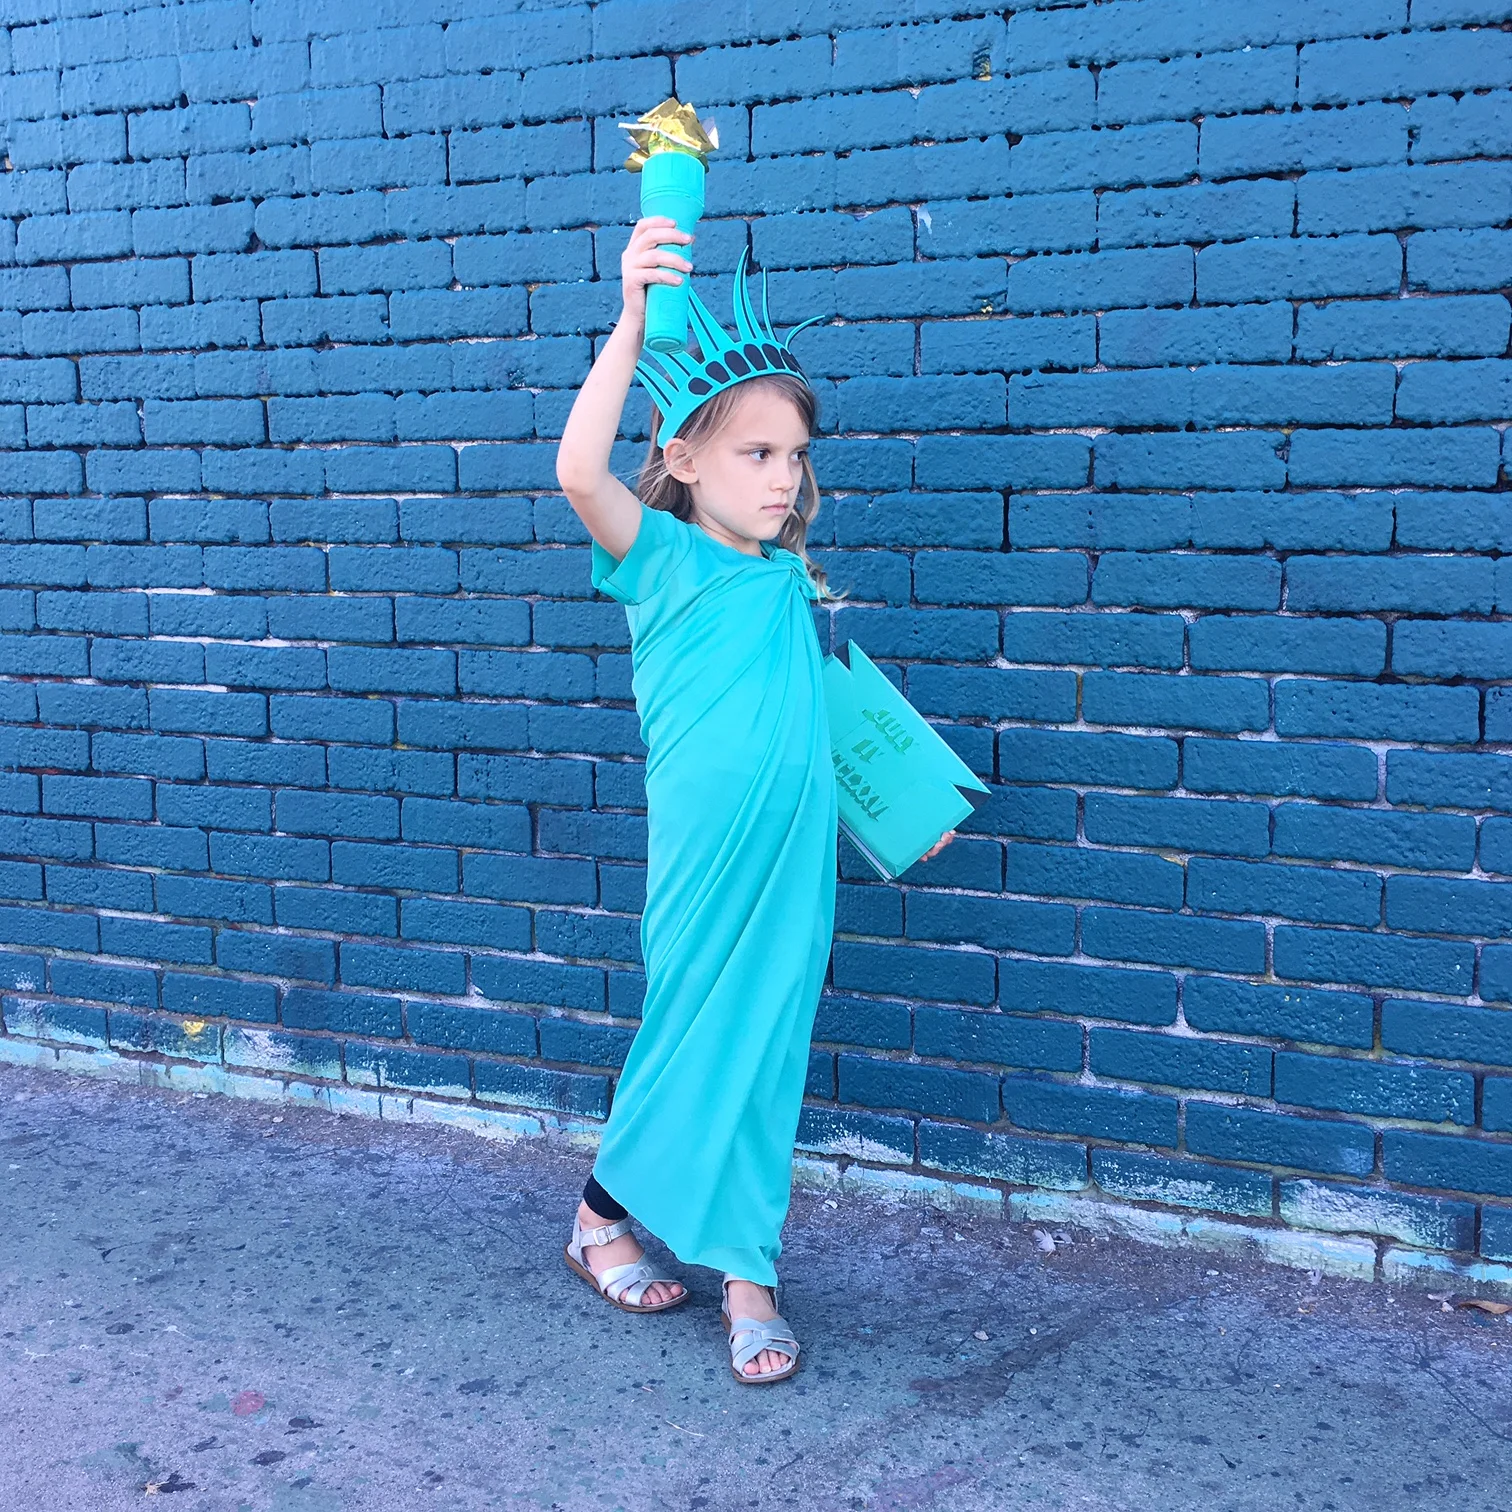
But back to today's topic: Here are some pictures of Alice's costume, inspired by Her Right Foot.

Since Halloween is only a couple weeks away now and I don't know about you, but I'm not the greatest at getting costumes done in time, obviously I wasn't going to go through all of that without telling you how I made it (thanks to a lot of help from my one true BFF, the internet). Pros: it's super fast, requires approximately zero special skills, and cost less than $20 (including the supplies I way over bought but not including the book so actually that number is entirely meaningless). Cons: zero.
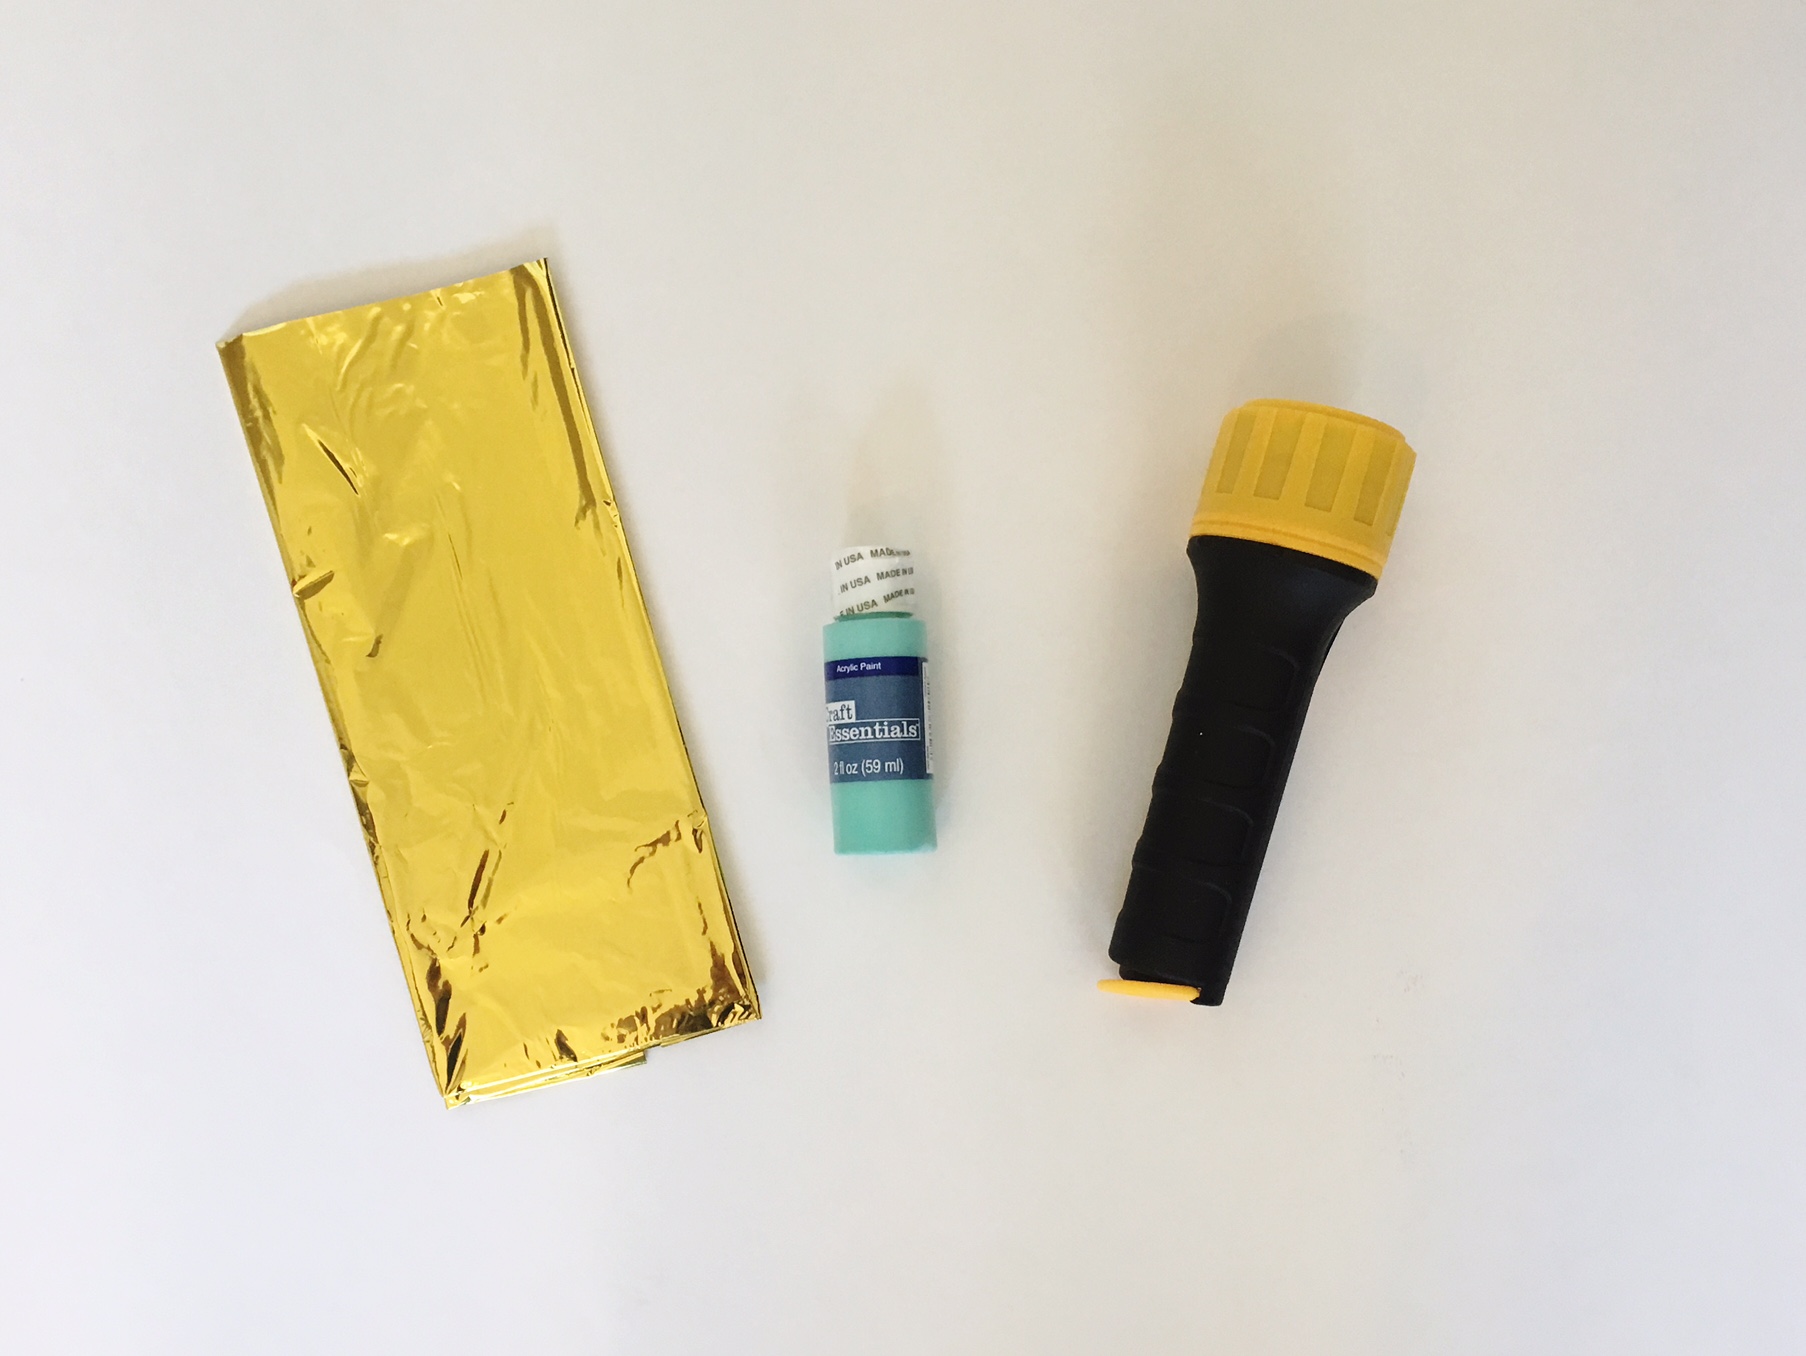
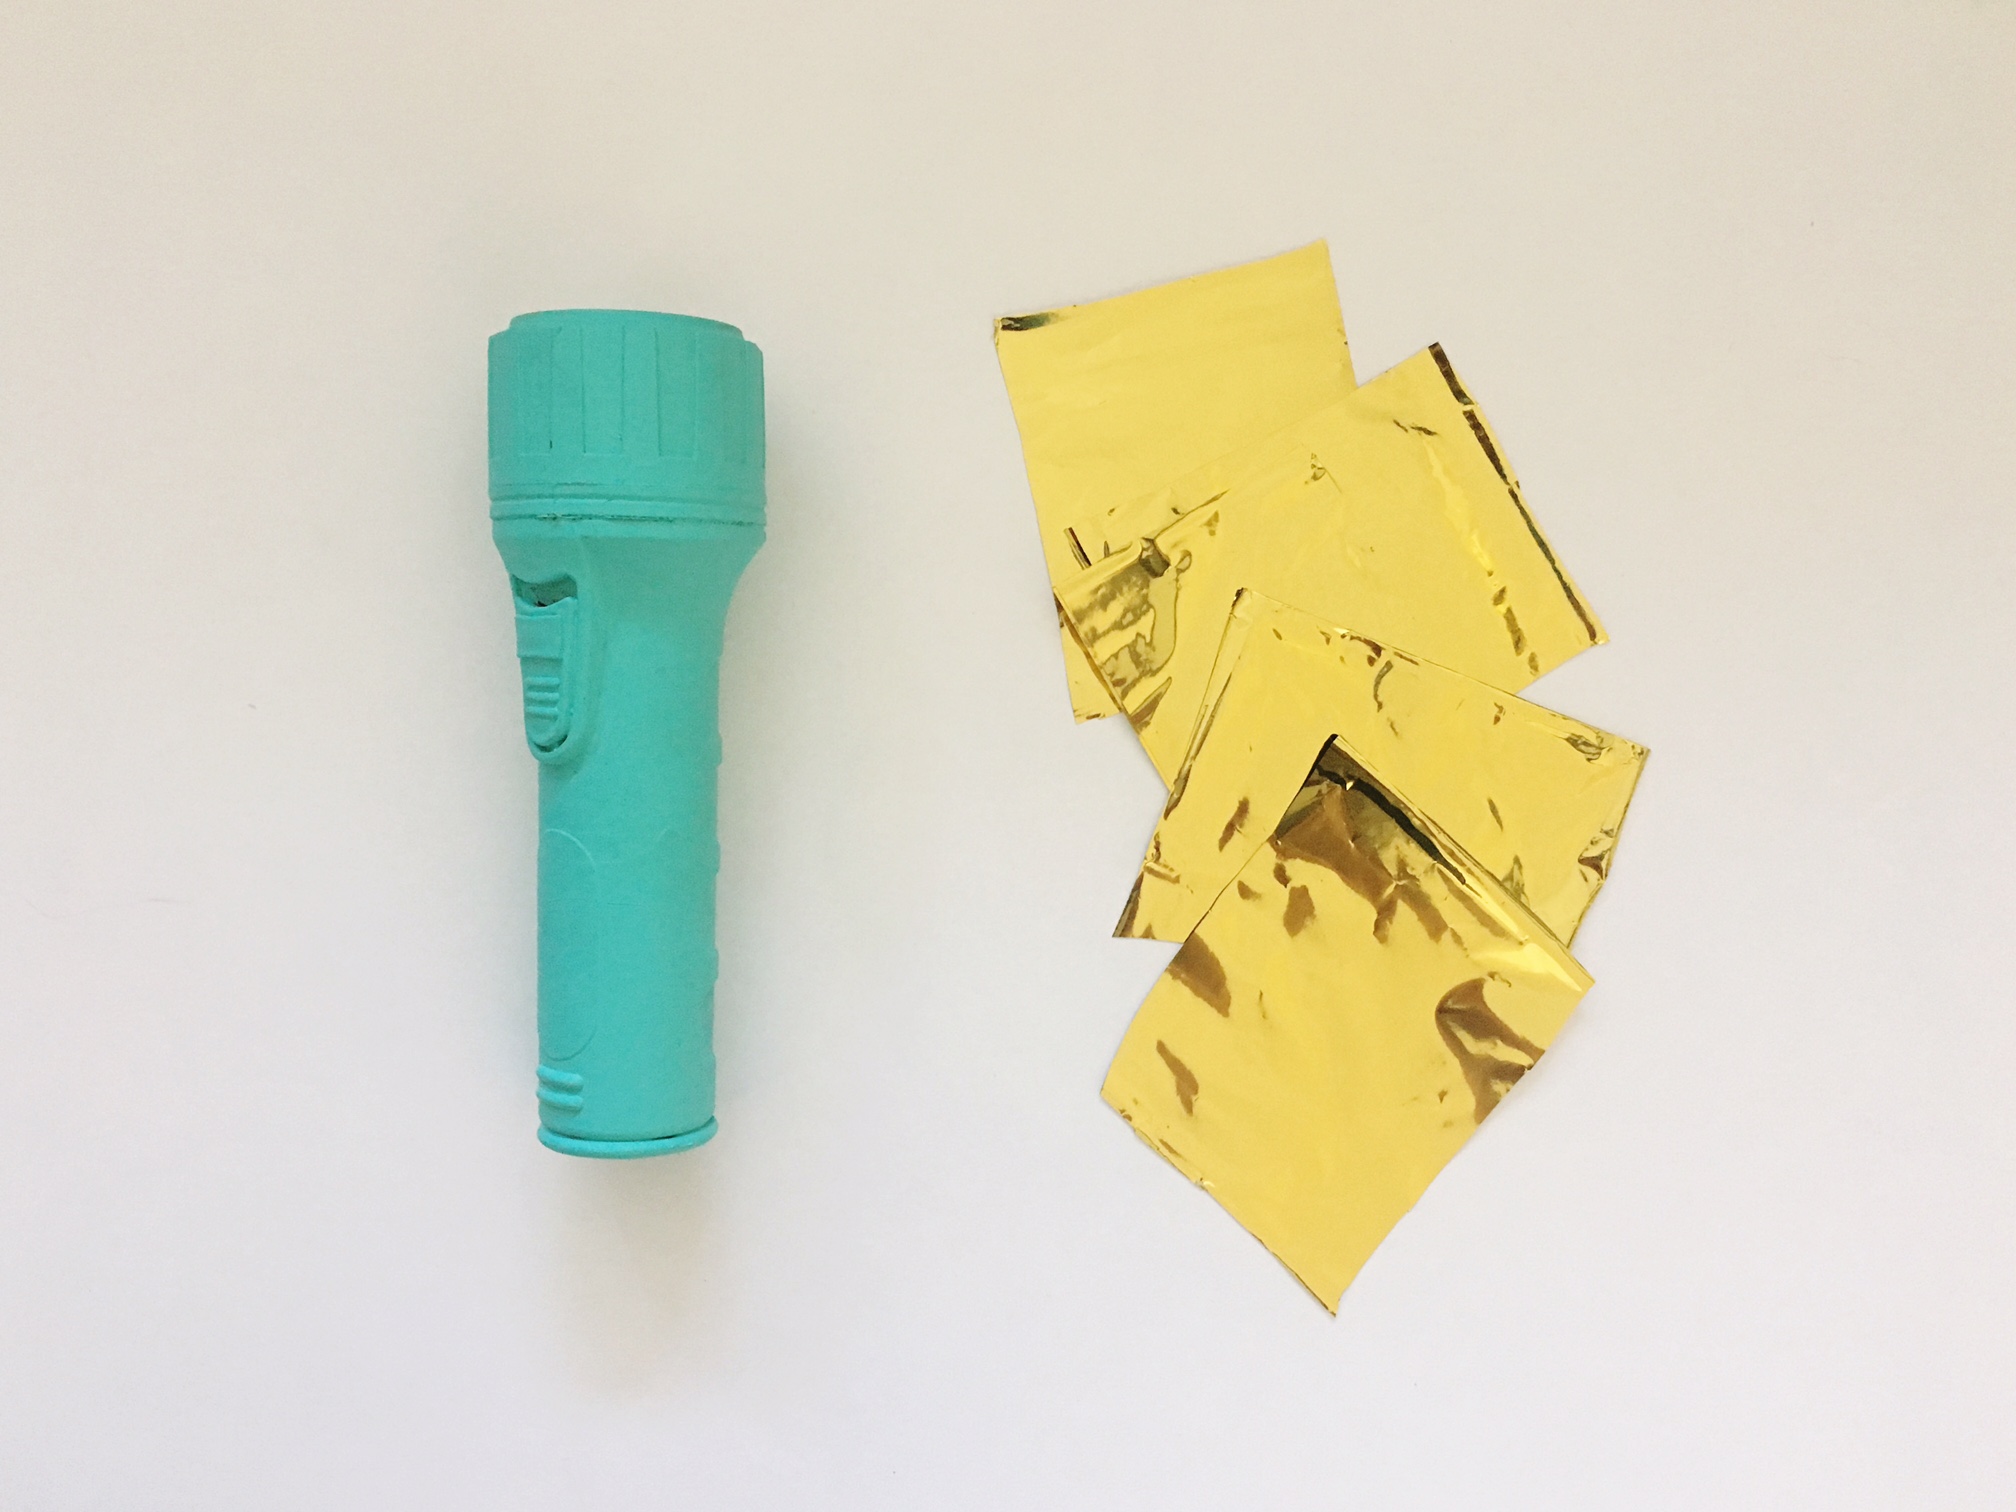
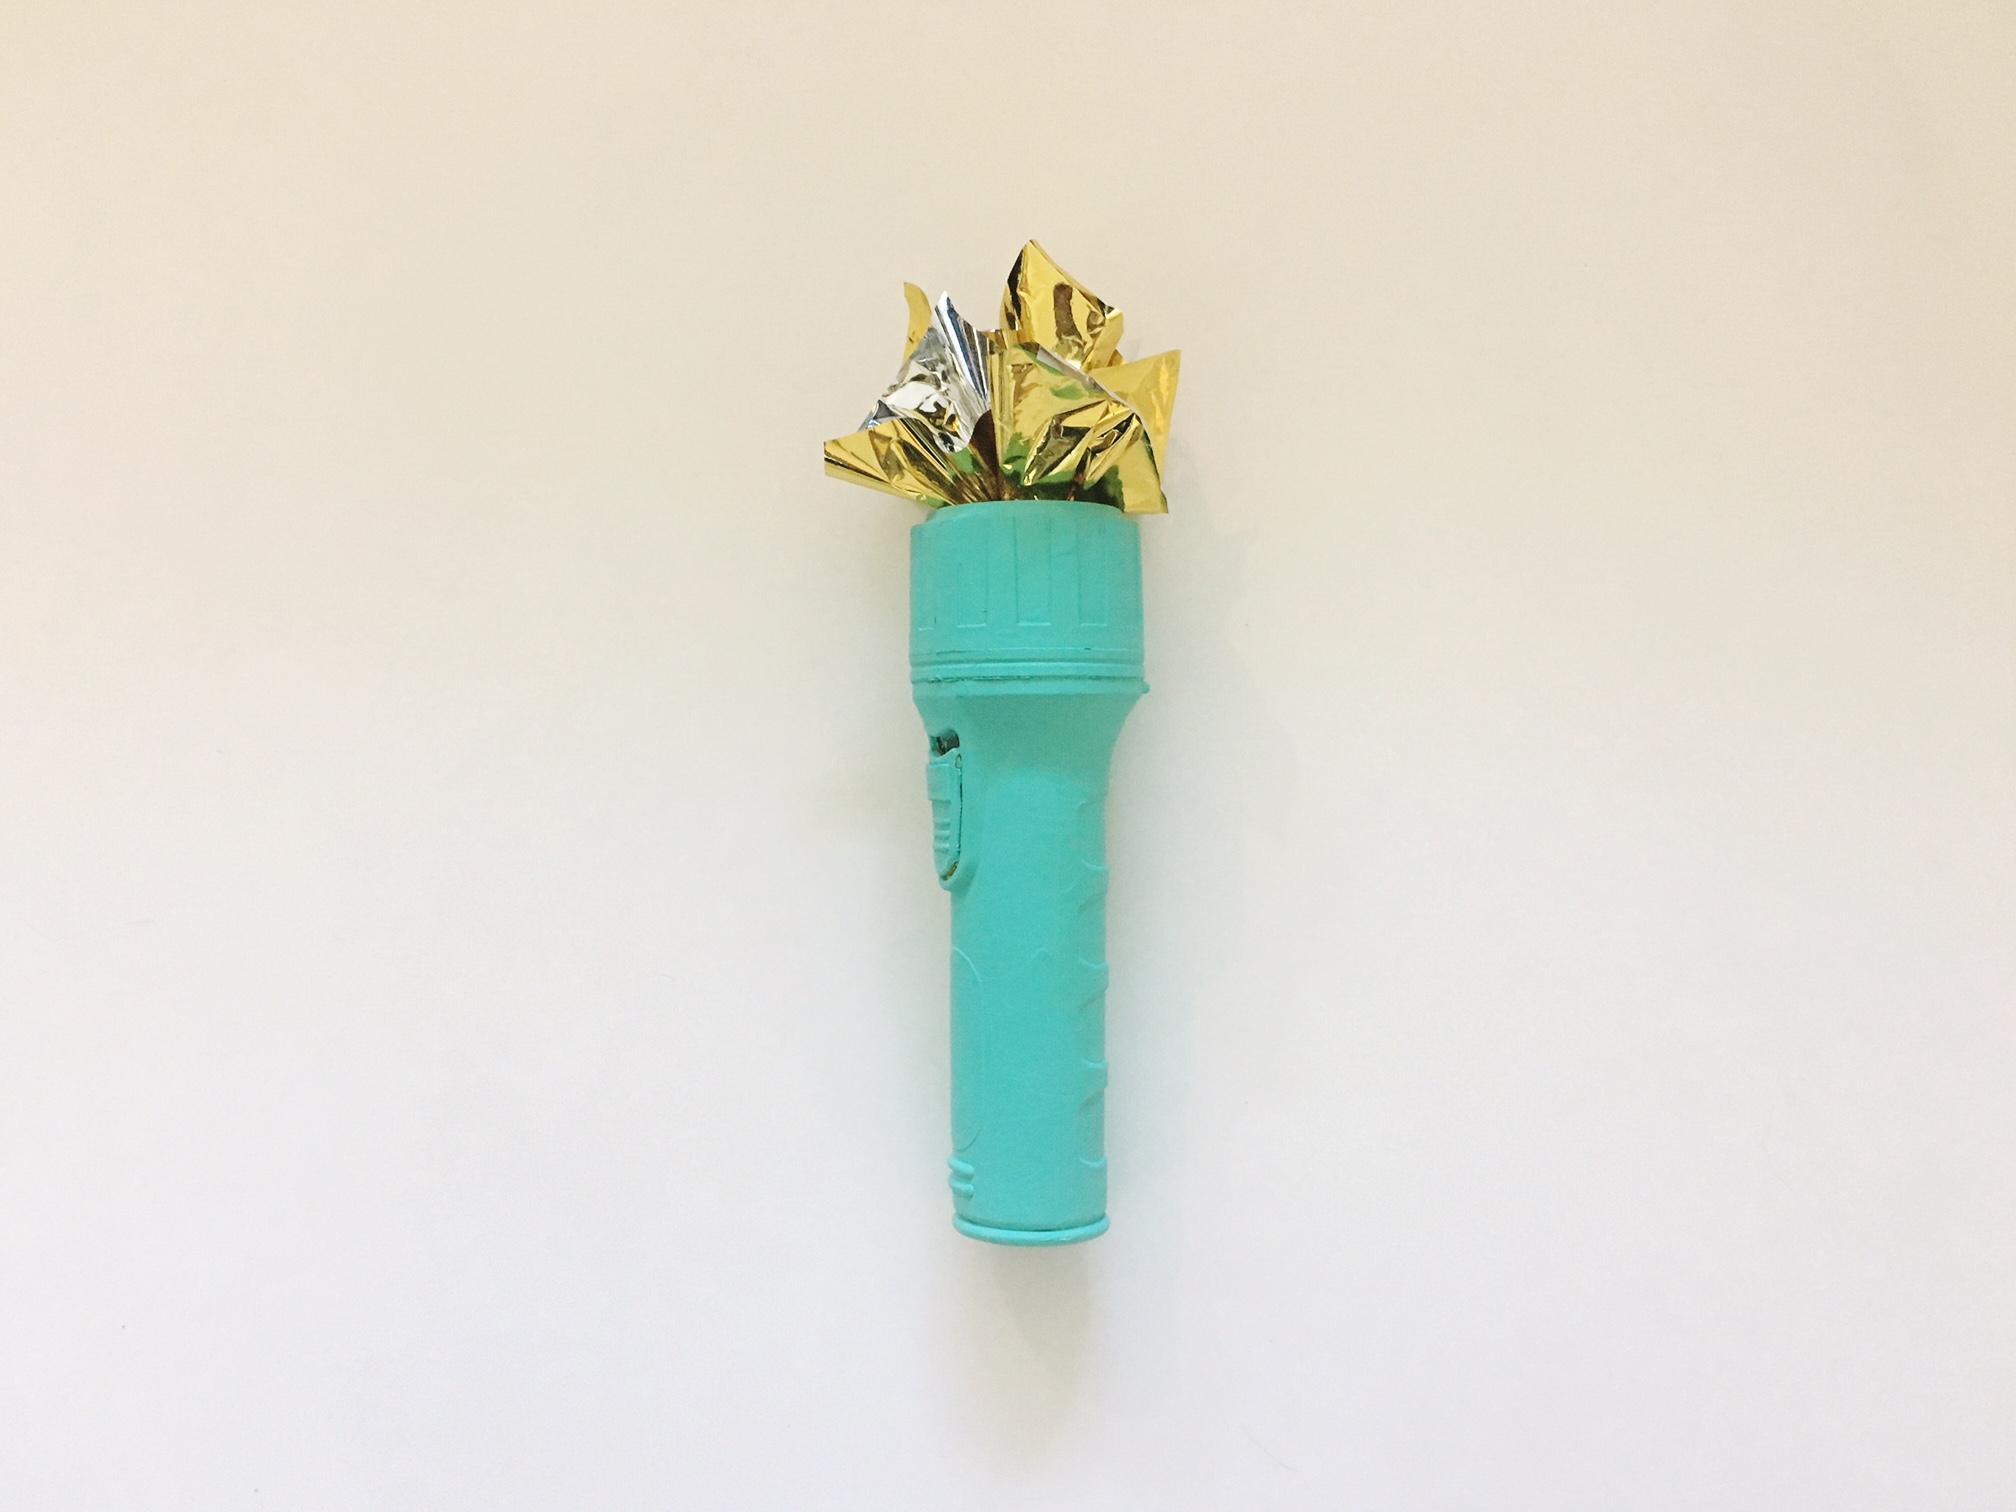
For the torch I took a dollar store flashlight, painted it, and hot glued squares of gold tissue paper that I found on clearance at Joann's in the center of the top to look like flames. This is Alice's favorite part because it lights up.
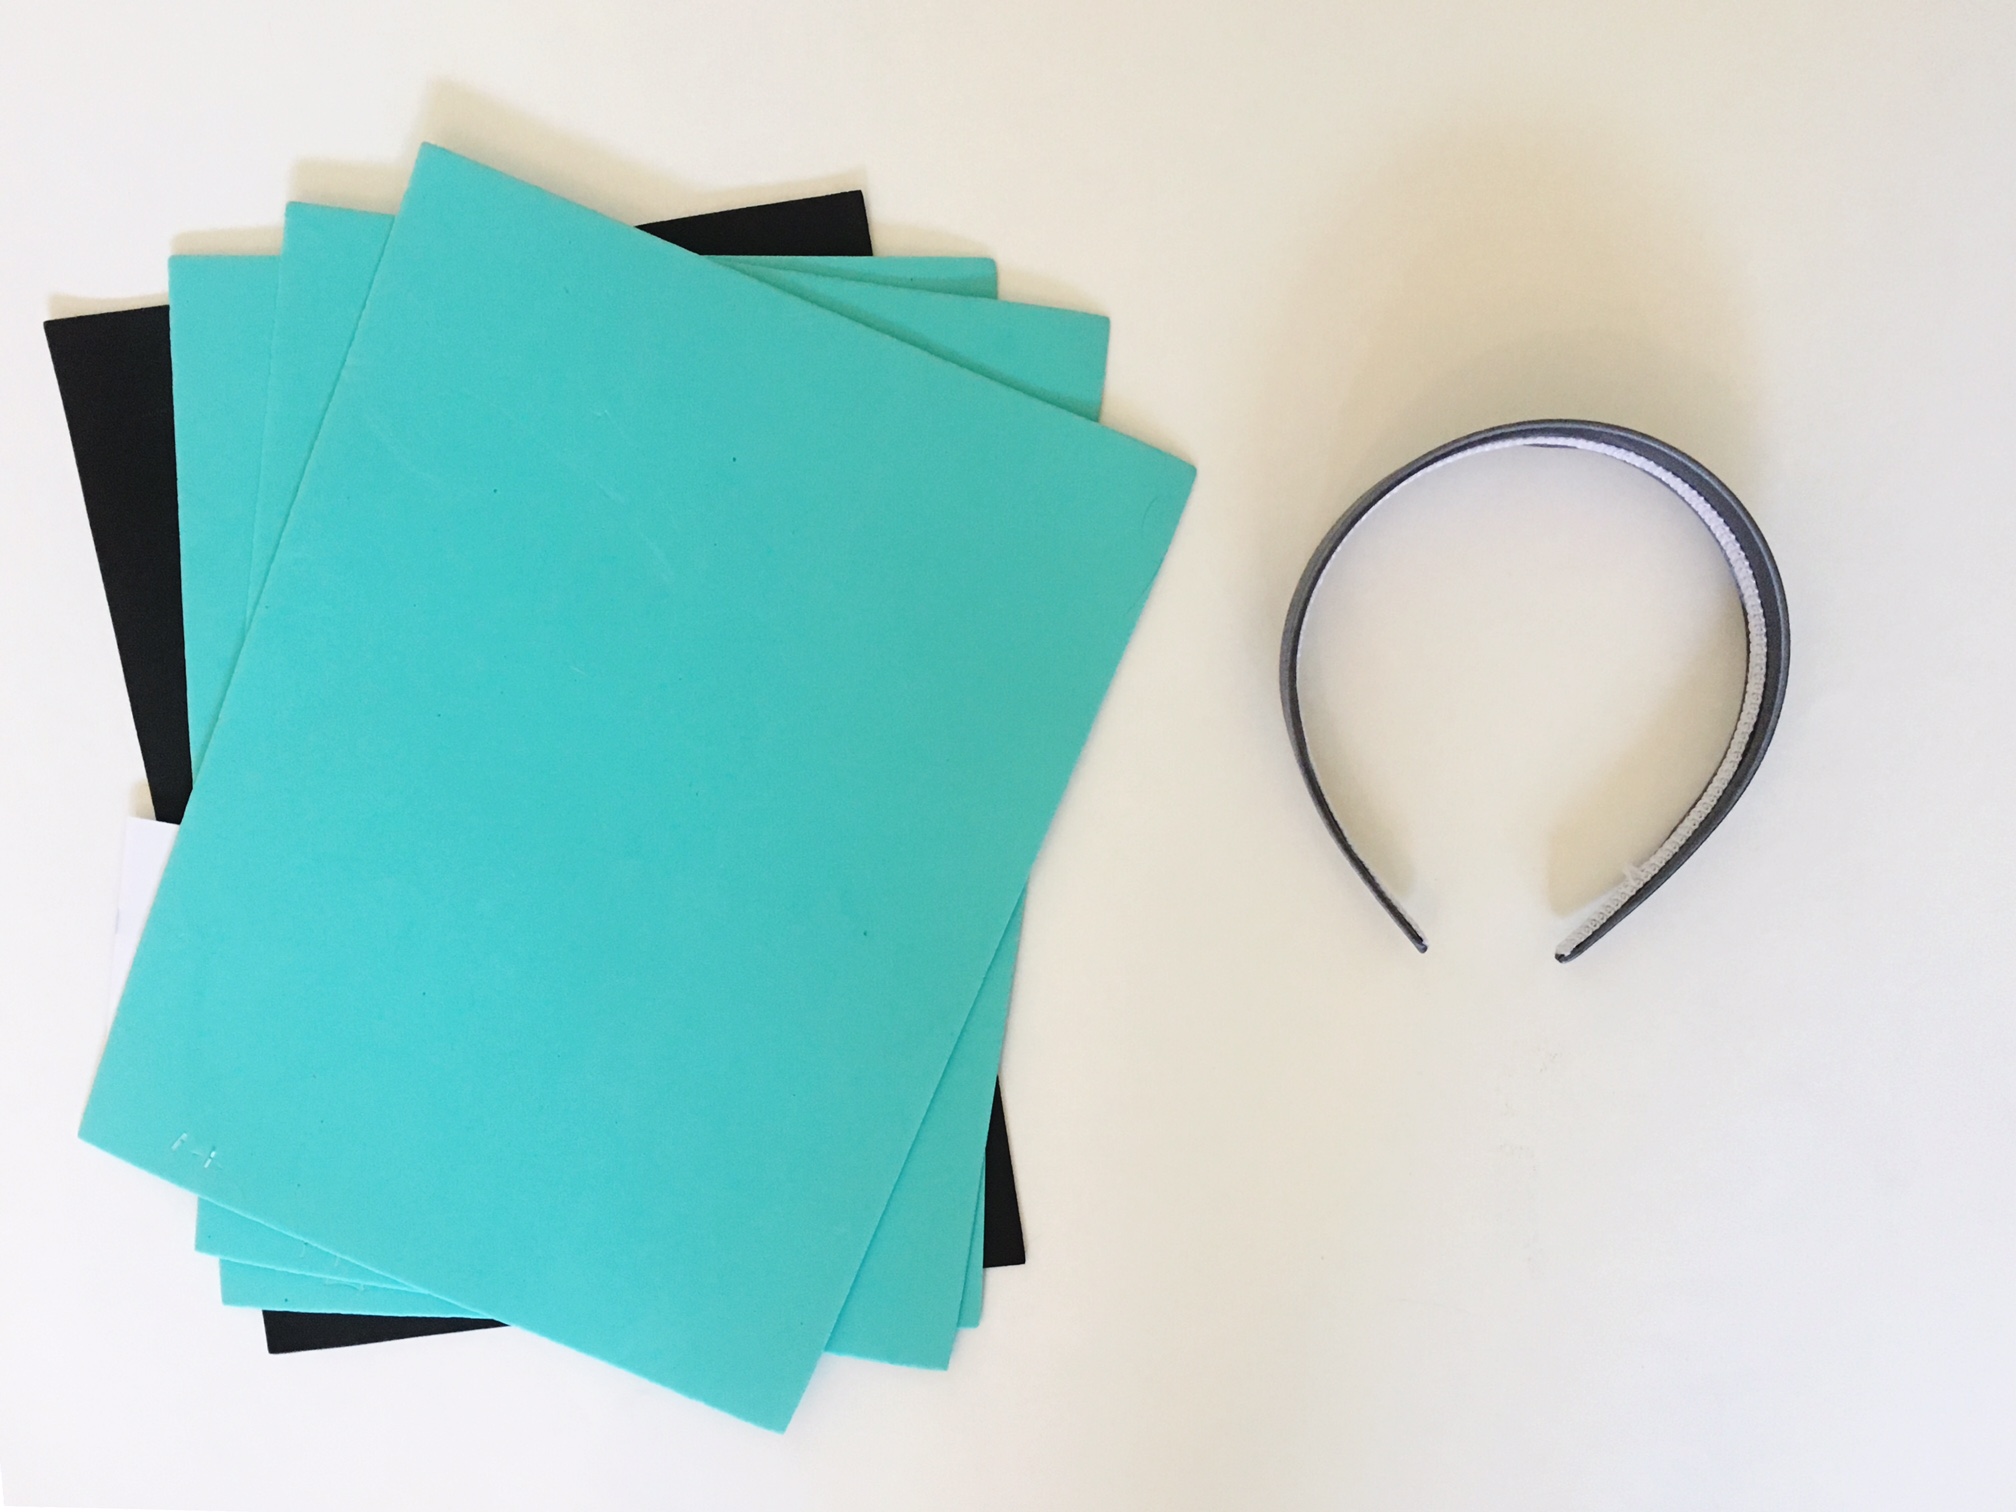
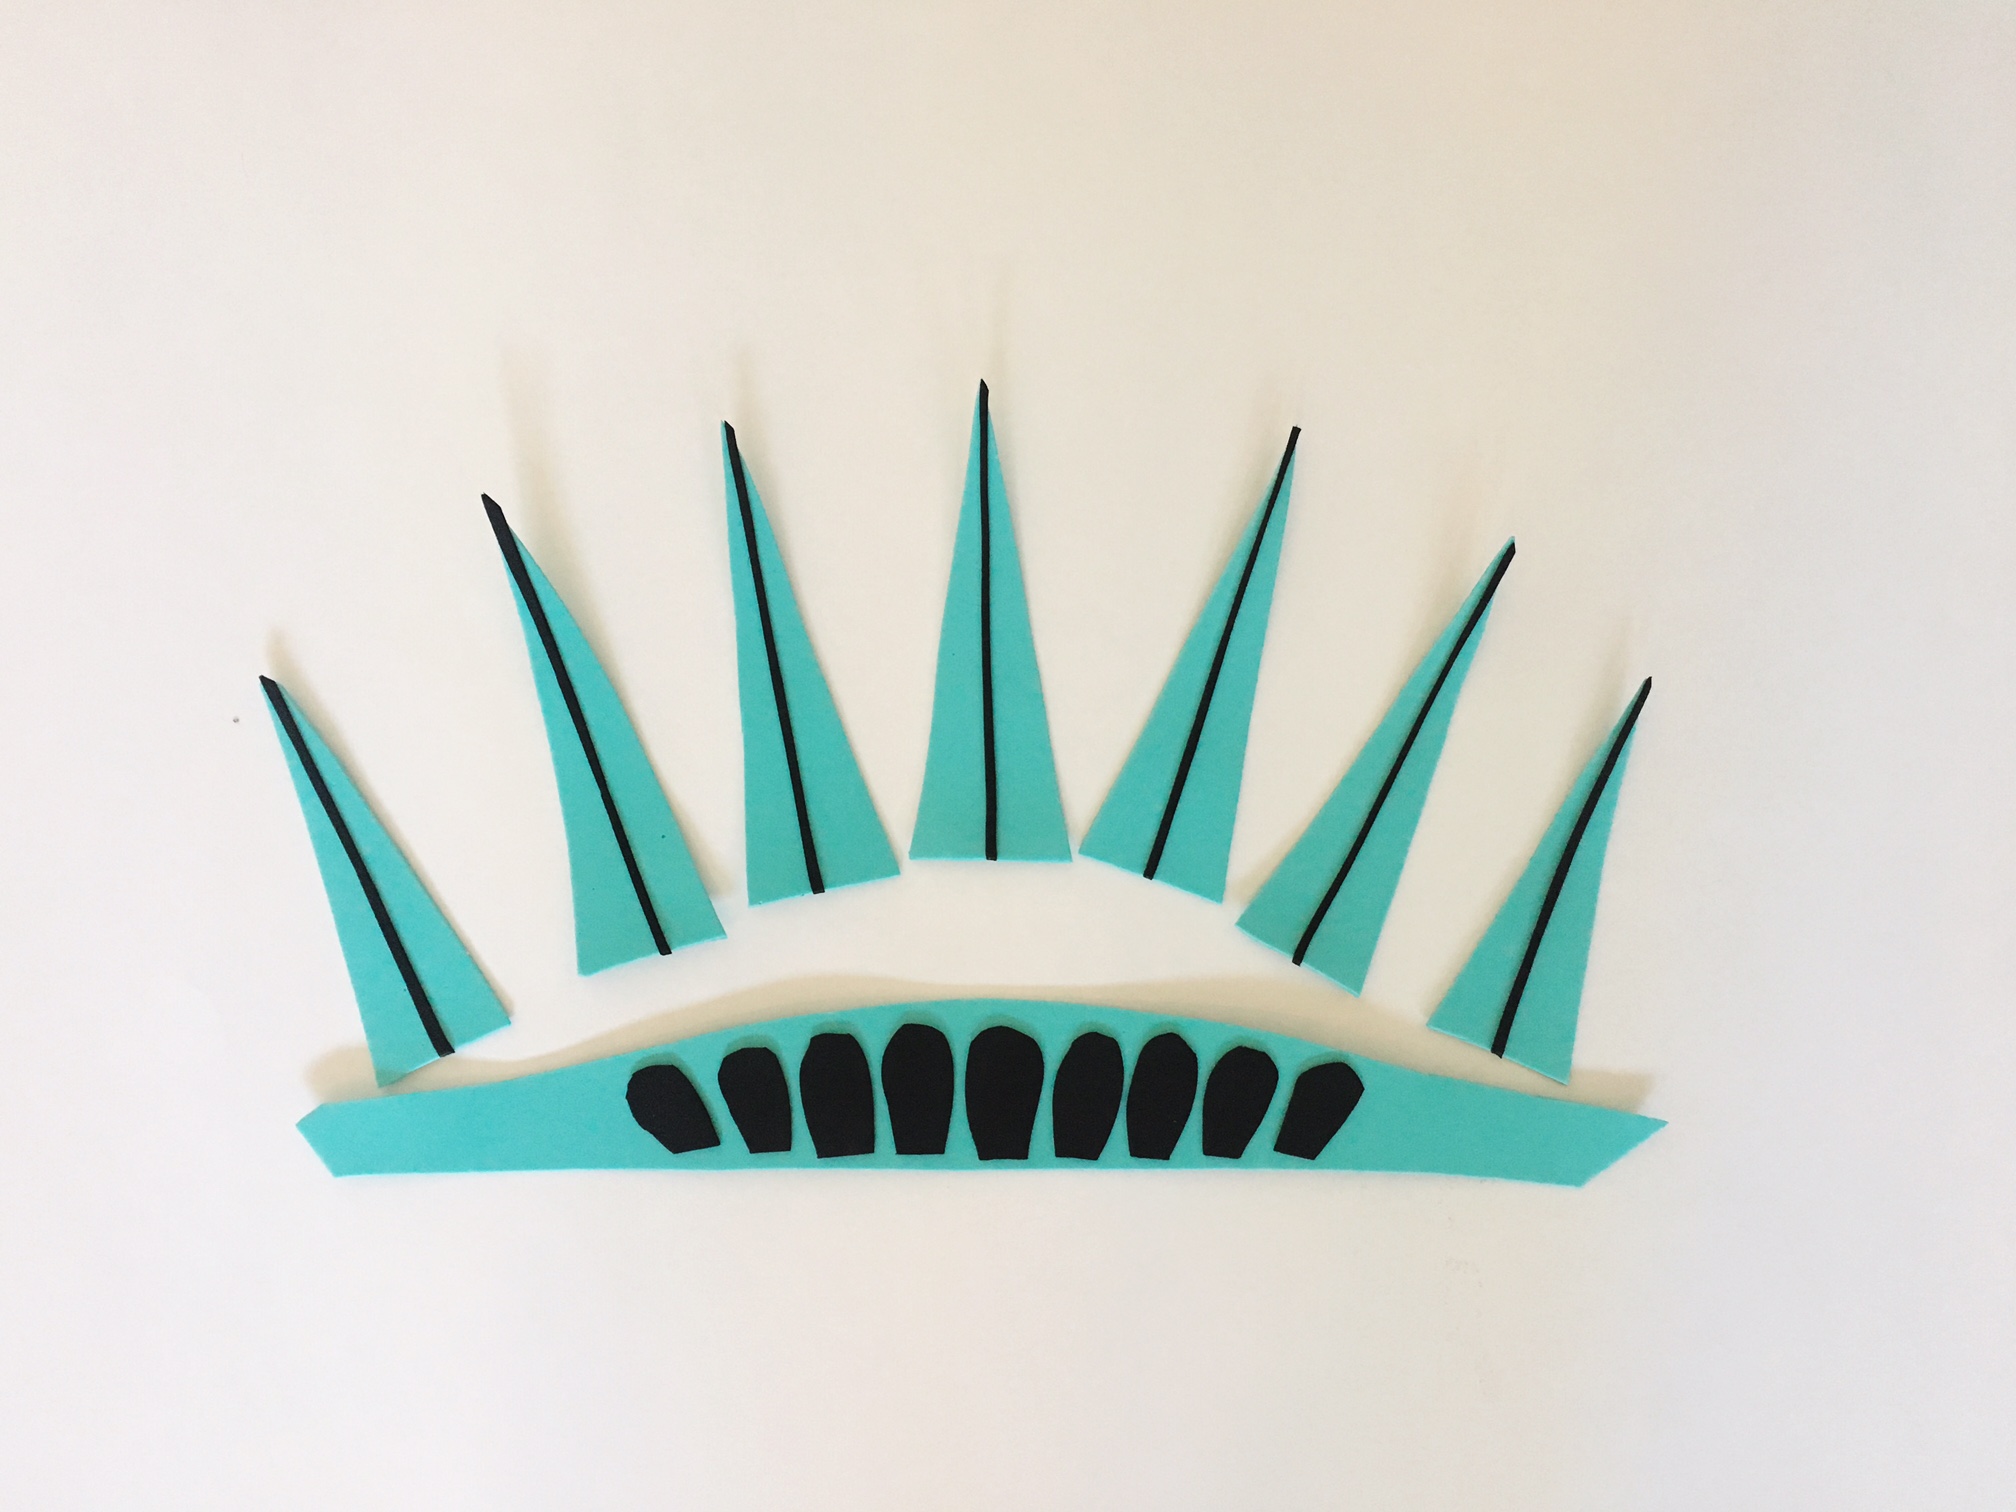
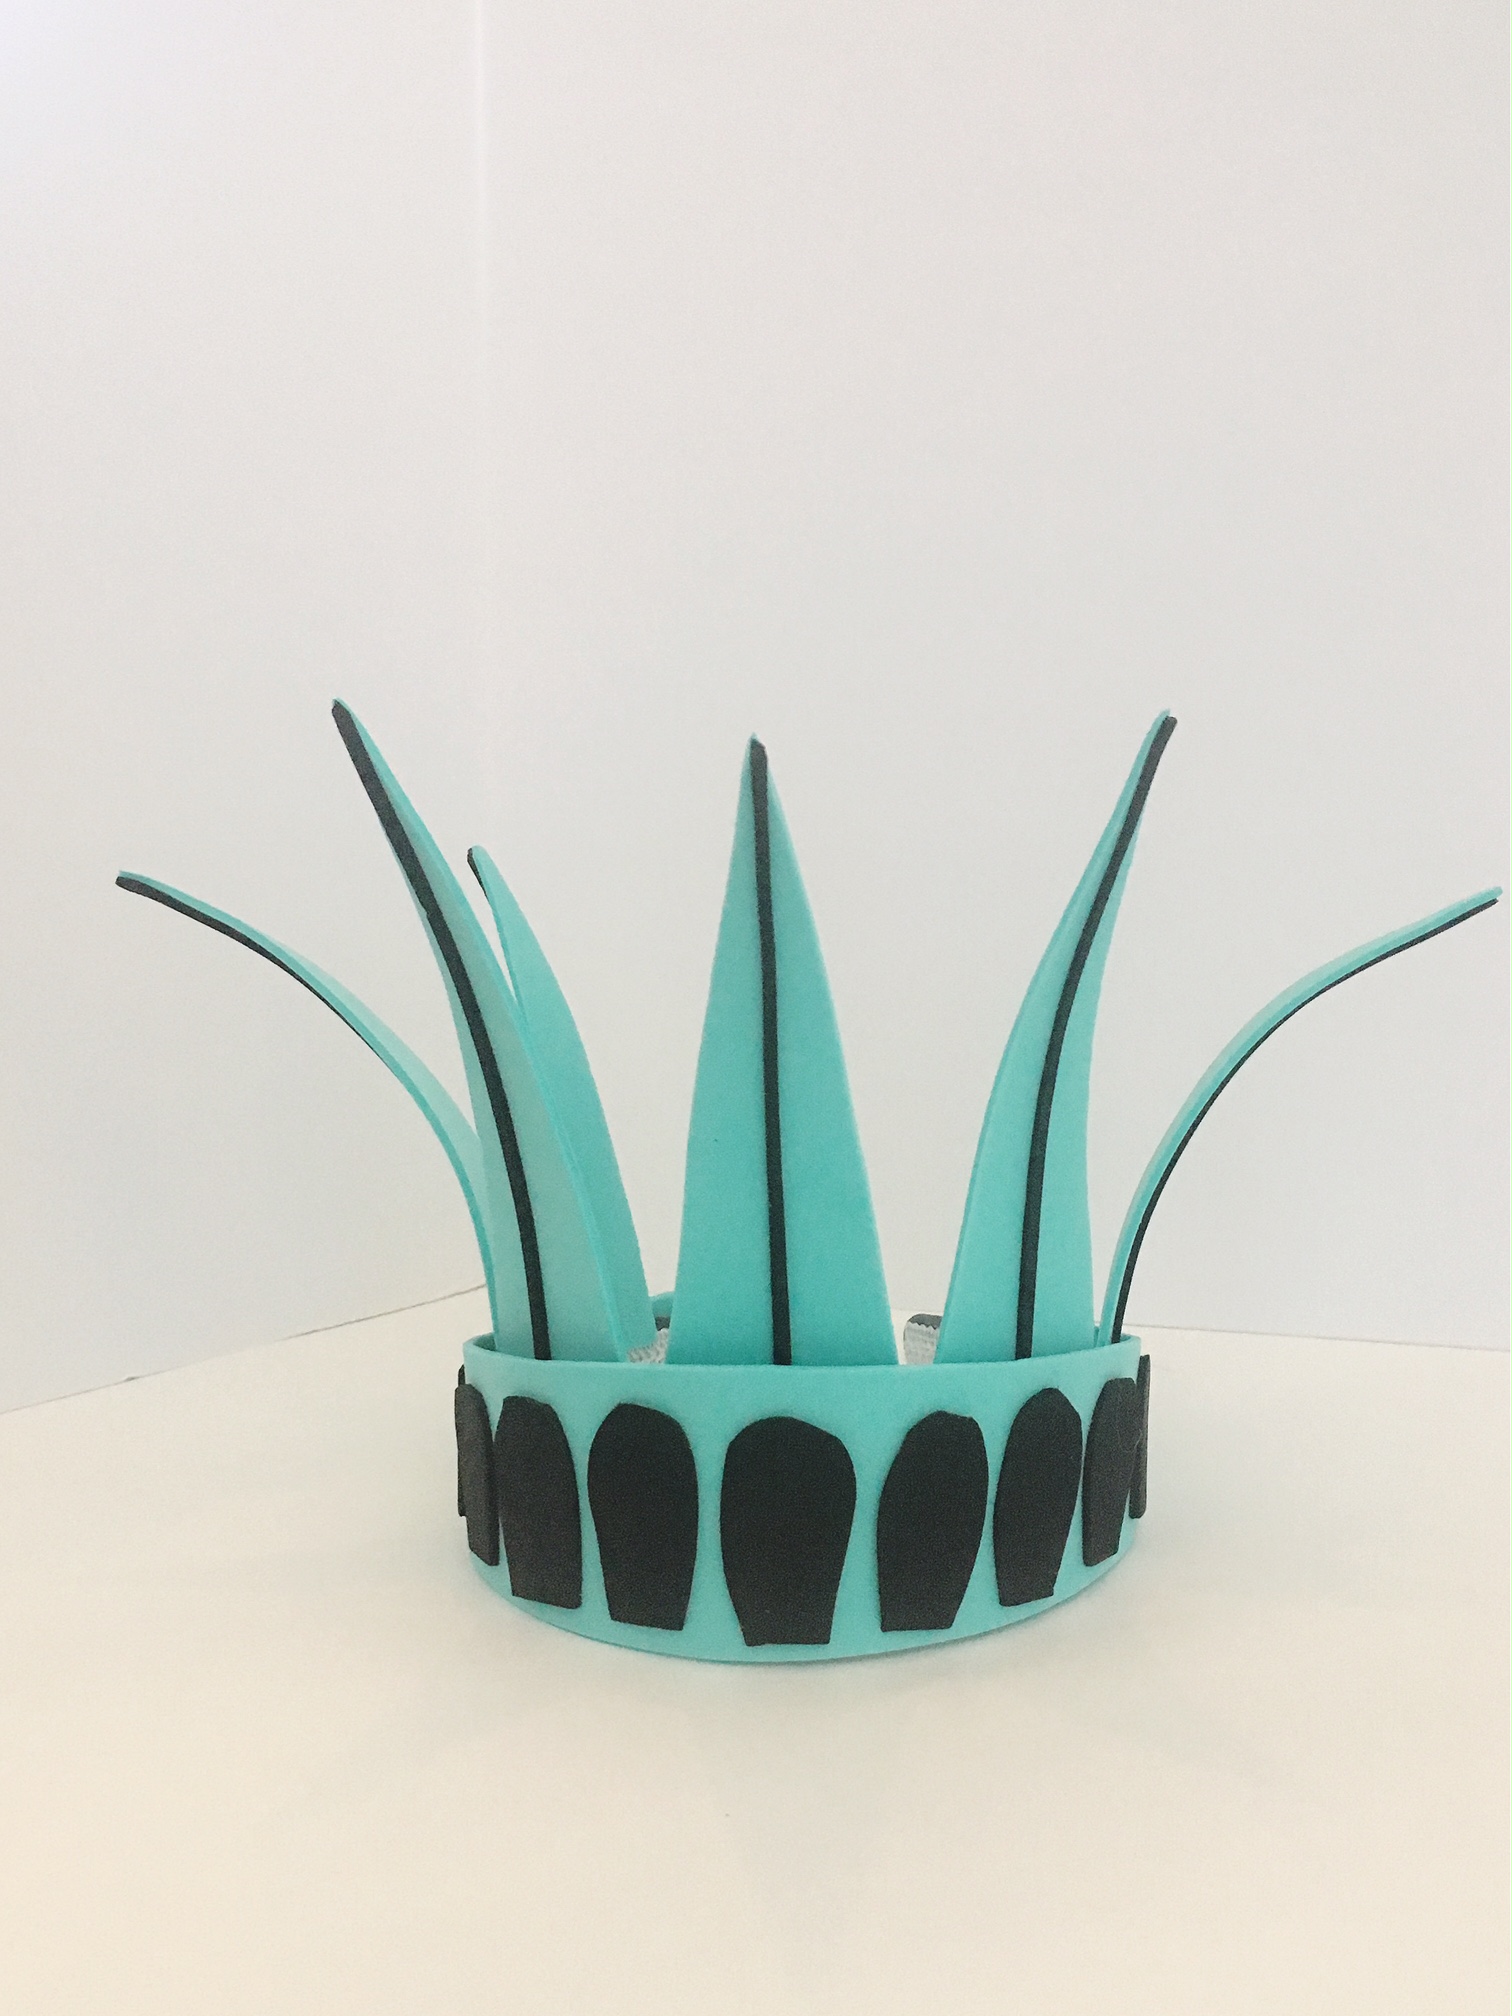
For the crown I started with this printable, but instead of printing it on one piece card stock as instructed, I made things difficult by cutting it from separate pieces of green craft foam, adding the details with black self-adhesive craft foam, and hot gluing everything onto a wide headband. I thought this gave a nice little nod to the artwork in the book, and was 100% worth the extra effort and by far my favorite piece of the costume.
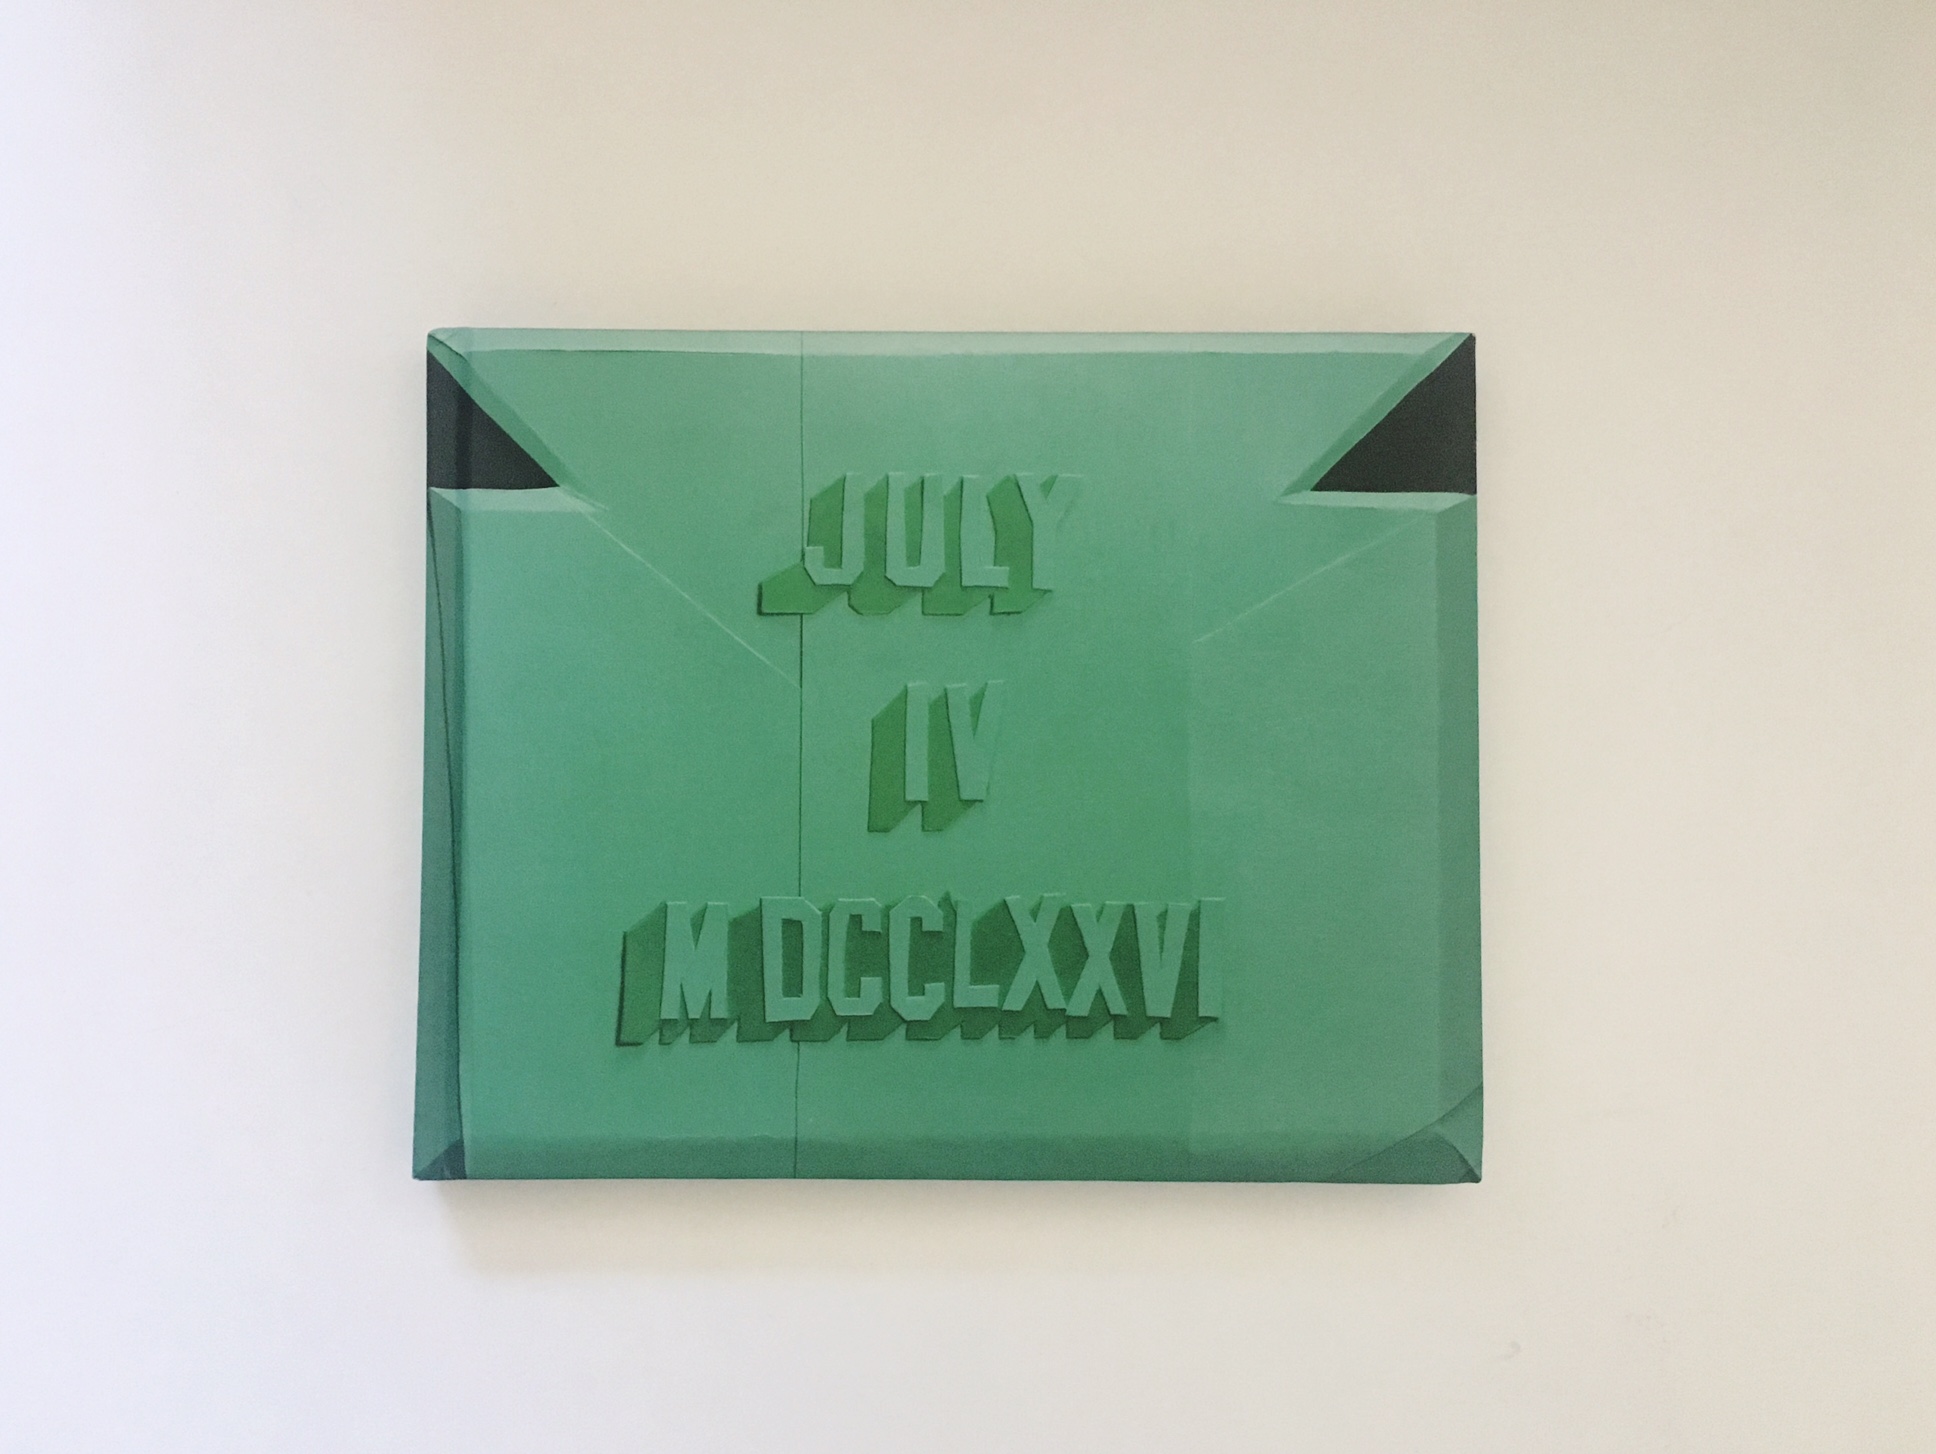
For the book I just used our copy of Her Right Foot. "But that doesn't look anything like the book the statue is holding..." you say?. Take the dust jacket off. Boom. Problem solved. You're welcome.
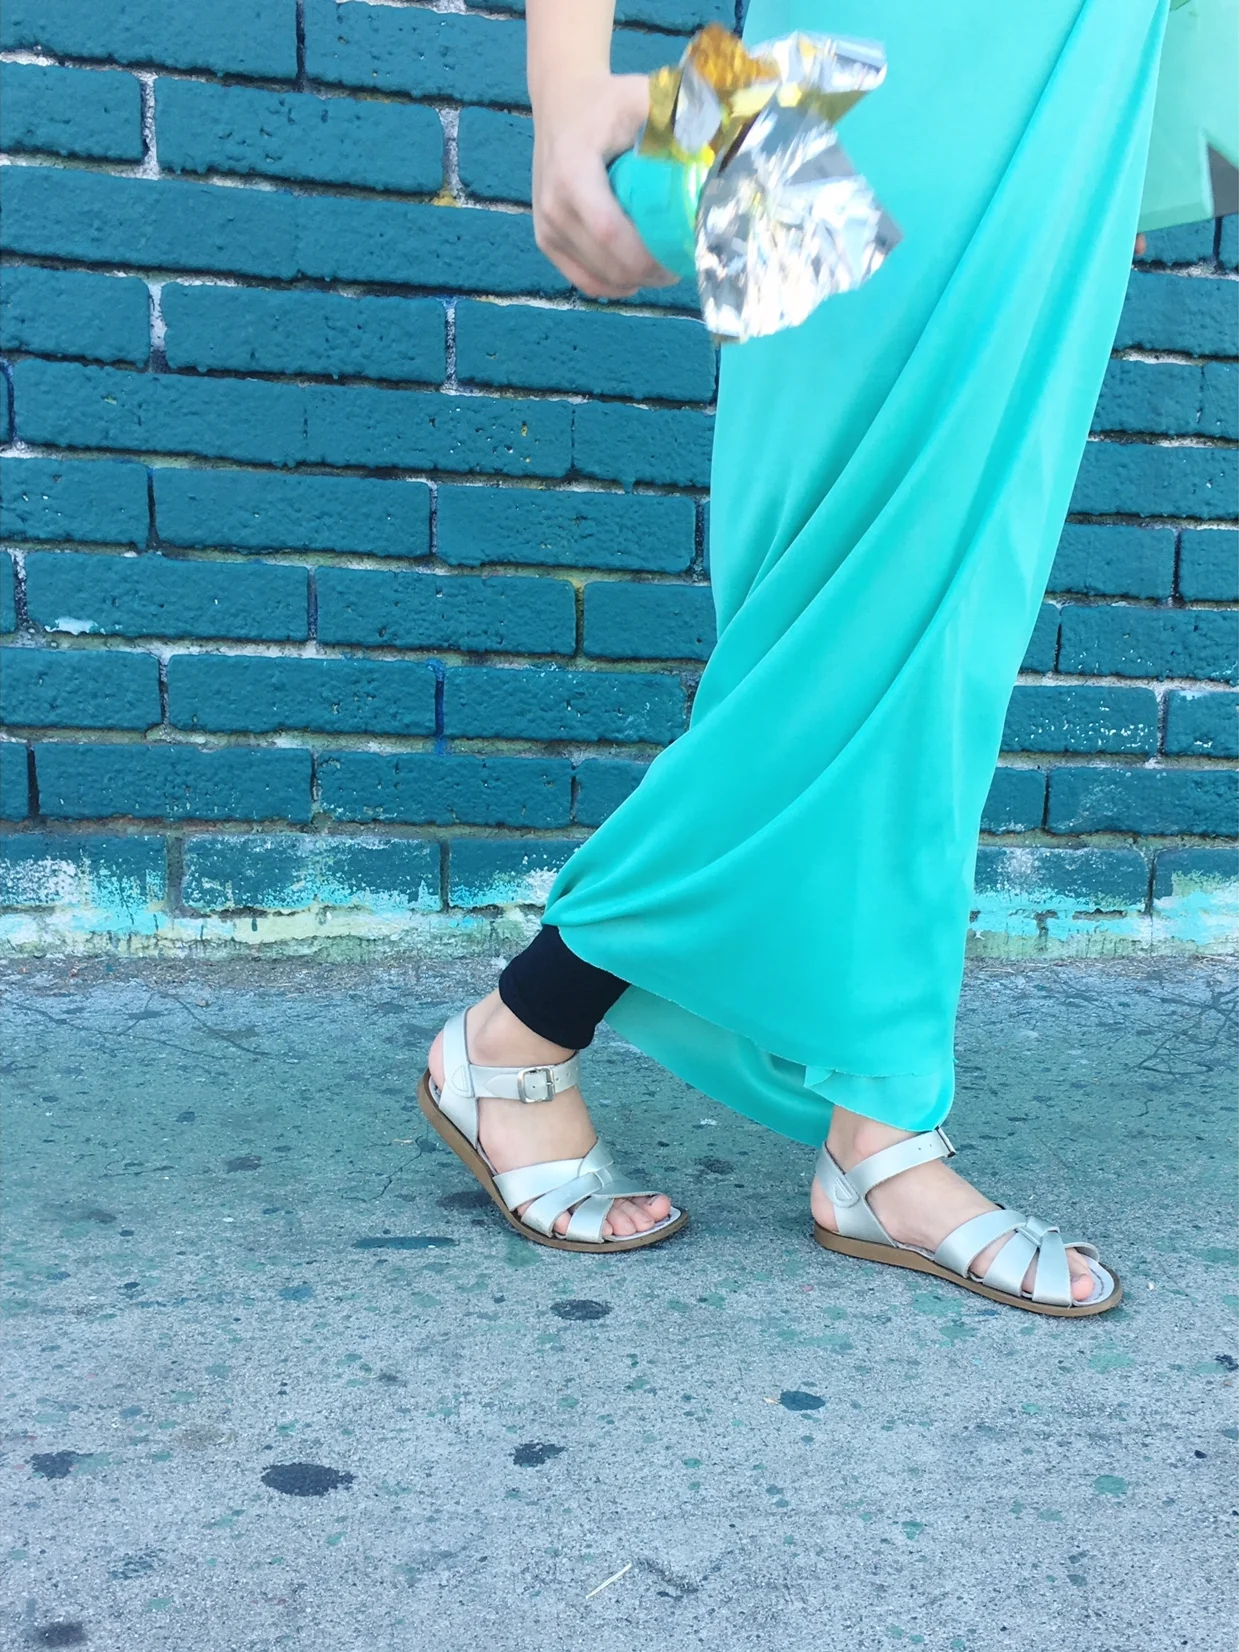
Then I had Alice dress in a green t-shirt (I made hers using this free pattern from Brindille & Twig, omitting the bands for raw edges all around, but you could easily sub in any similarly colored tee your child already owns. Again, I like making things difficult), leggings (hers are from American Apparel which unfortunately stopped making kids' leggings but primary.com is my new fav for affordable basics), and sandals.
Finally I took approximately one yard of green jersey fabric (Joann's conveniently has the EXACT RIGHT COLOR in stores but not online, apparently), and wrapped it around Alice using this very handy how-to-tie-a-toga tutorial I found on pinterest. And then we were done.
And that's really it. Most years I totally suck at Halloween costumes, but I think this is the year I finally nailed it. And in all honesty, I think this blog post took longer to put together than the costume...
Full disclosure: I was not paid or compensated in any way for writing this blog post, by Chronicle Books or anyone else. But I also didn't pay for my copy of the book. Is this post sponsored? I have no idea. Please don't hurt me, FTC.
Also Her Right Foot is available now wherever books are sold these days (not an affiliate link).